
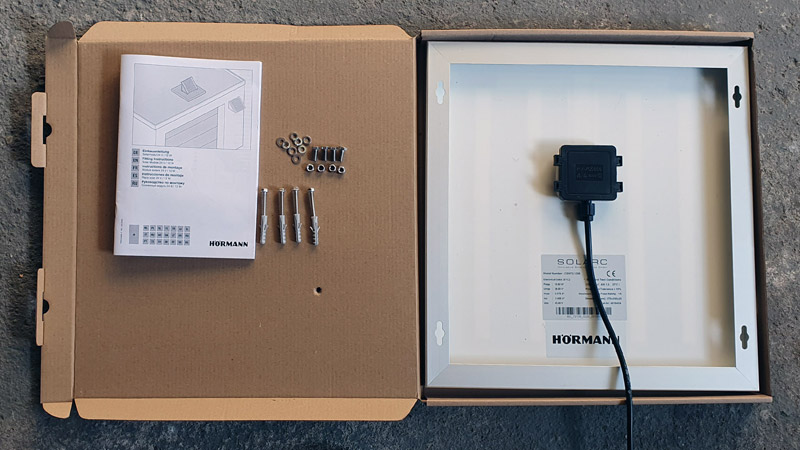
Solar module installation instructions …
Then we move on to the solar panel. Also with the solar panel the screws are supplied one can either use the angles, these are there to ensure that the solar panel is at the correct angle to the sun and also that rainwater and snow can simply slip off the solar panel. The angle of the supplied bracket is 45 degrees and would thus be optimally directed to the sun. The angles could be mounted, for example, on a sidewalk plate or on the wall.
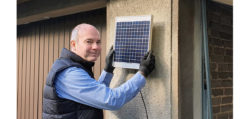
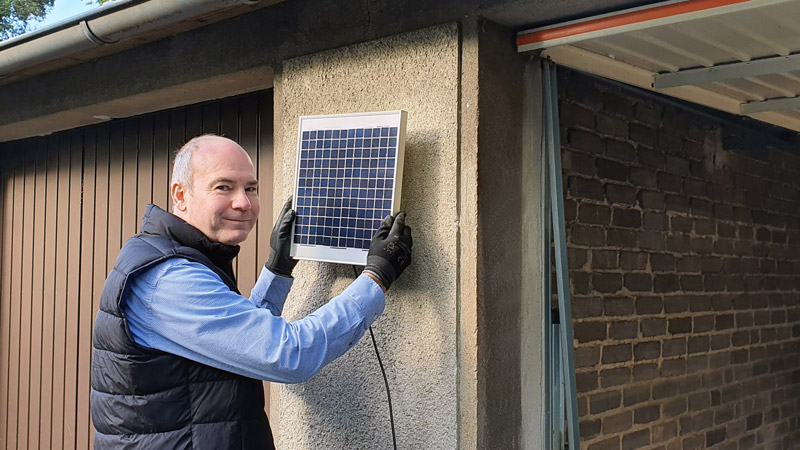
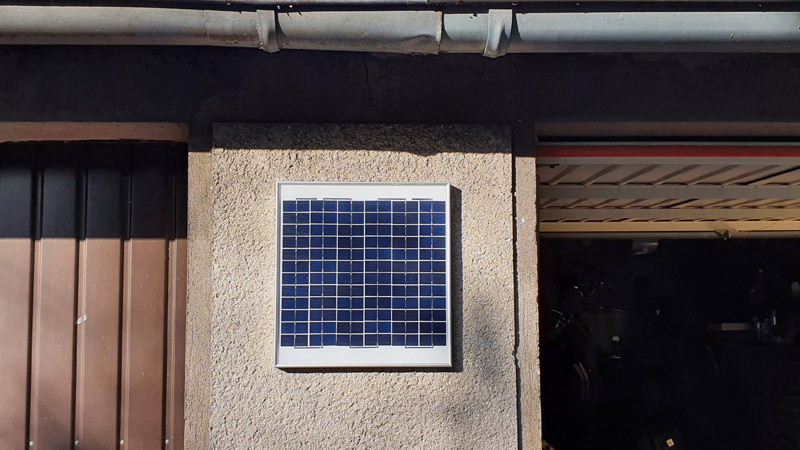
However, we mounted it directly on the garage wall for several reasons. There is a small protrusion above it, including a rain gutter, and it was the best place to mount it, even if we have to accept a lower energy yield. Of course, you have to clarify such an installation with the neighbors beforehand, because there are laws with the prescribed distance area when building to the neighboring property.
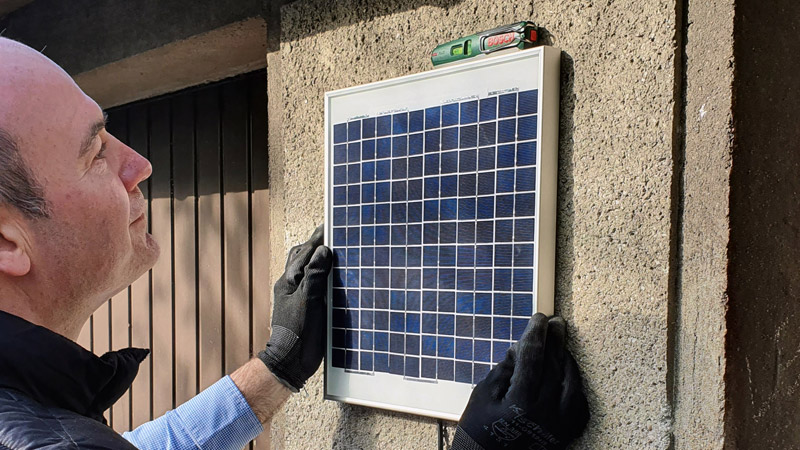
First we hold the solar panel against the wall and can now align it with a spirit level and either mark the necessary drill holes with a small template (here Berner or Hörmann could print a template in the box) or simply measure the distances briefly, or take the dimensions from the instructions for the mounting brackets. And then attach with the correct dimensions.
Now we can already insert the dowels and screw in the screws so that they protrude about 15mm from the wall.
Now we drill a hole through the wall, where we can pass the solar panel cable afterwards.
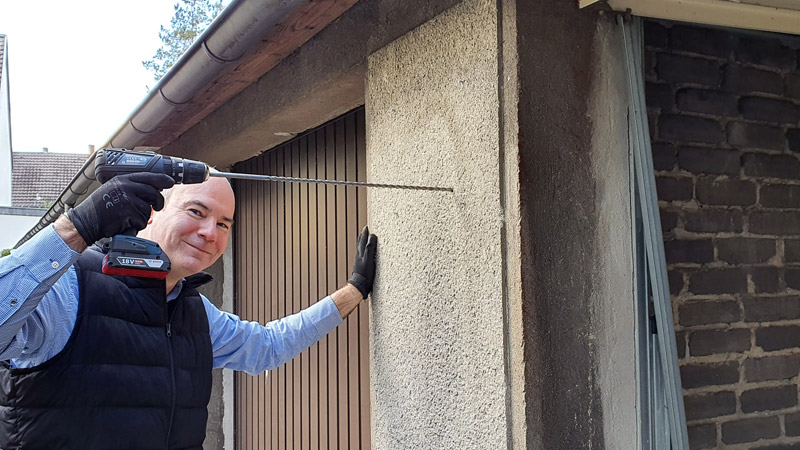
As you can easily see, we got through with the drill.
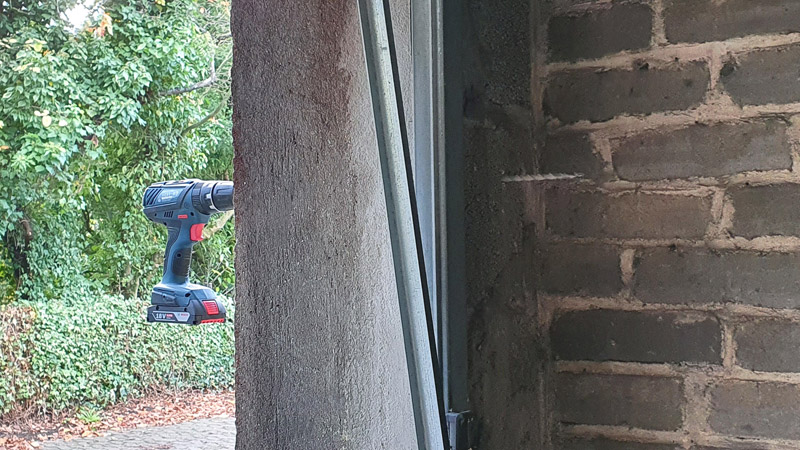
Now we can also run the cable through the wall and mount the solar panel on the wall.
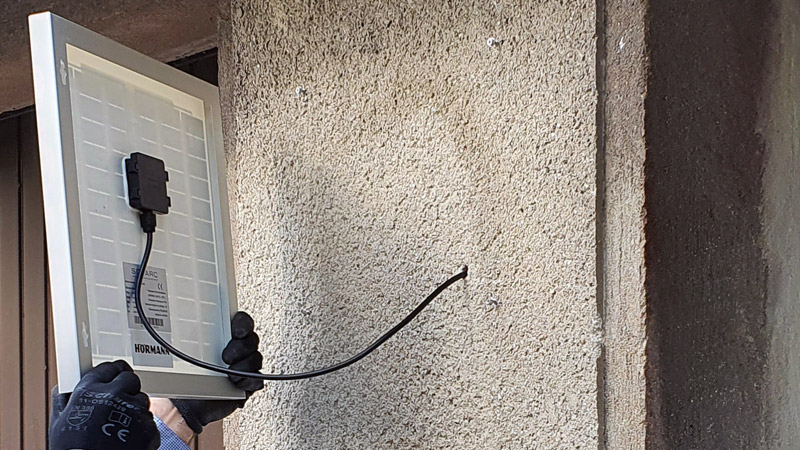
The solar module is simply placed a little higher and then hung like a picture frame. If you use the supplied 45 degree angles, it is simply screwed on with the stainless steel screws.
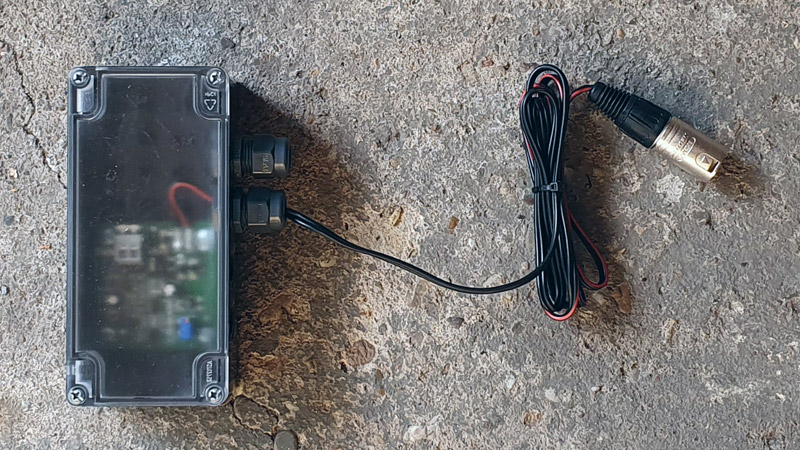
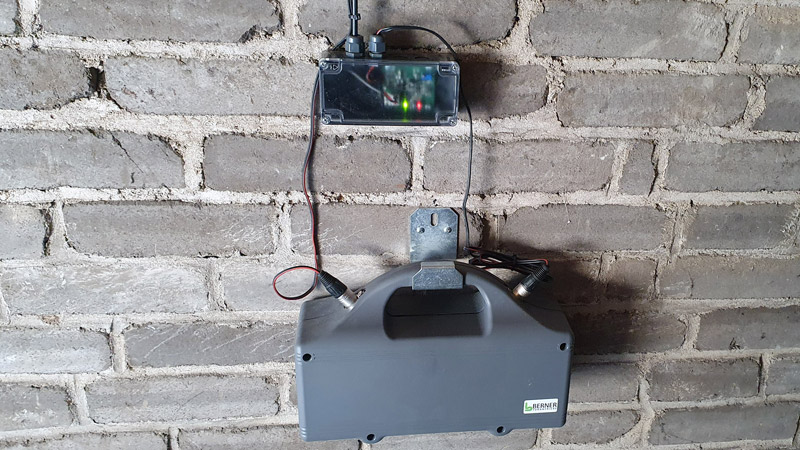
Of course, you can’t just connect the solar panel to the battery, because it still needs a solar panel controller and that’s this charge controller in the splash-proof case.
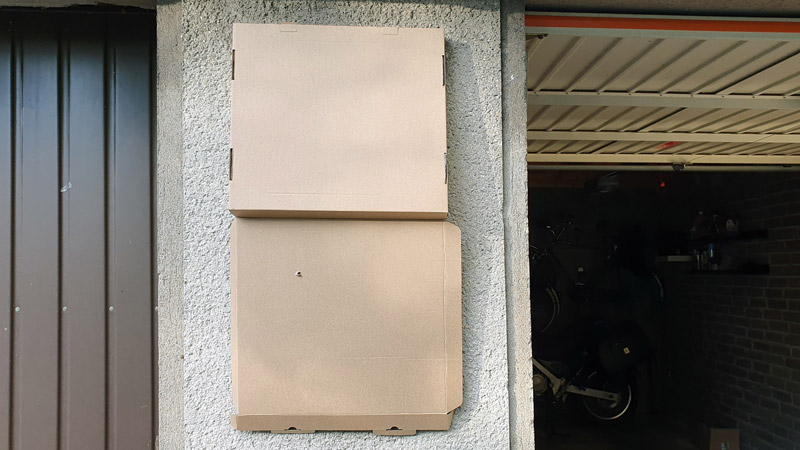
Tip: Before we pinch off the cables (we had to shorten the line of the solar panel a bit) we should close the solar panel, because it already generates electricity! By the way, this is not a pizza box, but the packaging of the solar module 😀
Then we can shorten the cable of the solar panel and strip the ends.

After that, the cable can be inserted into the charge controller and we can already connect it by inserting the two pins into the terminal with the correct polarity – the black wire to the negative terminal and the red wire to the positive terminal.
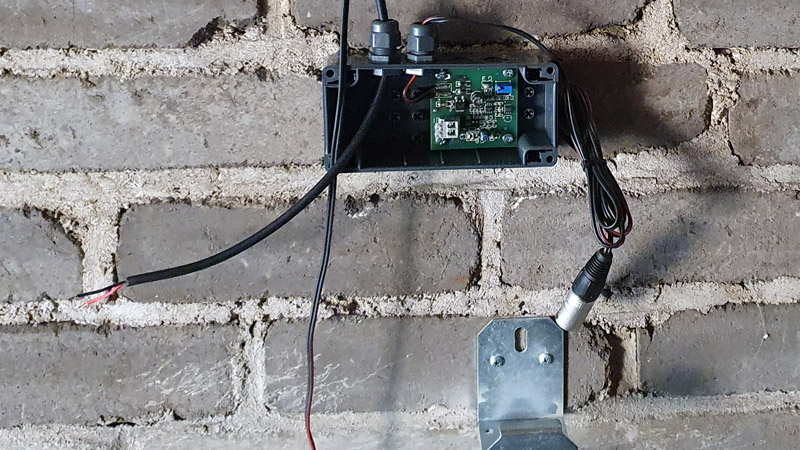
Here you can see the battery mounted on the wall and the charge controller above it. By the way, the charge controller must be mounted in the same room as the battery, because the final charge voltage of the battery unit depends on the temperature. For this reason, the cable is only about 1.5 meters long. From one side of the battery, the cable with the pre-mounted cable goes directly to the charge controller and on the other side the cable goes to the garage door drive.
With this, we have almost finished the electrical part!
There is one more little thing to come, but before we continue, we would like to install the emergency release as another optional element.
Let’s continue with the Berner NES-S emergency release installation …