
How to deal with electrical …
Please do not under any circumstances perform any electrical installations if the required basic knowledge and authority are missing! The electrical installation in the house must be performed by a professional! Even if fault current protection devices are given, such electrical installations can be life-threatening! We assume no liability and only show what kind of installation would be possible, so do not copy! External solutions by means of plug-in power supply at a socket are much easier, safer and less problematic.
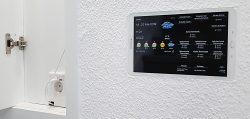
Power supply for the Smarthome control …
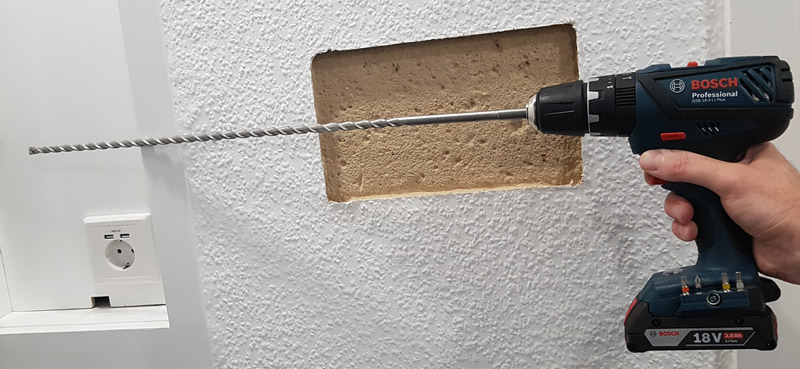
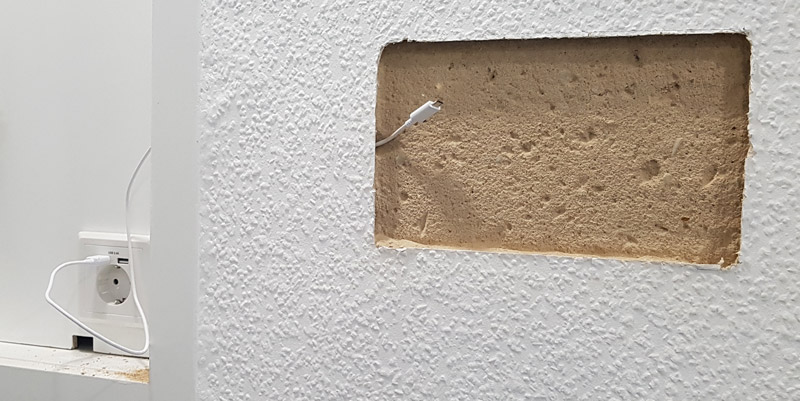
Since we also want to lay the power supply in the wall, we draw the necessary hole in the wall after checking with the line locator without further ado.
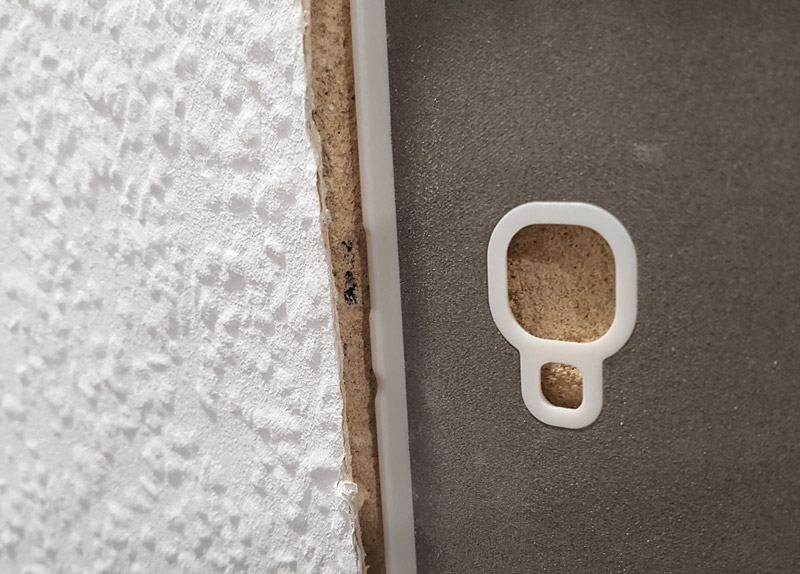
But let’s get back to the former distribution box, which was previously converted into a key box.

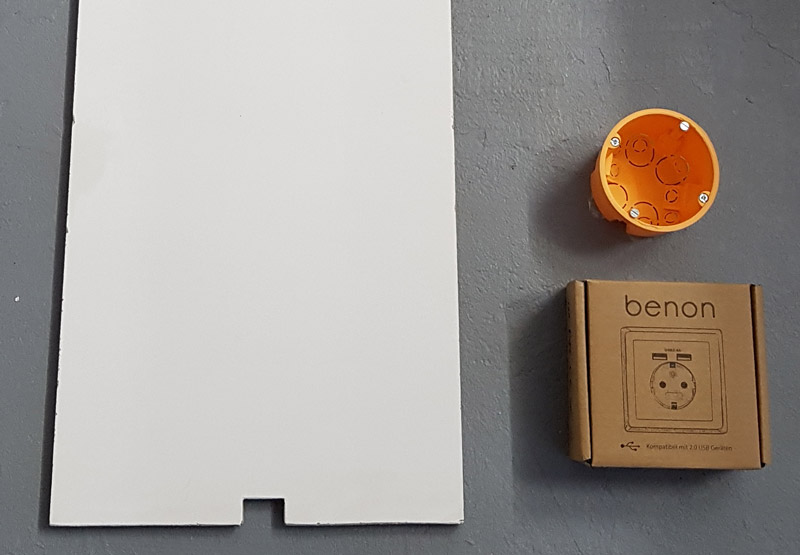
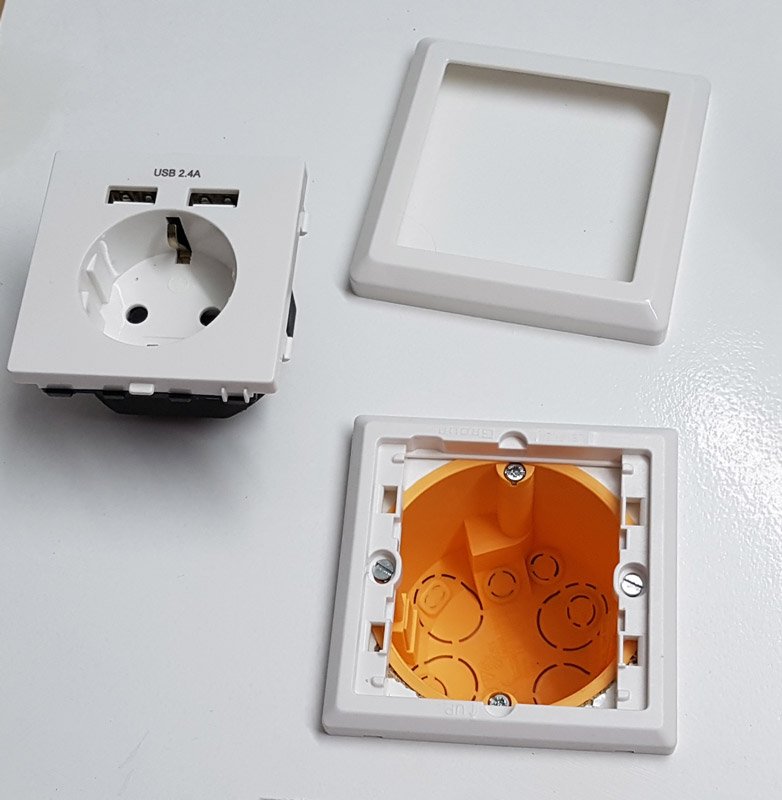
To get a power supply as simple as possible, we decided to install a ocket with USB connection with a flush cavity wall socket on the back wall, which of course also serves as fire protection. Such an USB socket with the installation of a cavity wall box will of course hardly be possible and necessary for someone, but we would like to briefly document the steps anyway.
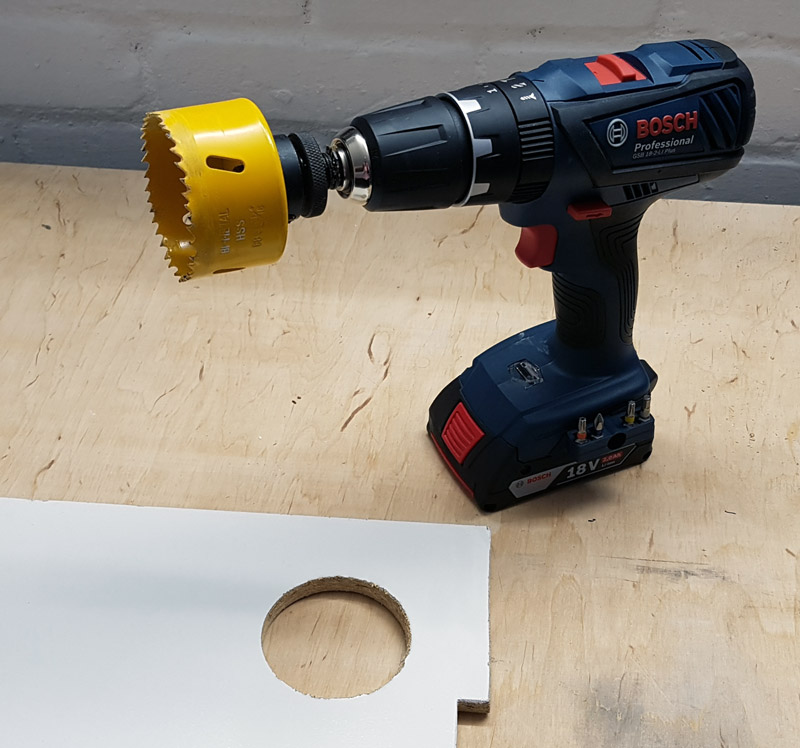
For this we created a 68mm hole for the cavity wall socket with a wooden hole saw (crown drill). The hole may quietly fray a little, because it will be covered afterwards by the socket, nevertheless, start carefully, first center with the mounted drill in the hole saw and then finish the rest without the drill.
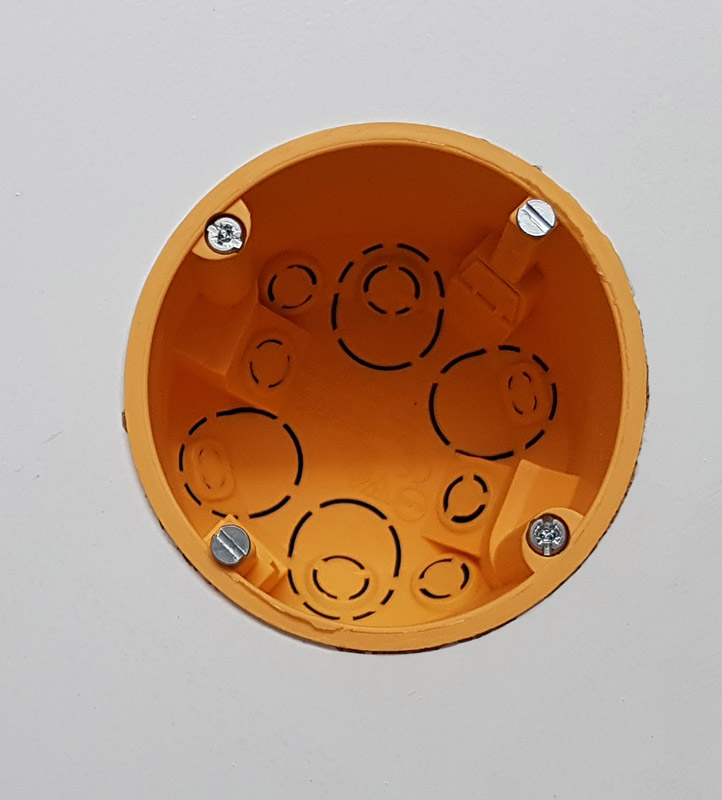
Now insert the cavity wall box, engage the two tabs by the first turn and then tighten with a few turns.
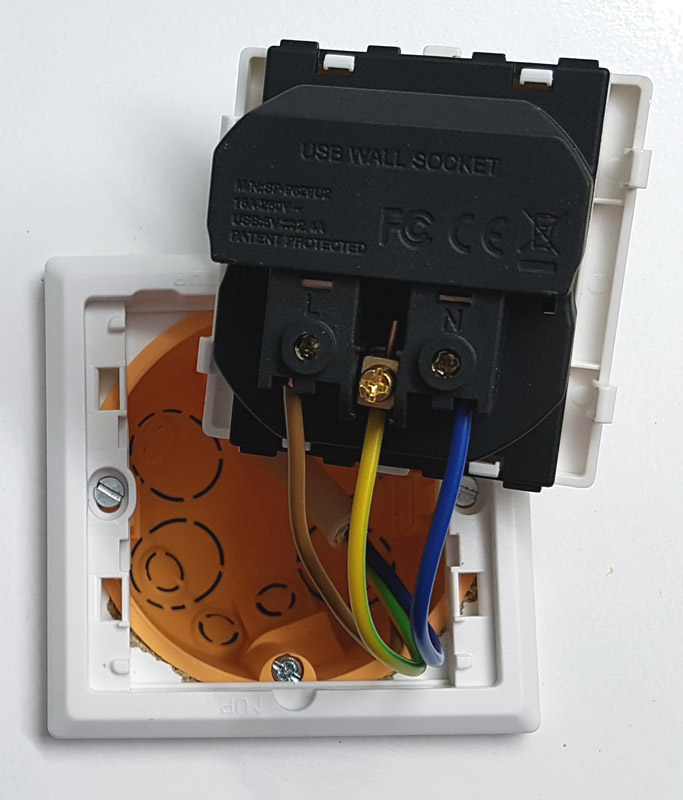
Then mount the supplied cover of the socket with the device screws.
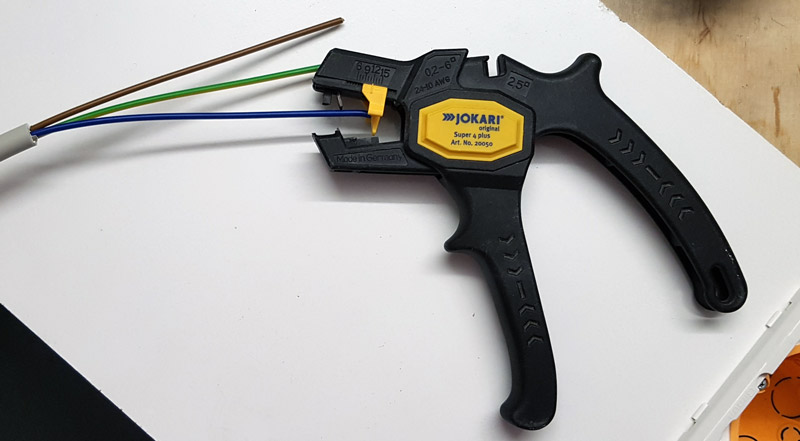
Now strip the sheathing from the cable, which can be done quickly with a Jokari cable stripper, for example, without damaging the cables.
Then strip the wires with the Jokari wire stripper.
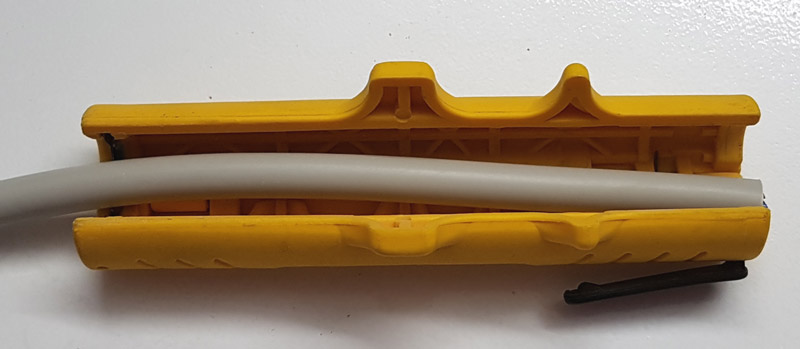
This is what the cable looks like in the cavity wall box.
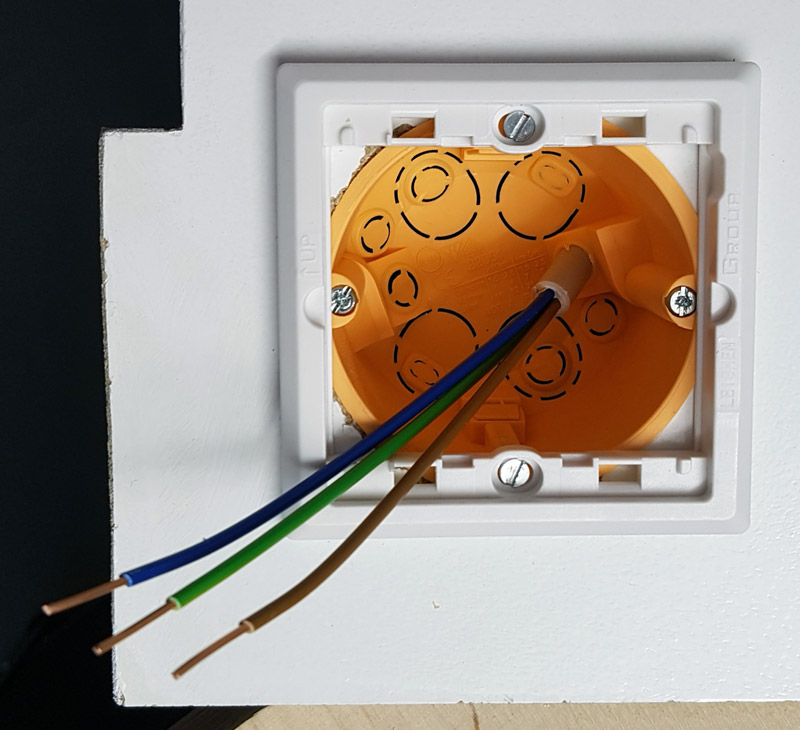
Now do not forget the phase, neutral and the important protective conductor.
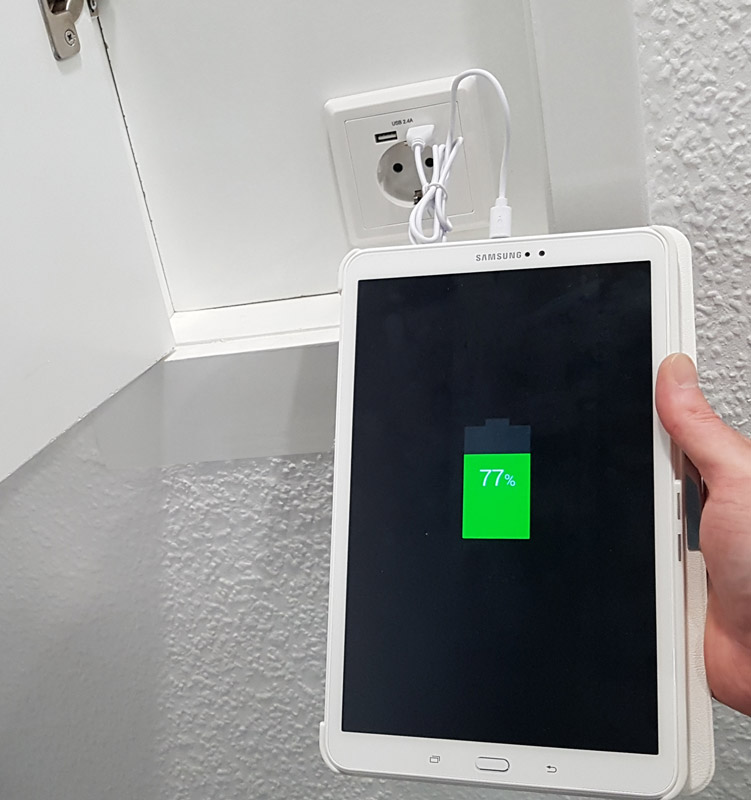
After that, the new USB socket can already be used.
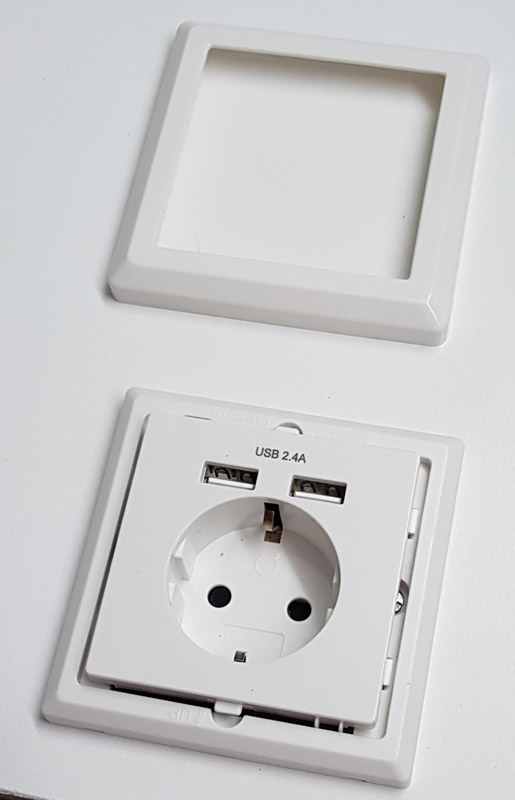
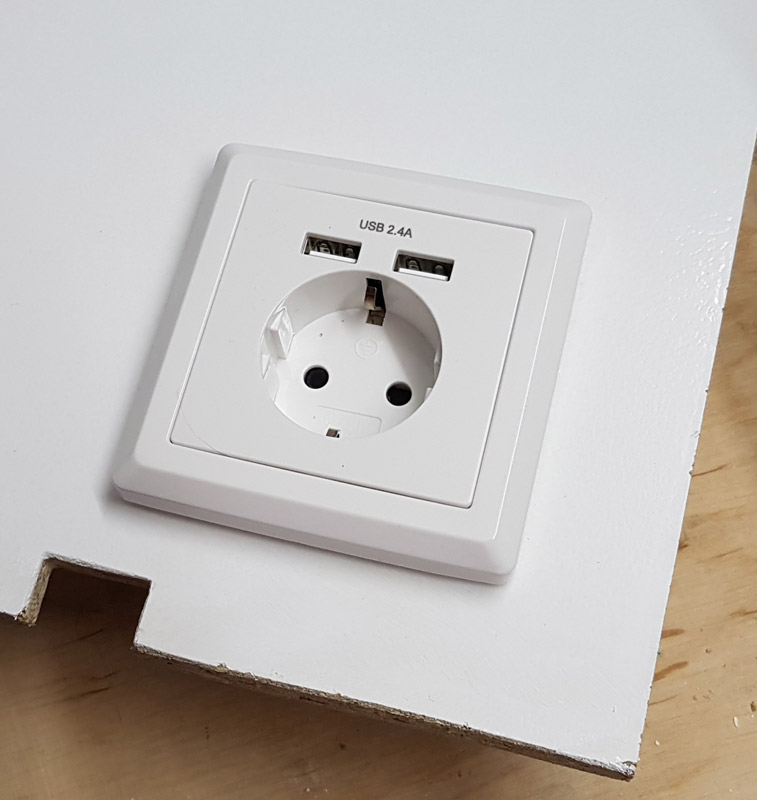
Frame on and ready.
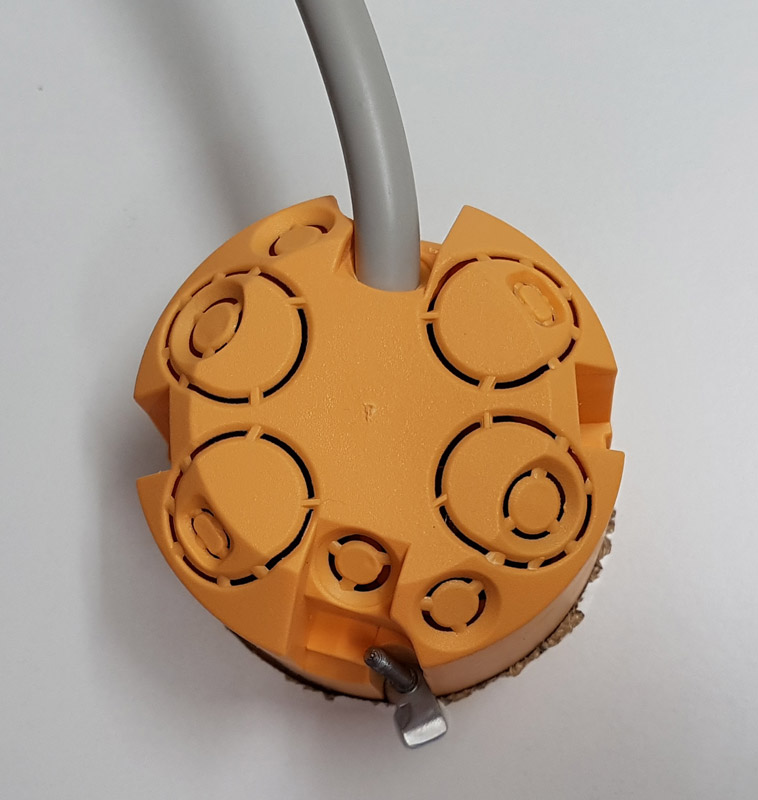
This is how the cavity wall box looks from behind, by the way, you can see the retaining tabs very nicely here.
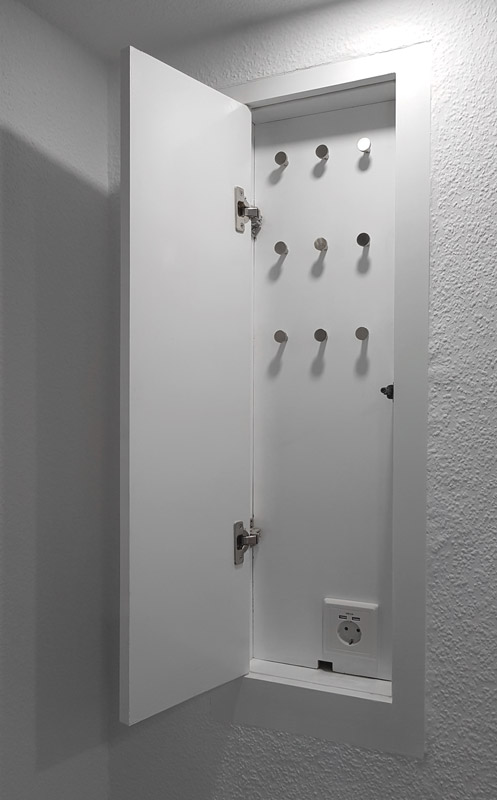
And this is how the fully assembled back panel of the key box looks, including the USB socket.
After the VDE test, we briefly test the function of the USB ports – everything is flawless!
Now we only have to drill the hole from the USB socket to the tablet in order to route the USB cable to the 5 volt supply voltage. To do this, we simply drilled a hole behind the wallpaper with a 10mm drill bit. Alternatively, we could have cut into the wallpaper, slit the plaster, inserted the cable, plastered it, glued the wallpaper back on and painted it.
That’s it, the power supply for the tablet would be ready.
Continuing with the J-Wall assembly in the wall …