
For the SpotCam Pano 2 WLAN camera test, we have written a SpotCam installation guide on how to set up the WiFi camera step by step and what to look out for.

Thanks for the support …
Thanks for the support to den Manufacturer SpotCam.
Here you can buy the SpotCam Pano 2 camera. *Ad
WLAN Camera Installation …
Let’s start with the installation. The SpotCam installation is relatively simple.
Basically, you can start using the Pano 2 from SpotCam in two ways:
Installation via SpotCam app or via SpotCam website …
Either via app with smartphone or via PC using any supported browser. Here SpotCam supports all major browsers (Internet Explorer 10+, Firefox 3+, Safari 3+, Chrome). We have chosen the variant via PC.
To do this, simply visit the SpotCam site and create an account.

Once you have accessed it, it will download the installation file and launch it.
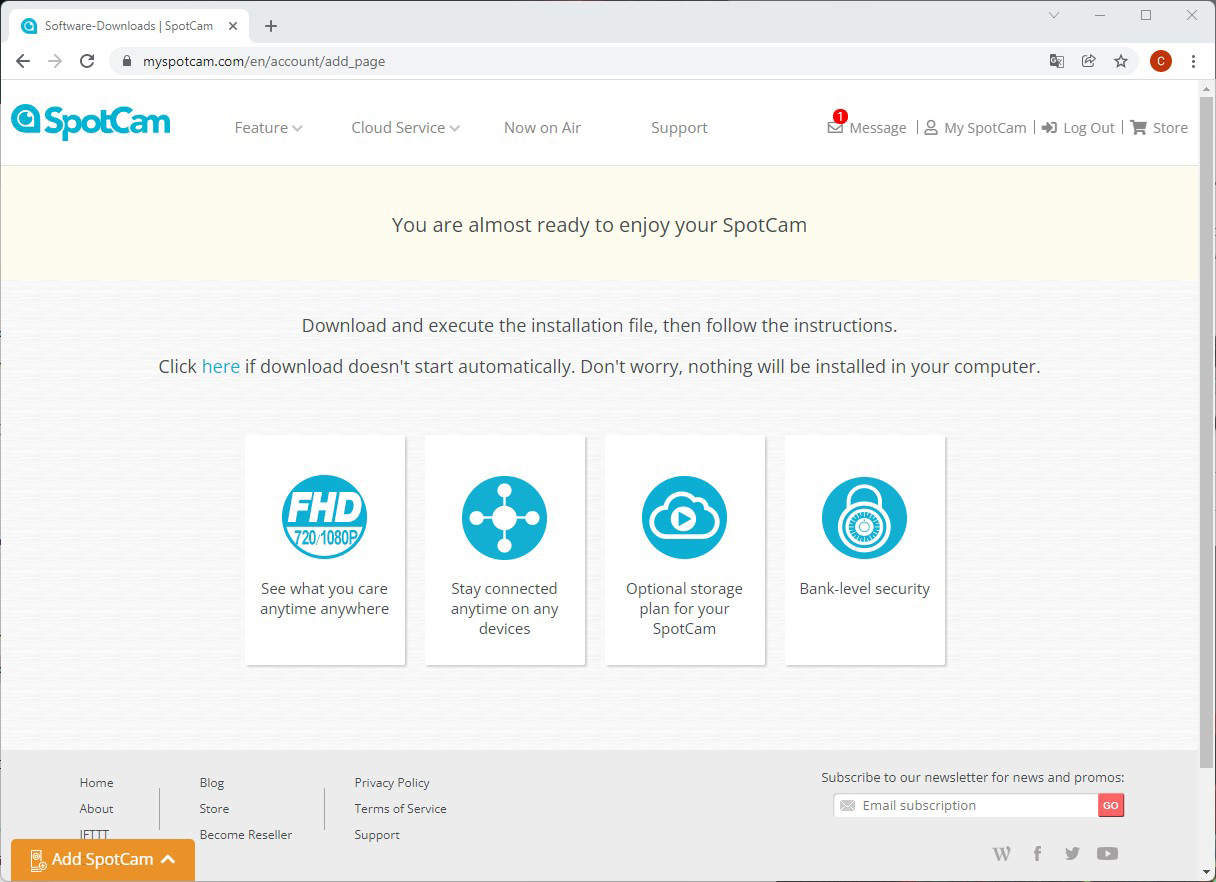
Subsequently, a browser window opens automatically again, which contains a simple wizard.
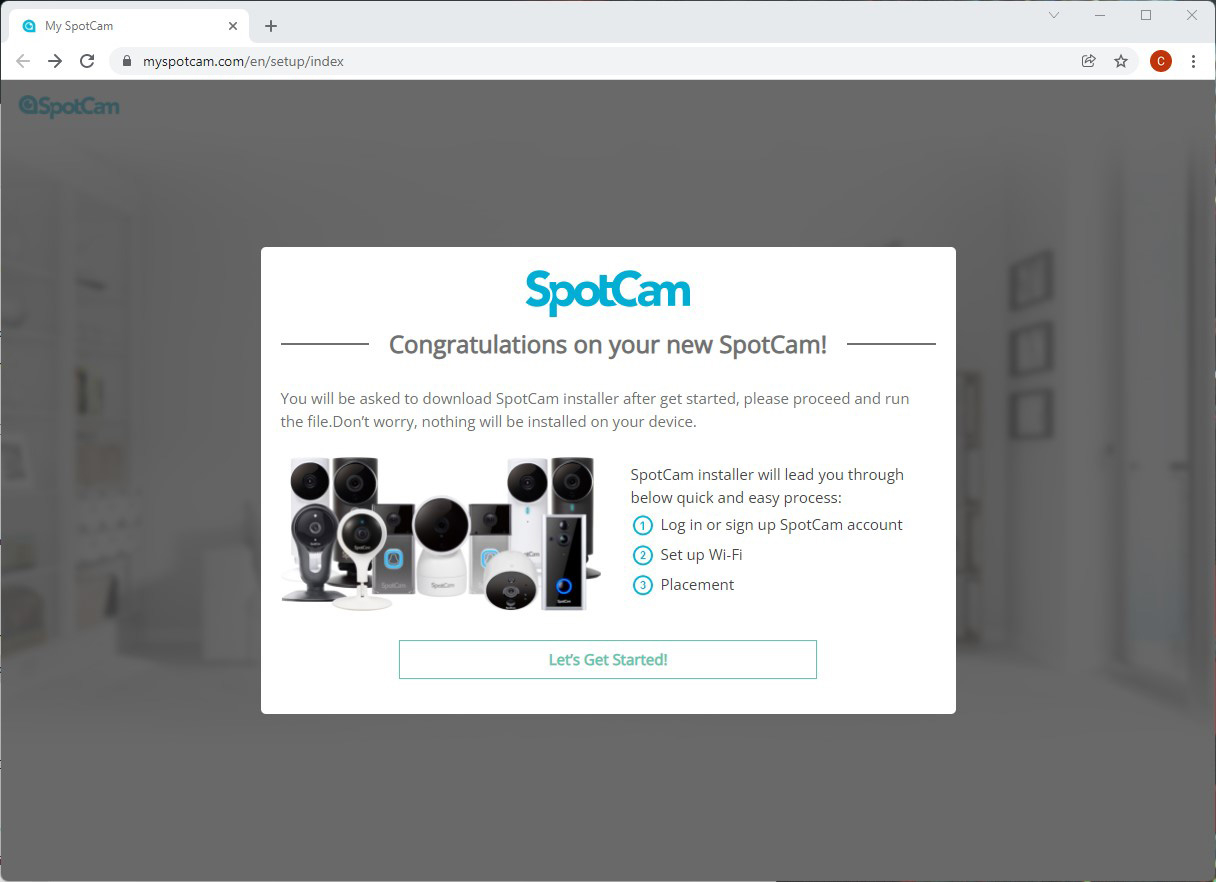
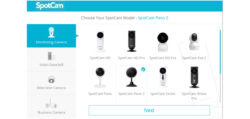
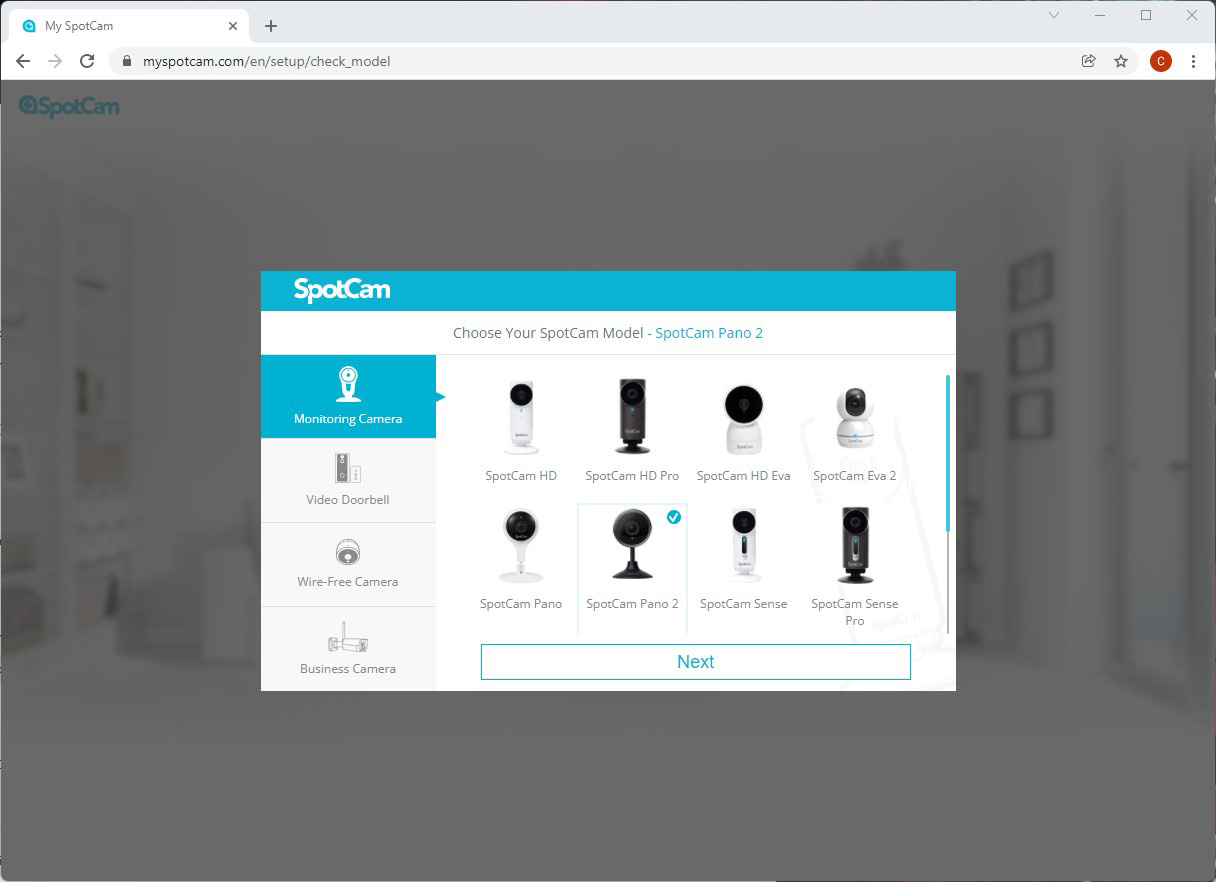
After clicking on “Lets get Started!” we select the Pano 2 and go to “Next”.
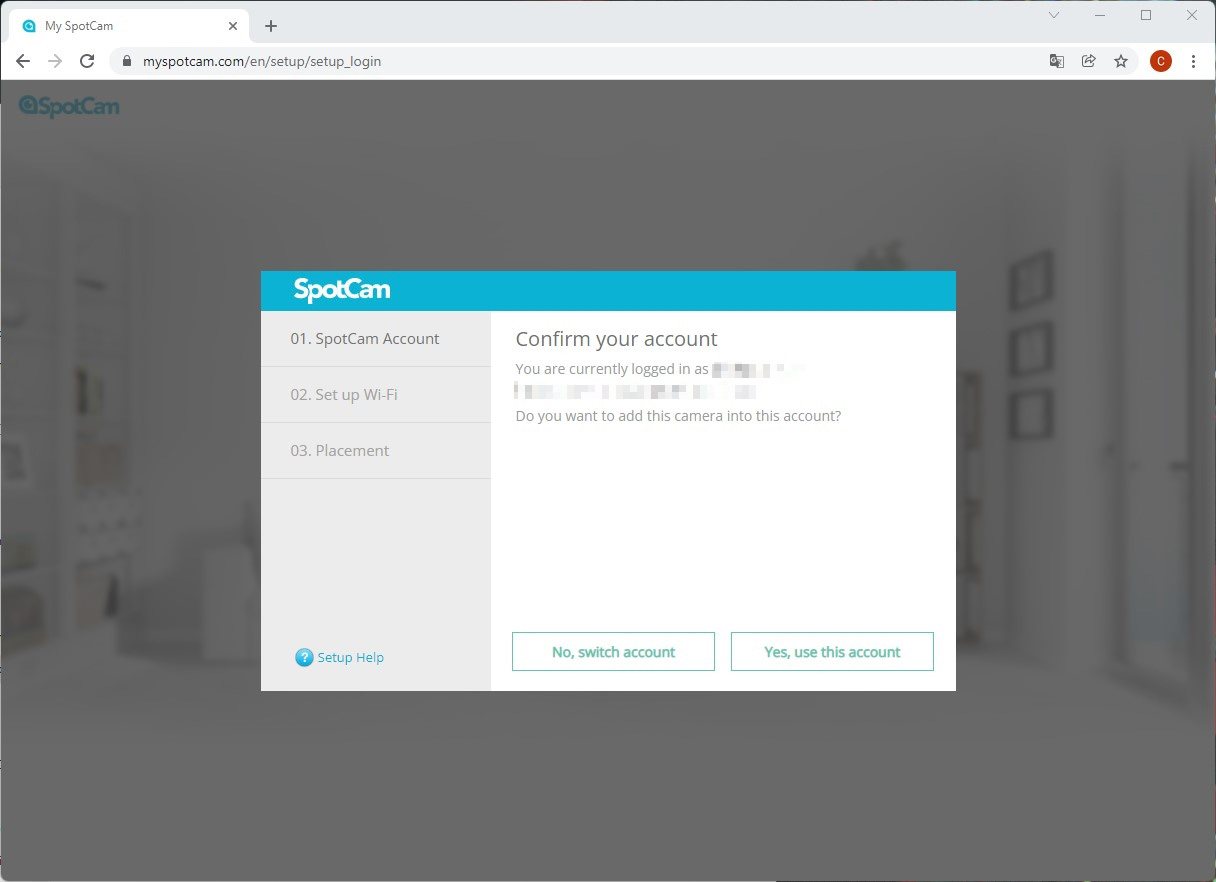
On the next page we log in with our account. If you have not created one yet, you can do so here.
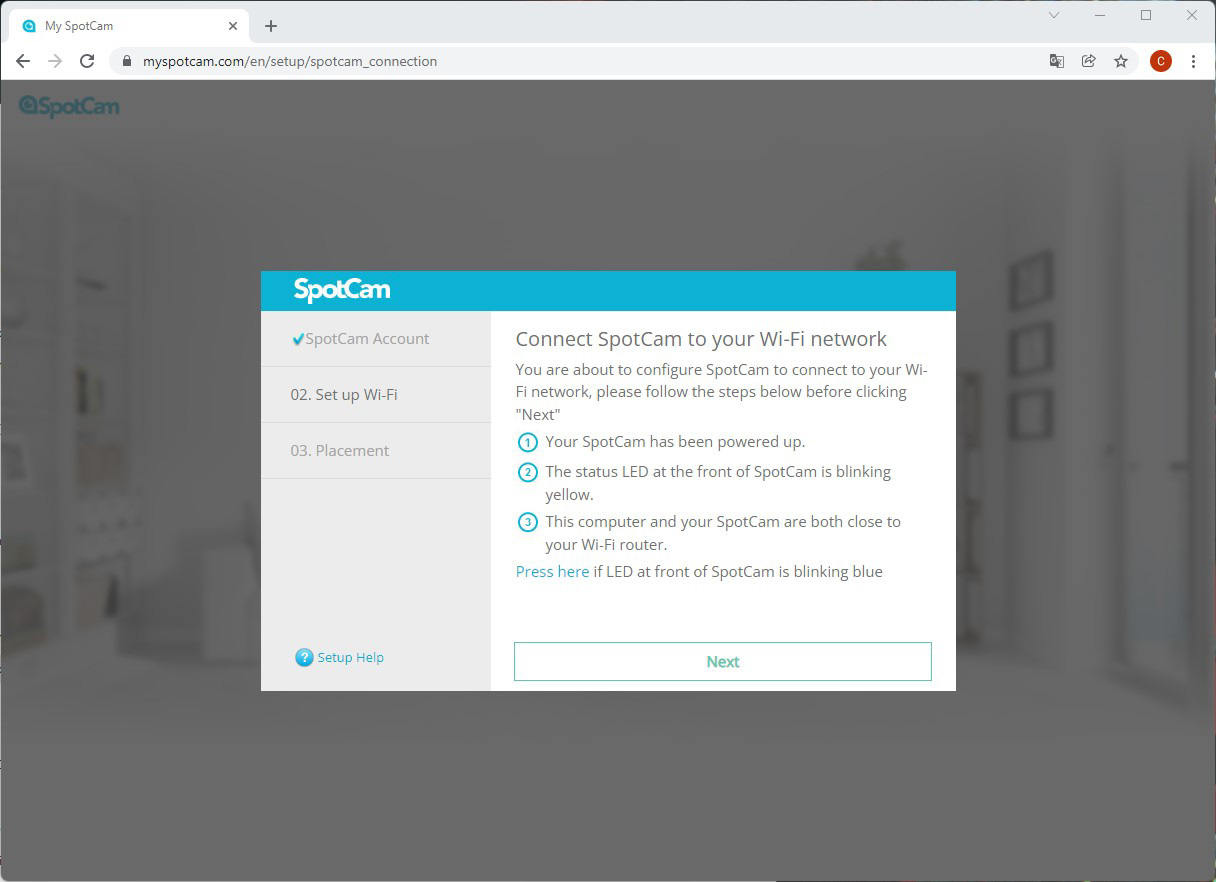
Connect WiFi …
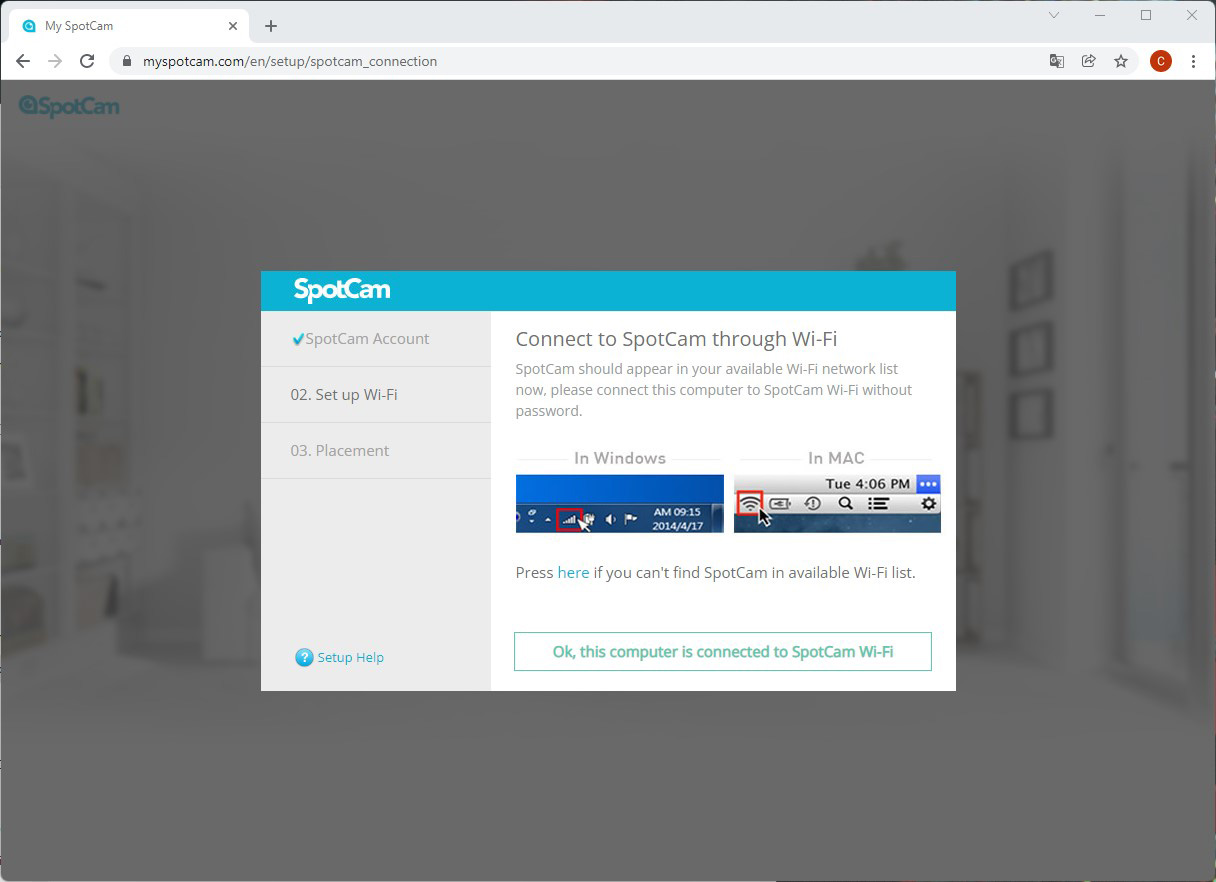
After that, it is mandatory to connect the PC to the direct device WiFi of the SpotCam. If the PC does not have WiFi, it is recommended to use a notebook.
Once you have done this, you can click on “OK, this computer is connected to SpotCam Wi-Fi”.
Disable 5 GHz WiFi …
For further setup, it is important that the WLAN of your own router only operates in the 2.4 GHz frequency band. If 5 GHz is enabled, the SpotCam will not be able to connect. Of course, you can reactivate the 5 GHz frequency band afterwards.
If everything went smoothly, select the WLAN you want to connect the SpotCam to …
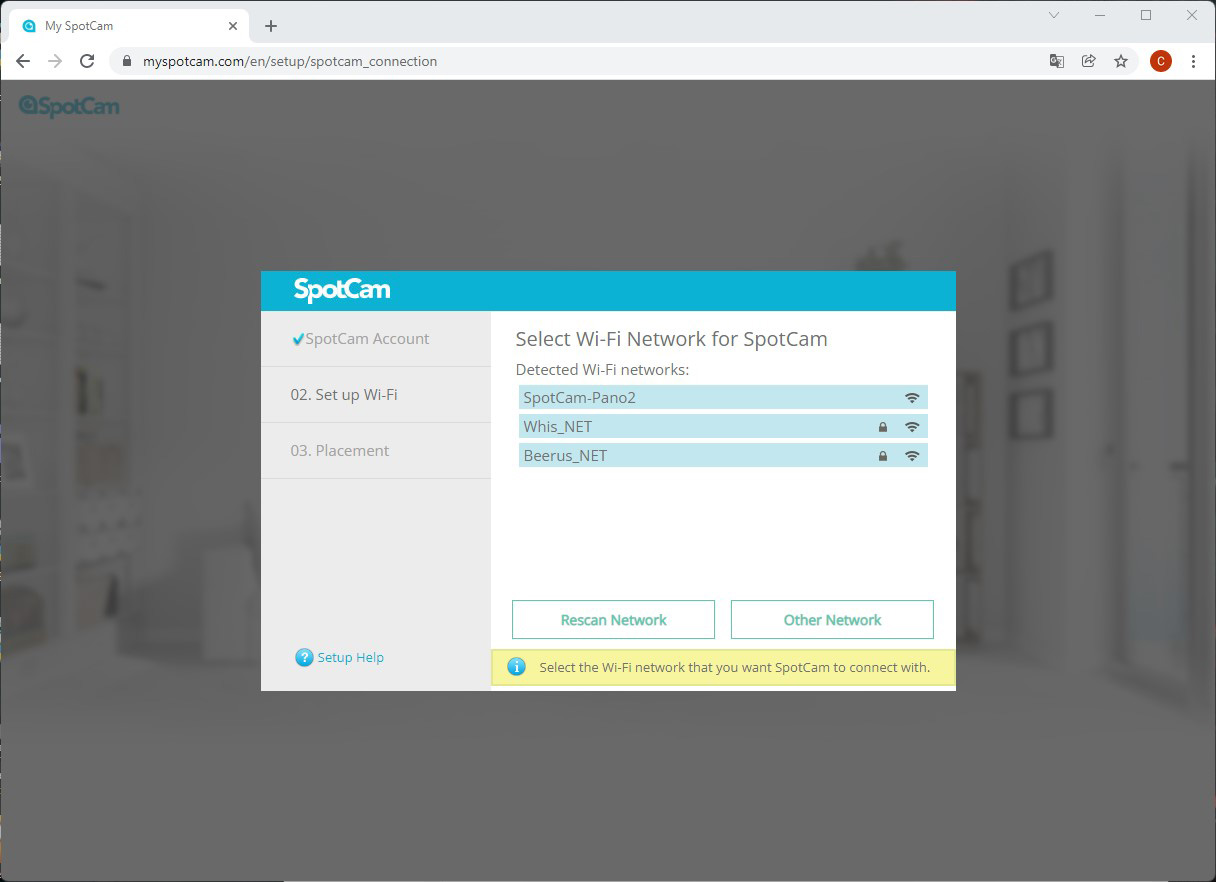
… and enter the corresponding password.
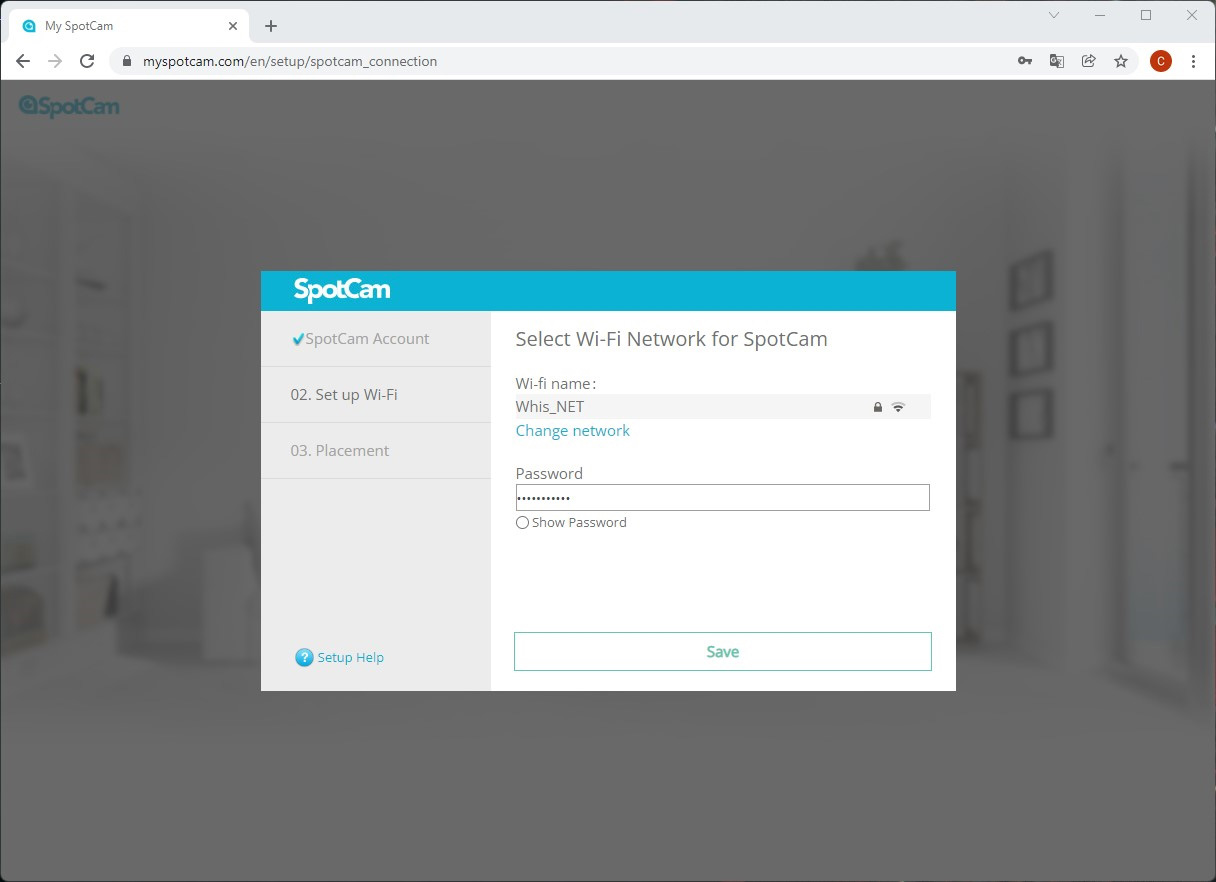
The hint that you should now connect to the correct WLAN of the router was probably forgotten.

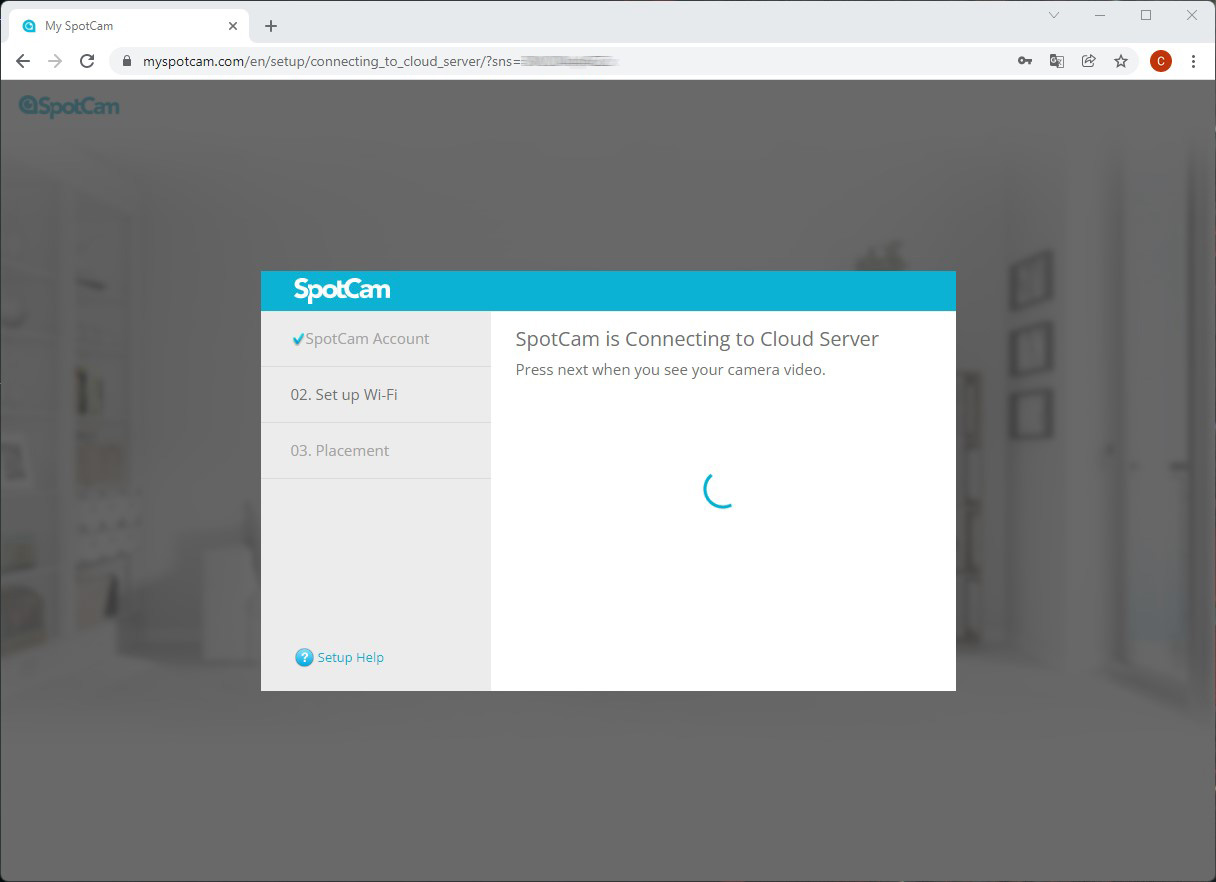
After connecting to our WLAN, the Pano 2 was finally introduced to the SpotCam Cloud Server.
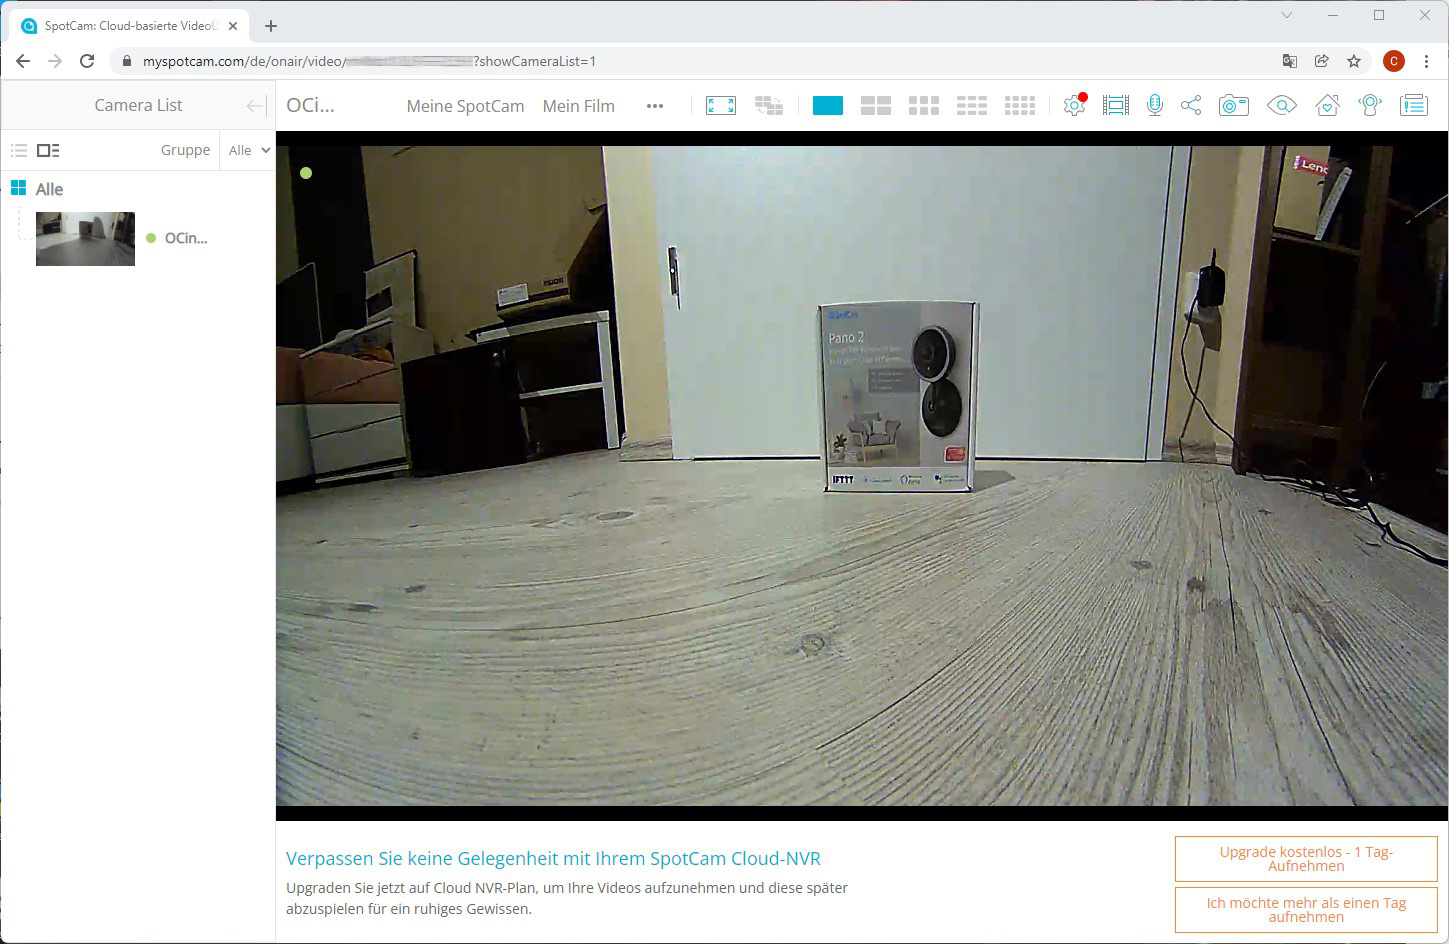
Finally, we can assign a name for the camera and set a time zone. With a hearty click on “Watch Now!” we should now be able to take the first picture.

And lo and behold, a few very long seconds later, we see an image in the browser.
Since most people will probably want to control the Pano 2 conveniently via the app of their smartphone, we will now take a look at it. The installation is very easy and since we have already set up the camera, we only need to log in with our account and we can already see our camera.
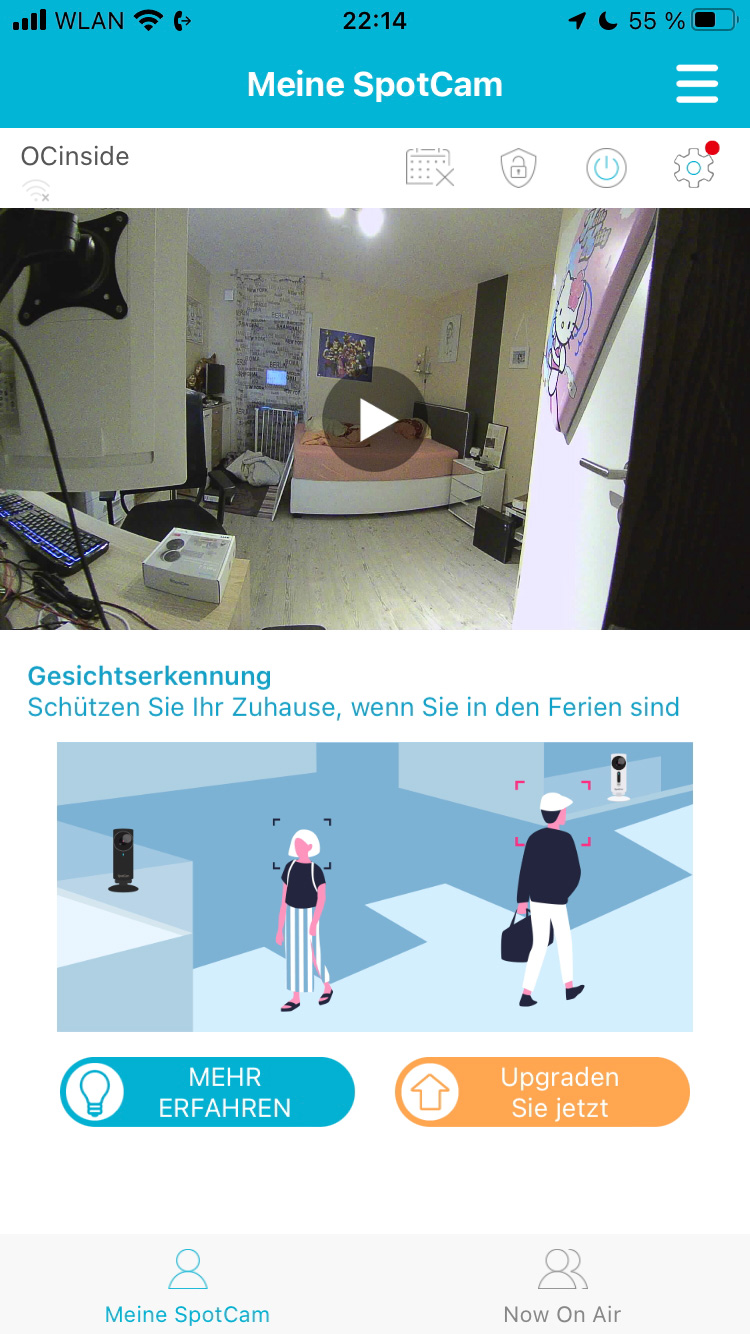
After selecting it, it takes a few seconds to connect to the camera. However, once the connection is established, the image can be seen almost without delay.
We have shown more tips and the settings options on the Practical testing page of the SpotCam Pano 2 review.
Read the SpotCam Pano 2 camera review …
Discuss in our forum and share experiences about the SpotCam Pano 2 …
Here you can buy the SpotCam Pano 2 at a reasonable price. *Ad