
Many people have already built a smarthome in their condo or house and would like to have a clear control of all smarthome components and perhaps even video surveillance and a central sound system in the house. We at Funkyhome.de have taken a close look at this and today we are starting with a complete tutorial on how to build a central Smarthome control on the wall or rather in the wall. We will not only show you how to install it, but also go into detail about the power supply, the power consumption and show the heat development on a thermal image. We wish you lots of fun and good luck with the J-Wall.
Don’t forget …
Very important, first we need the government’s approval, so that the house is not tilted in case of a failed attempt 😉
This is needed …
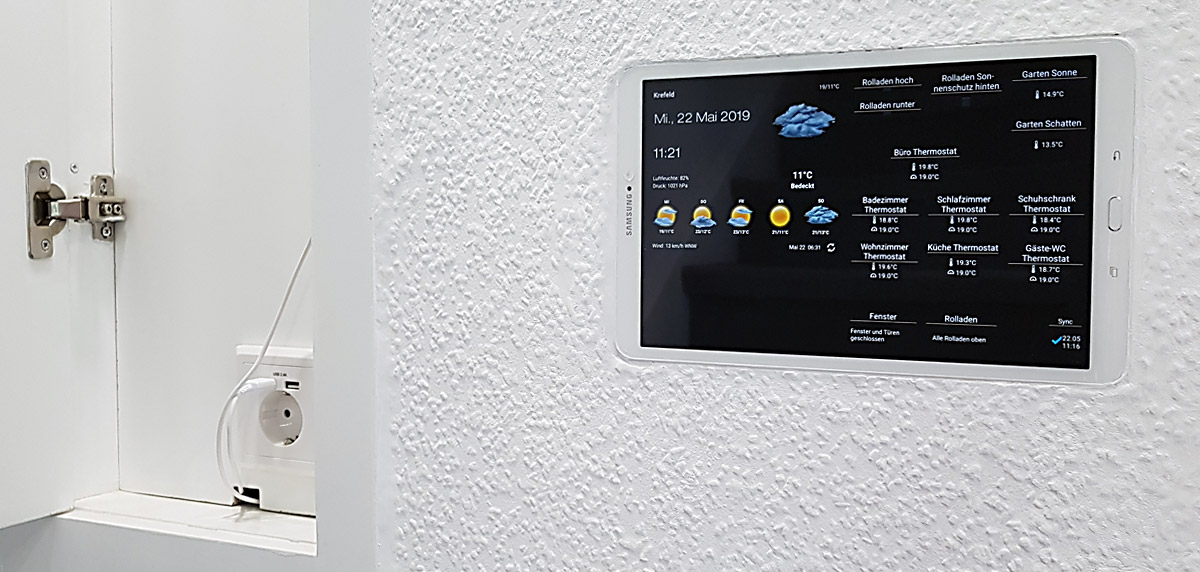
Next, we need a commercially available tablet. For the J-Wall project, we have decided to go for a solid Samsung Galaxy Tab A6 10.1 32GB. Furthermore, we have added a Screen Guard T580 Protective film and an EasyAcc T580 Protective cover ordered in addition.
We also have a Benon 11085 socket with USB connection ordered, but of course this is optional, as you can alternatively use the power supply unit supplied..
In addition to safety goggles, gloves and painter’s fleece, we also recommend a cordless screwdriver, which in our case is a Bosch Professional battery-powered impact drill GSB 18-2-LI Plus, a small drill bit, a cross bit, a 90° countersink or larger drill bit, in our case a very long 10mm drill bit, 4x cross countersunk screws, spirit level, cutter knife, spatula, flush-mounted device box or flush-mounted cavity wall box and a white acrylic cartridge with cartridge press.
Via Amazon *Ad you can buy all products at a reasonable price..
We continue with the introduction to the correct positioning and the recess in the wall …