
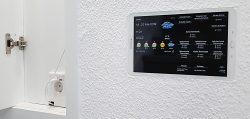
Mounting the Smarthome control panel on the wall …
First of all, we would like to briefly explain why we have decided to install the control panel permanently on the wall. We would also like to point out at this point that everyone is responsible for the implementation of the project and we do not accept any liability! If you are a renter, you should clarify this with your property owner beforehand. It was clear to us that a smarthome operation via smartphone or tablet is nice, but since these devices are always lying around somewhere, a fixed positioning was indispensable.
Then we thought about simply mounting the tablet on the wall. Since we didn’t want it to be a simple tablet wall mount, we tried to build a magnetic solution. The tablets are magnetic in various places so that a flip cover can be attached. Now we tried to hold the tablet on the wall using extremely strong Dyno magnets. The disc magnets would then later move under the wallpaper and hold the tablet almost invisibly on the wall. The charging function would then be solved via a Qi pad, so that the tablet could be attached to the wall absolutely without any holder!
So we marked out the magnetic points of the Samsung tablet with a transfer foil, mounted strong dynomagnets on each magnetic position on a test wall and tried out the solution in practice. This was successful, but not suitable for everyday use, as it was possible to wipe the tablet off the wall when wiping. The solution with the magnets and the Qi Pad is therefore first-class for something you don’t touch every day (e.g. for our J-Frame project as a wall PC). Nevertheless, you can try it and possibly implement it in a practical way with even stronger Dyno magnets in the wall.
But since we didn’t plan to take the tablet off the wall every day anyway, we don’t mourn the magnetic solution too much. Since no holder was to be attached to the wall, the only option left was to mount it in the wall 🙂
Cutout in the wall for the Smarthome control …
Before we cut open the wall, we should give some basic thought to the best possible position. On the one hand, the position should be chosen so that the new Smarthome control unit is easily accessible from all rooms, and on the other hand, care should be taken to ensure that the panel can be easily read by all residents in terms of height. Last but not least, no direct sunlight should shine on it so that the panel remains easily legible at all times and you should already think about the power supply, i.e. consider the nearest socket or power distributor for the power supply. In some cases, it might even make sense to drill a hole through the wall to accommodate the cabling in the other room, if necessary with audio cables. If a music centre is considered, the distances to the amplifier or the desired Bluetooth speakers should be kept as short as possible. Last but not least, you should of course also check with a cable finder whether the routing of the cables and the recess in the wall are possible.
Here again are all the decisive points for the best possible installation of the Smarthome control unit:
– Good accessibility, e.g. hallway
– Correct eye level for all persons in the household
– No reflections due to direct sunlight
– Good access to the nearest power socket or junction box
– Short distances around amplifier or Bluetooth speakers at music centre
In our practical example, a central point in the hallway was most suitable, even next to a former power box that was completely relocated to the basement during the house renovation and then rebuilt as a key box – with power supply, of course 😉
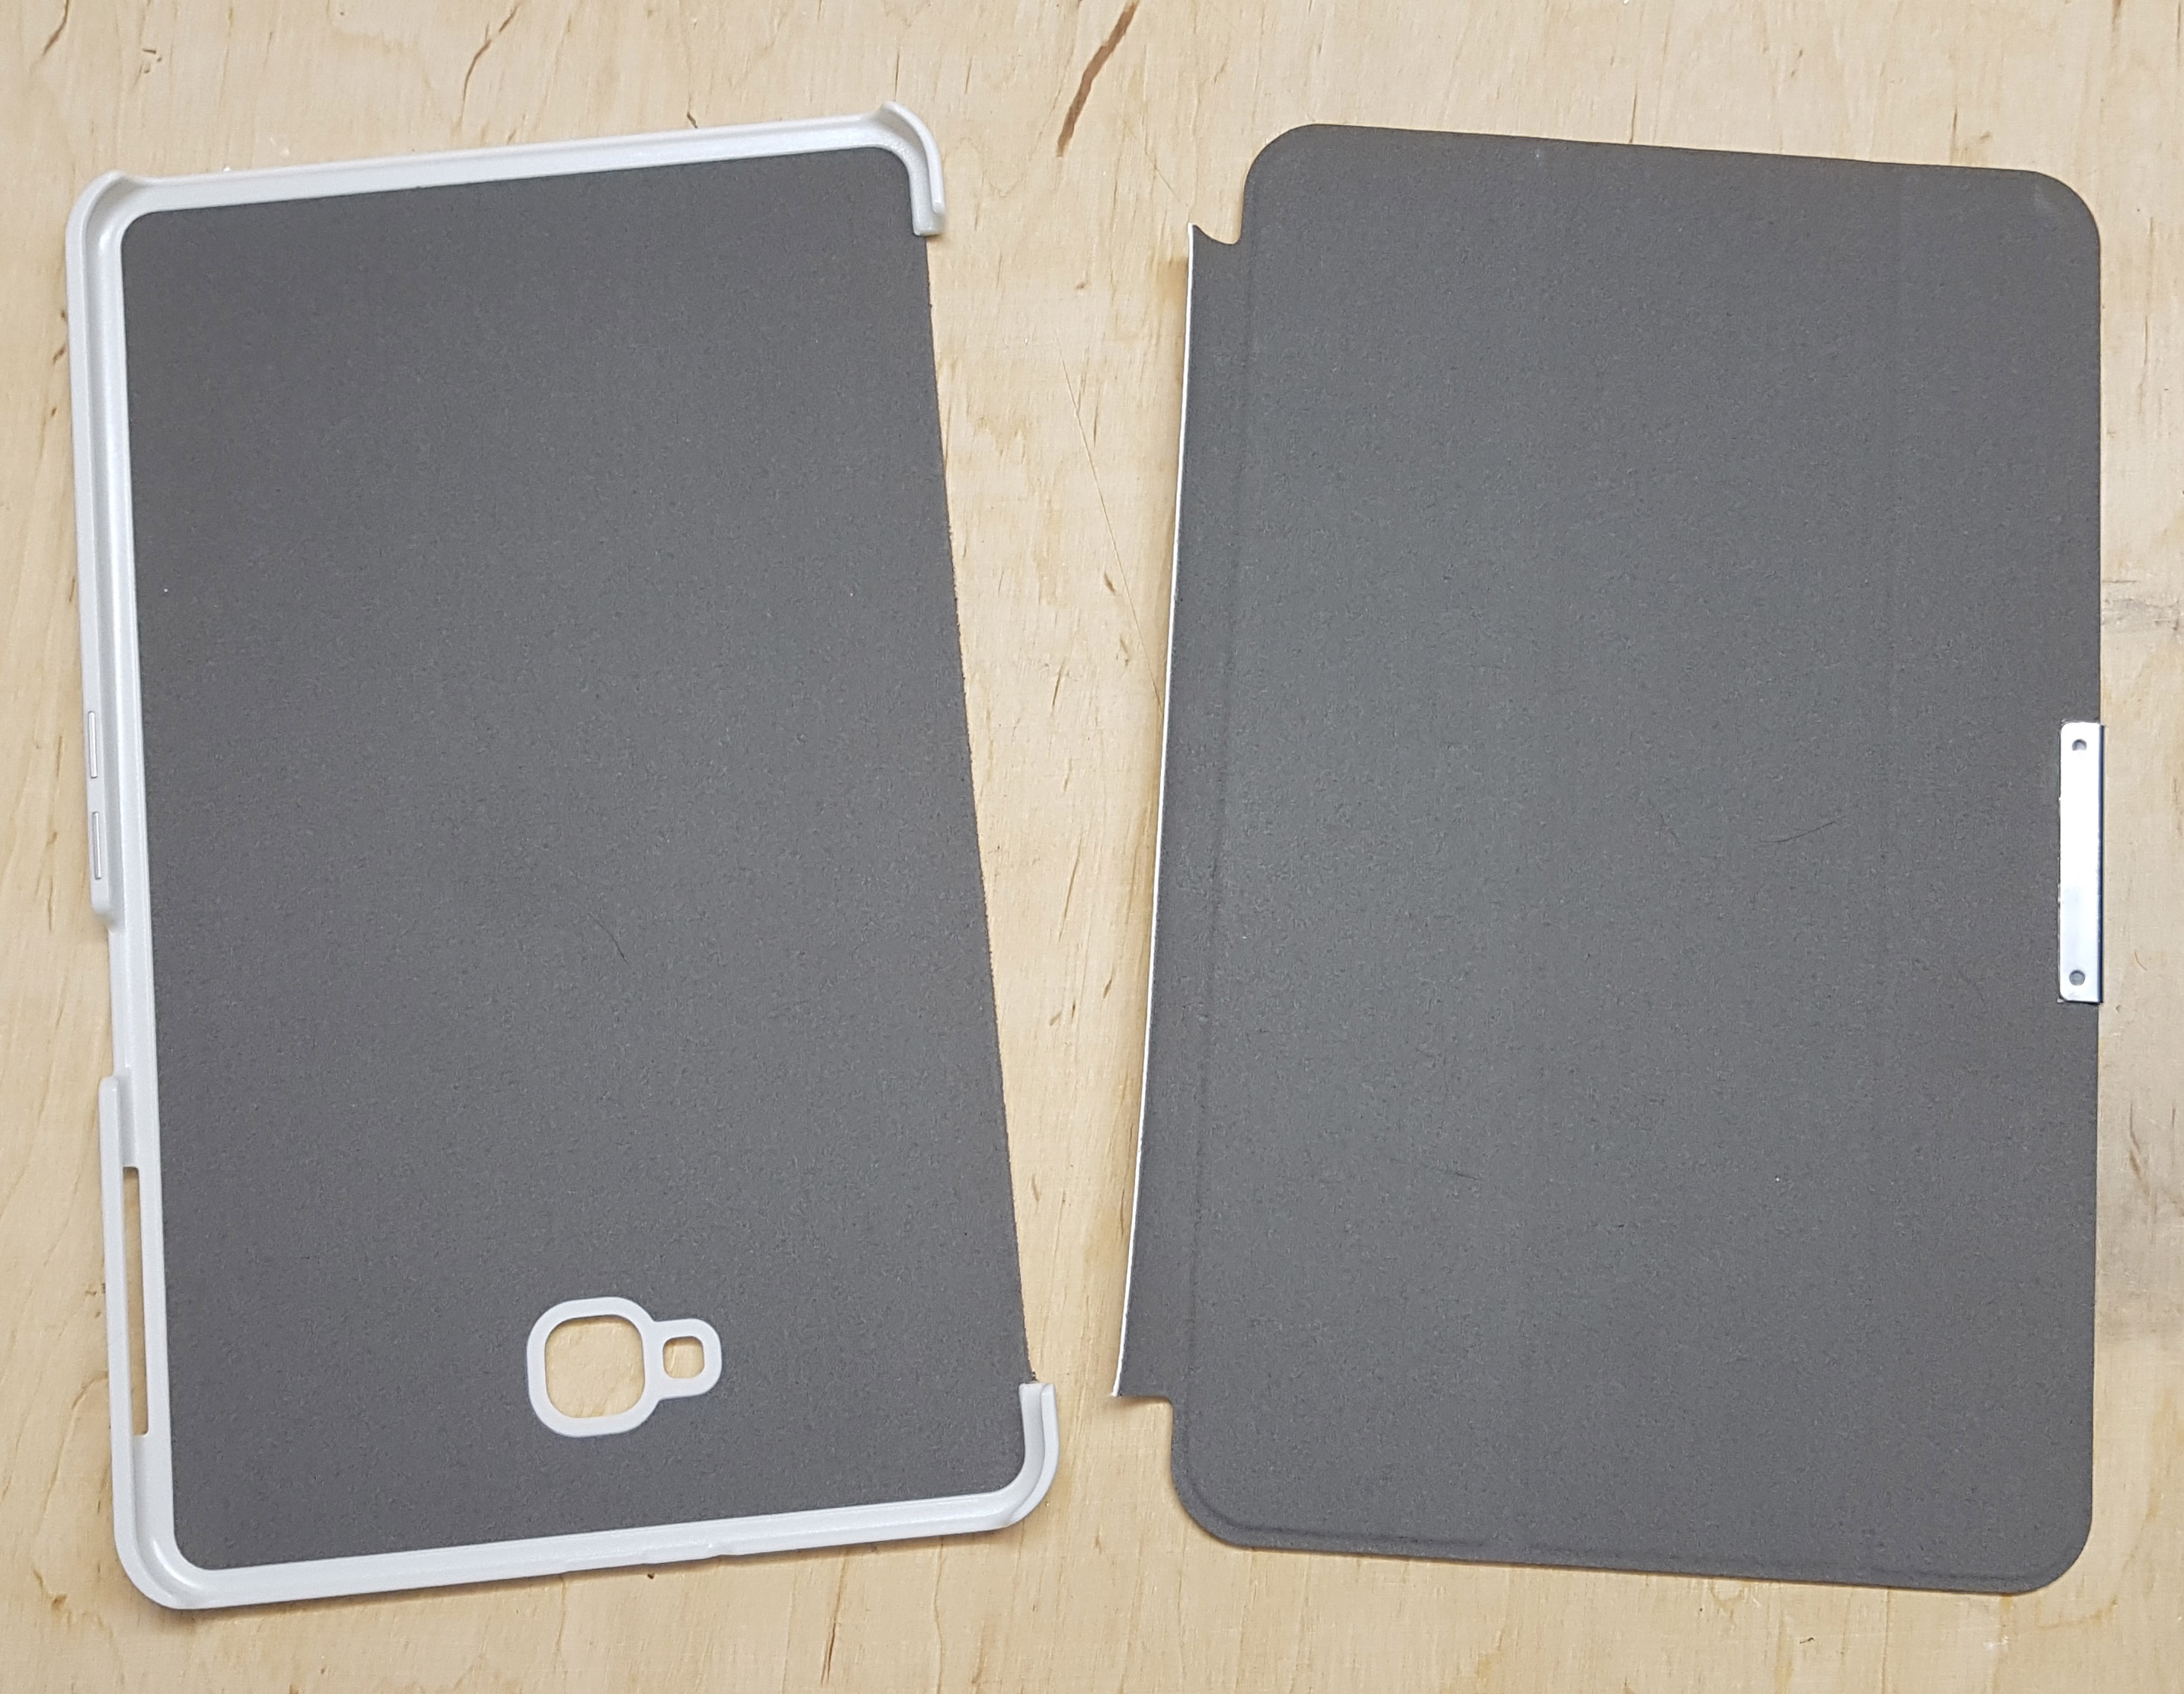
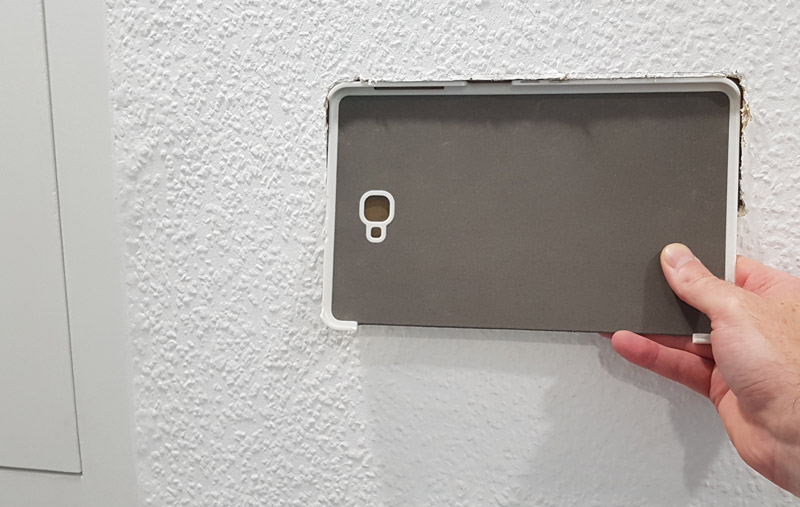
Continuing with the tablet holder, we obtain it from an ordinary tablet flip cover with a relatively strong back panel by cutting off the front cover using a cutter knife.
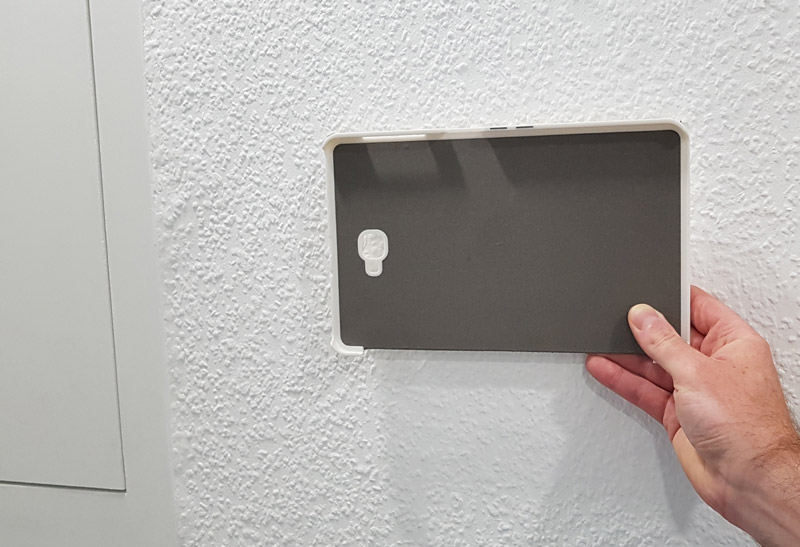
Now we hold the back of the Tablet Flip Cover against the wall to find the desired position and transfer the outline to the wall with a pencil.
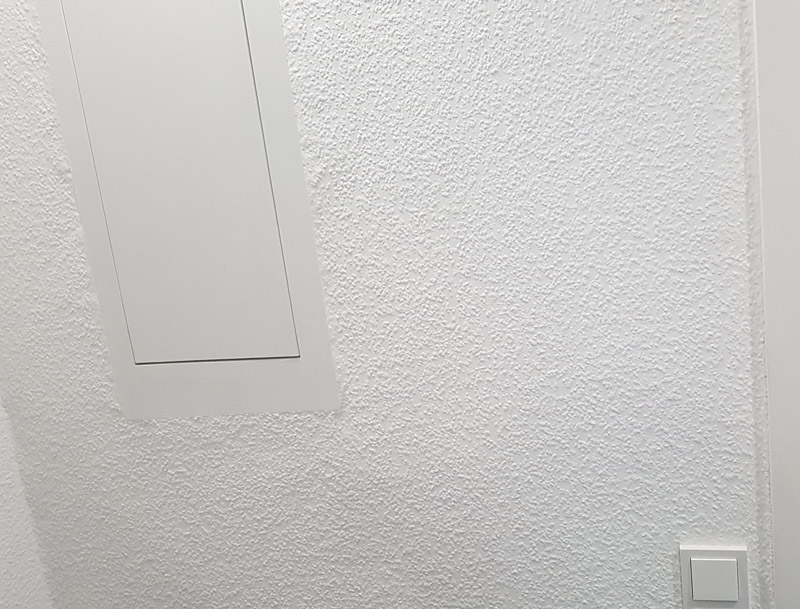
After that, we can already start to carefully process the wallpaper with the cutter knife. But be careful not to slip!
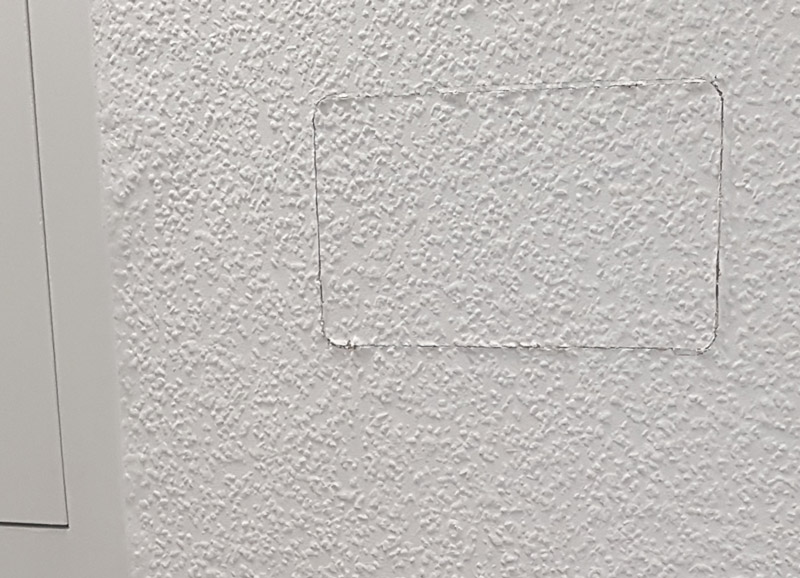
With a woodchip wallpaper, you should work a little better when cutting in, otherwise it could fray at the edges as here. The more difficult it is when the wallpaper has already been painted over several times and is therefore relatively thick. But since the wallpaper will soon be replaced with a non-woven wallpaper anyway, we are satisfied with the result after pulling the wallpaper.
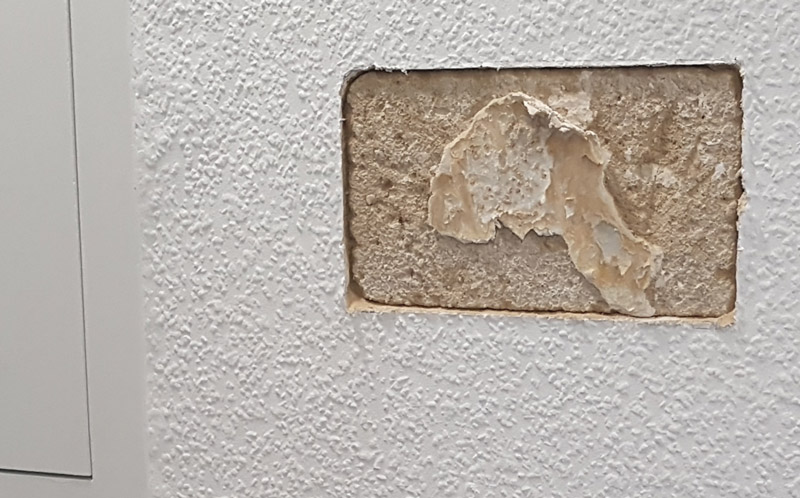
Now simply remove the excess plaster behind the wallpaper with a spatula. Since there is usually a good 1-2cm of plaster between the wallpaper and the stone wall on an interior wall (according to DIN 18550-1, the average plaster thickness must be 10mm), the thickness of the plaster should be perfectly sufficient for the thickness of the tablet including Wallmount.
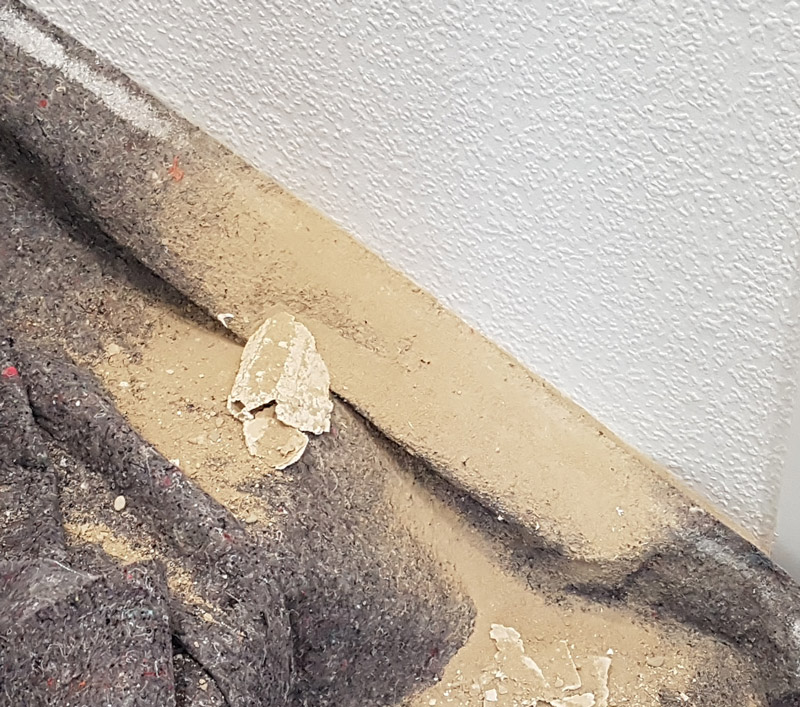
You don’t need heavy equipment for this, but it’s still quite a mess, so it’s better to put a painter’s fleece underneath beforehand.
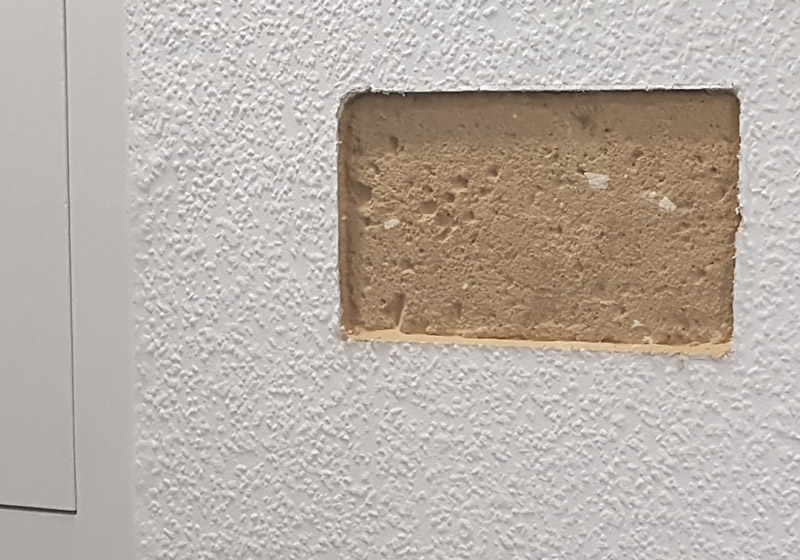
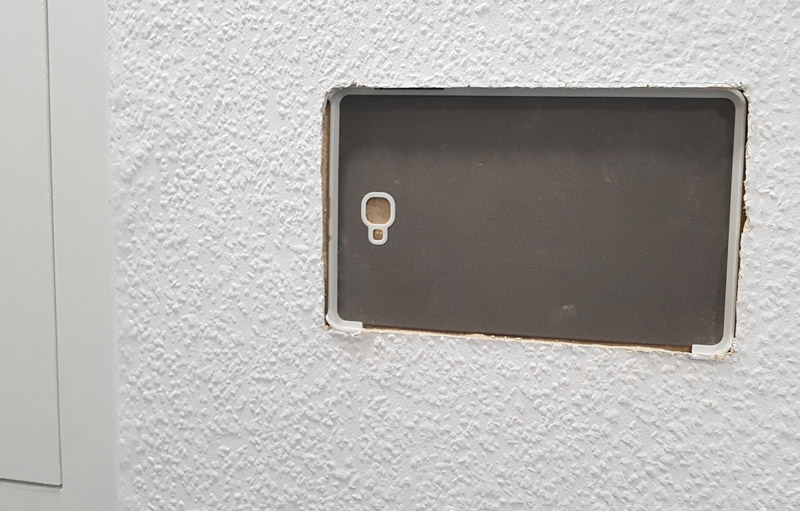
In between, hold the tablet backcover against the wall every now and then to check whether the thickness is sufficient for a flush result in all places.
Sits, fits and has air, so it should be!
We will do the final assembly later, for now we continue with the J-Wall power supply …