
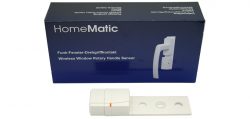
Layout, design and features …
As it is not a kit, we directly get a finished Window Rotary Handle Sensor. The Window Rotary Handle Sensor transmits the eccentric position and you can see whether the window or door handle is open, closed or tilted.
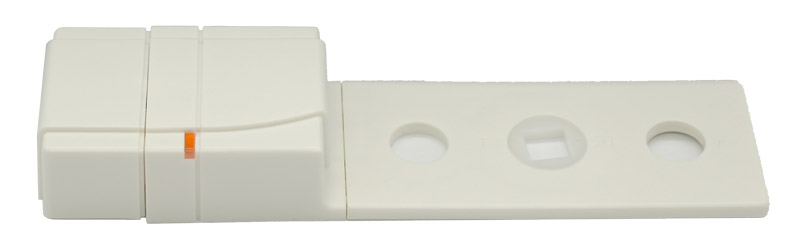
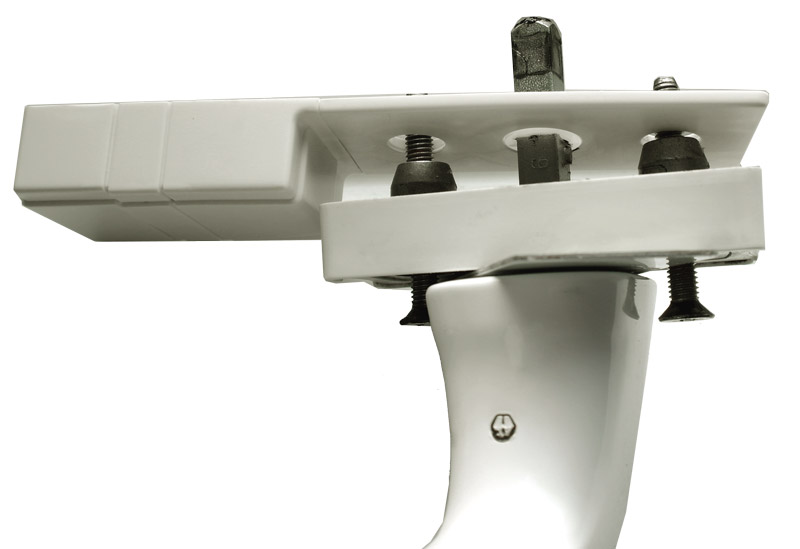
The window and door handle sensor is only about 16 mm deep at its thickest point and the thickness of the mounting surface is about 3 mm.
Before we can put the wireless rotary handle sensor into operation, we have to insert the two LR44 button cells supplied, which should last for about 2 years, depending on the stress. Under the lid there is also the teach-in button, which you operate with a pointed object, and at the bottom (next to the e on eQ-3) there is even a sabotage sensor. Unfortunately, the lid sits extremely loosely on the Window Rotary Handle Sensor, so that it can fall off when the door or window handle is operated later on, thus triggering the sabotage detection.
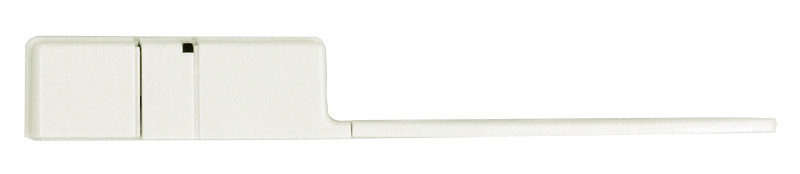
A short dry run after the training (instructions here) shows us in the Homematic CCU2 control panel, which position the door handle is currently in. In addition, a small “R” (right-hinged door) and an “L” (left-hinged door) as well as a small arrow on the eccentric help to carry out the installation correctly.
Now place the window or door handle horizontally (i.e. open), lift the small metal plate on the handle slightly and turn it sideways away.
Then loosen the two cross screws and unscrew them completely.
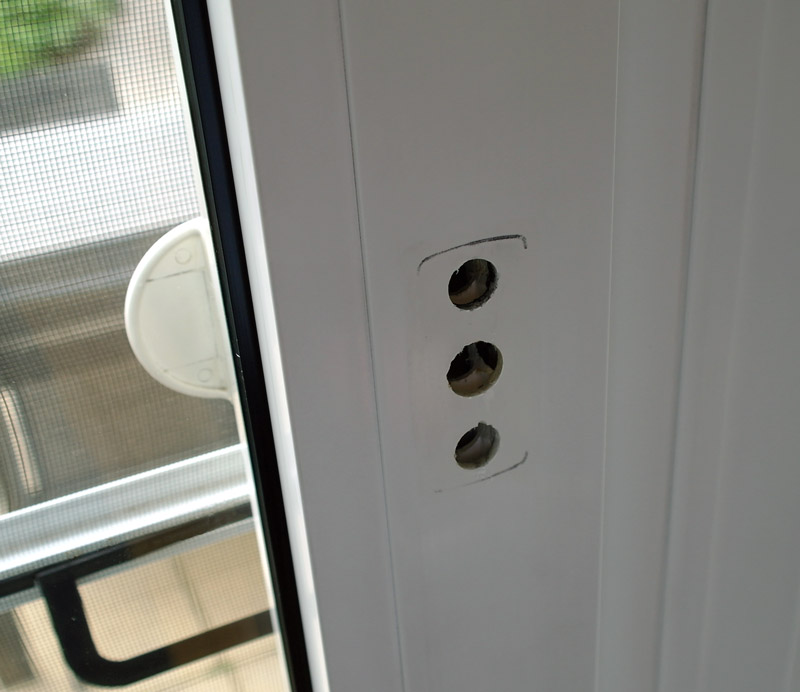
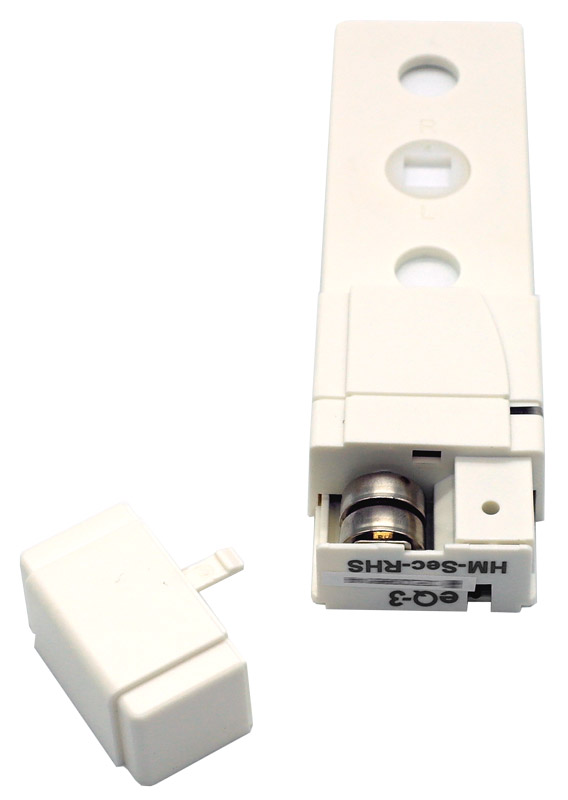
Now put the Window Rotary Handle Sensor in the correct position (note R/L) on the square of the handle … but why doesn’t it fit? Unfortunately the drillings with 10mm were too small, because our handle needed 11mm drillings. Furthermore the square has two notches, which prevent the eccentric from fitting. These were also mentioned in the Homematic manual and should be filed off or just print a new part with a 3D printer. Without further ado, we filed the square notch of the handle a little bit with a file and drilled the two holes a little bit. Annoying as it takes time and is additional work, but eQ-3 still points out that the Window Rotary Handle Sensor is suitable for standard window handles with 7 mm square spindle and support cams with 10 mm diameter and 43 mm hole spacing. A roof window or velux window, for example, usually has an 8 mm square spindle, so that even then you would have to rework something with a file.
After this minor reworking of the Window Rotary Handle Sensor, the installation worked without further incidents.
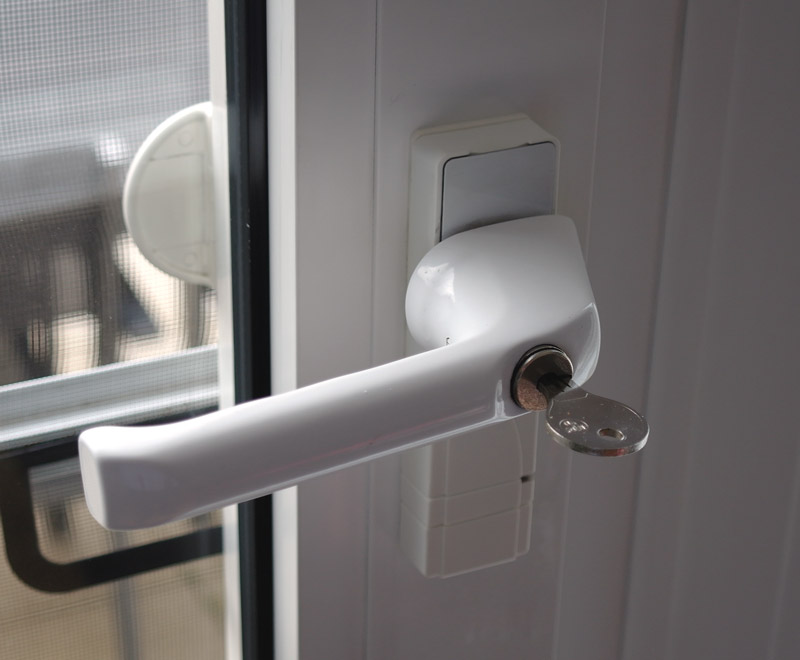
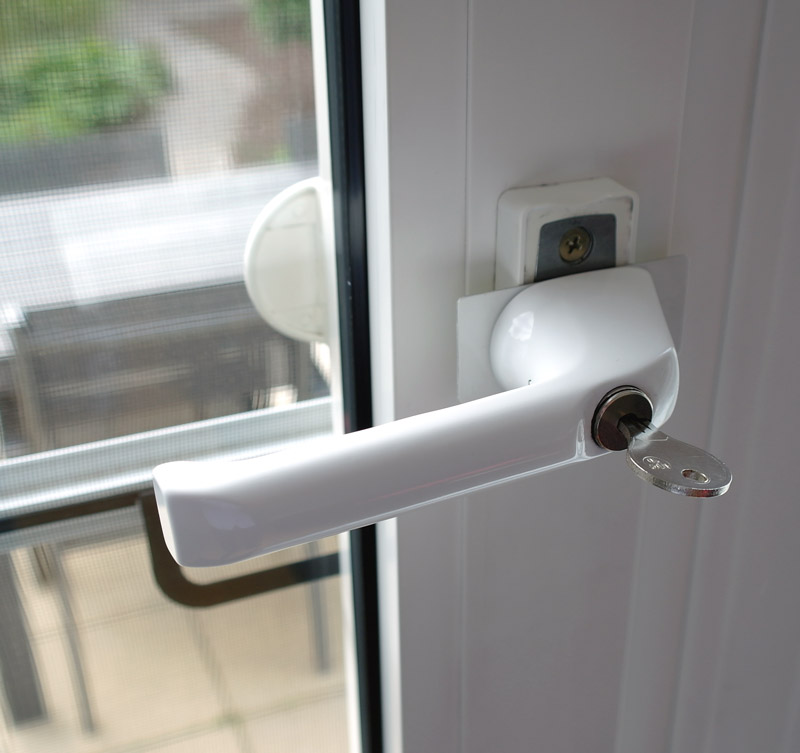
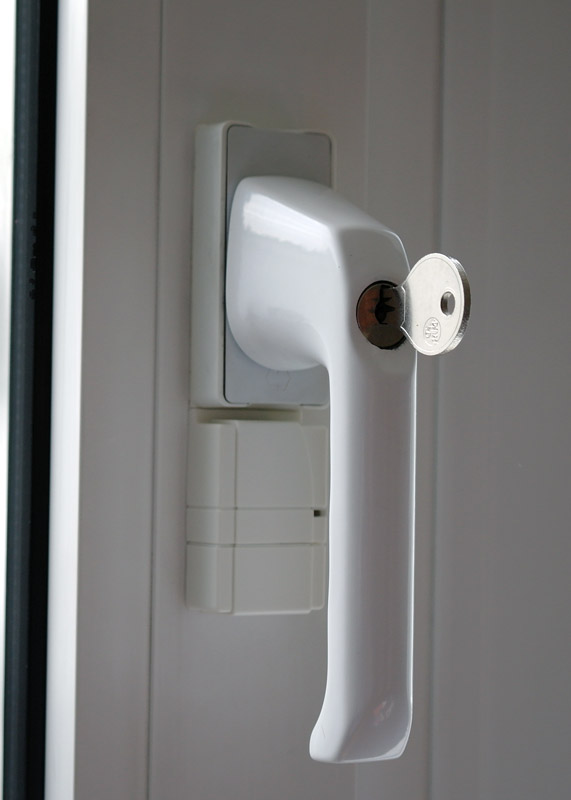
This is what the fully assembled Homematic wireless window rotary handle sensor under the door handle looks like.
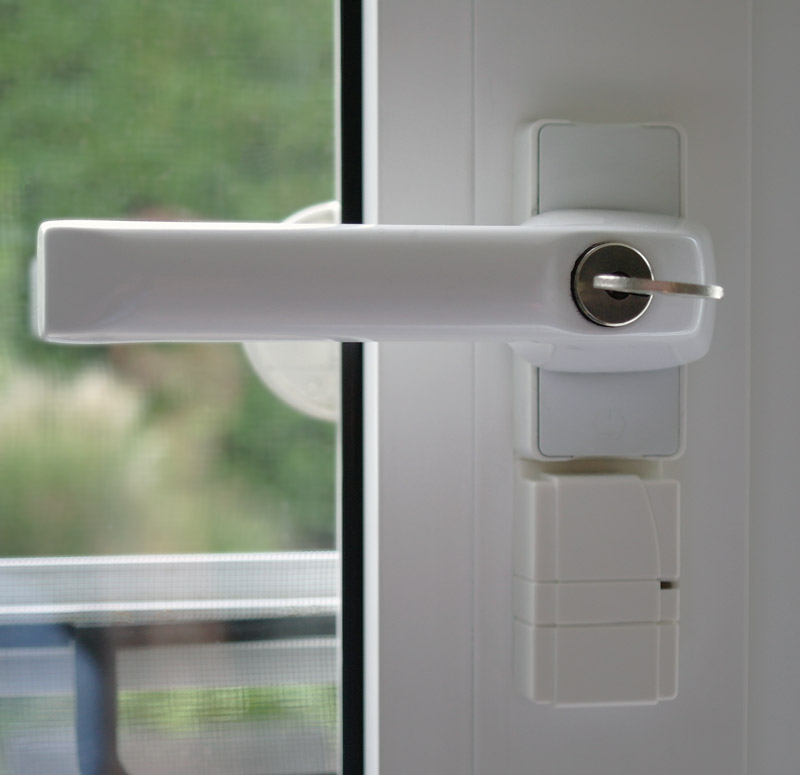
Here you can see again the opened door handle with the Window Rotary Handle Sensor below.
Let us now turn to the setup of the Window Rotary Handle Sensor and the eQ-3 Window Rotary Handle Sensor evaluation in practice.
Homematic Window Rotary Handle Sensor Practical testing …