
In the new tutorial for learning the Homematic Window Sensor for beginners we show on Funkyhome.de how to teach a eQ-3 Homematic Window Sensor to the Homematic CCU2 control unit, how to set up the wireless door contact or window sensor and how to solve possible problems with the Homematic Window Sensor.
Here you can buy the Homematic Sensor. *Ad
Teaching the Windows sensor to the Homematic CCU2 …
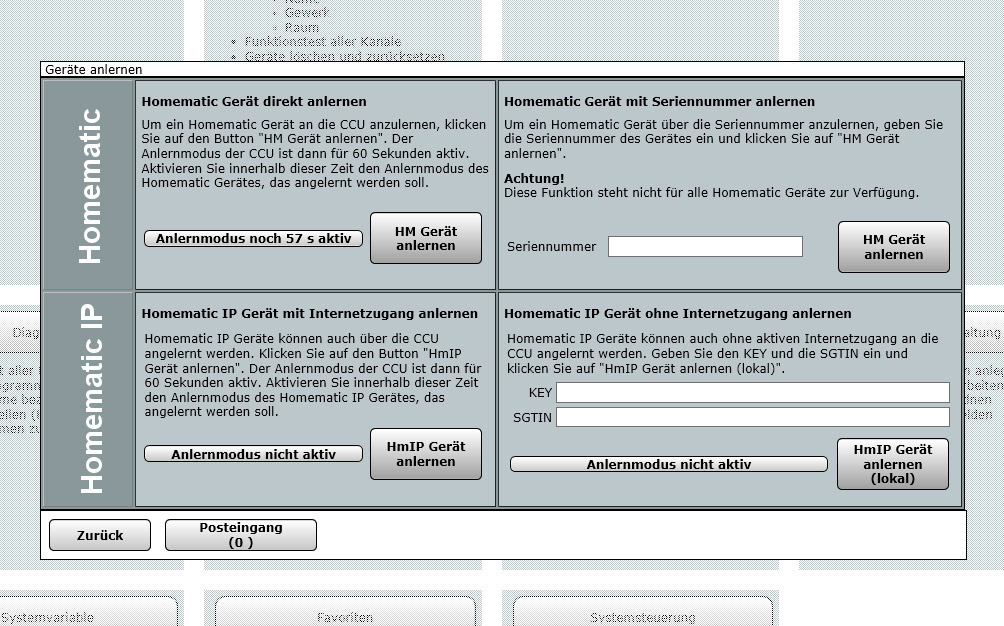
To teach the window sensor to the CCU2, after opening the Homematic CCU2 surface top right, first select Teach devices and start the teach mode with the Teach HM devices button. Now the central unit waits approx. 60 seconds for new devices. Press the Config button to switch the device you want to connect to the central unit into teach-in mode. Alternatively you can also enter the serial number directly in the field next to it.
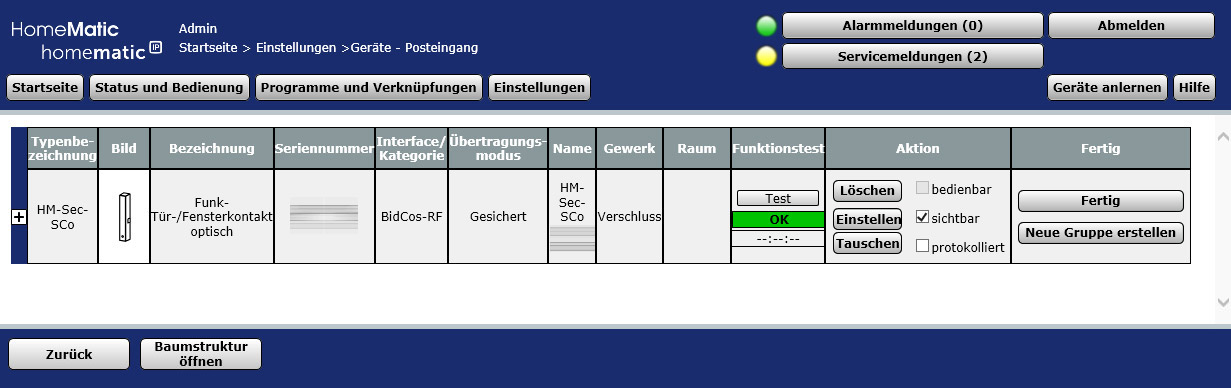
Then click on the inbox, where the learned devices can now be found. So don’t be surprised if the device does not appear immediately in CCU2, it must first be confirmed via the inbox! Now you can rename, assign, program dependencies and adjust them with the previously mentioned points. Here you can see the Window Sensor HM-Sec-SCo, which is the subject of today’s instruction, which we tested in the Homematic Window Sensor Review.
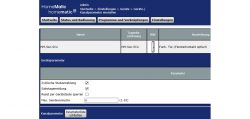
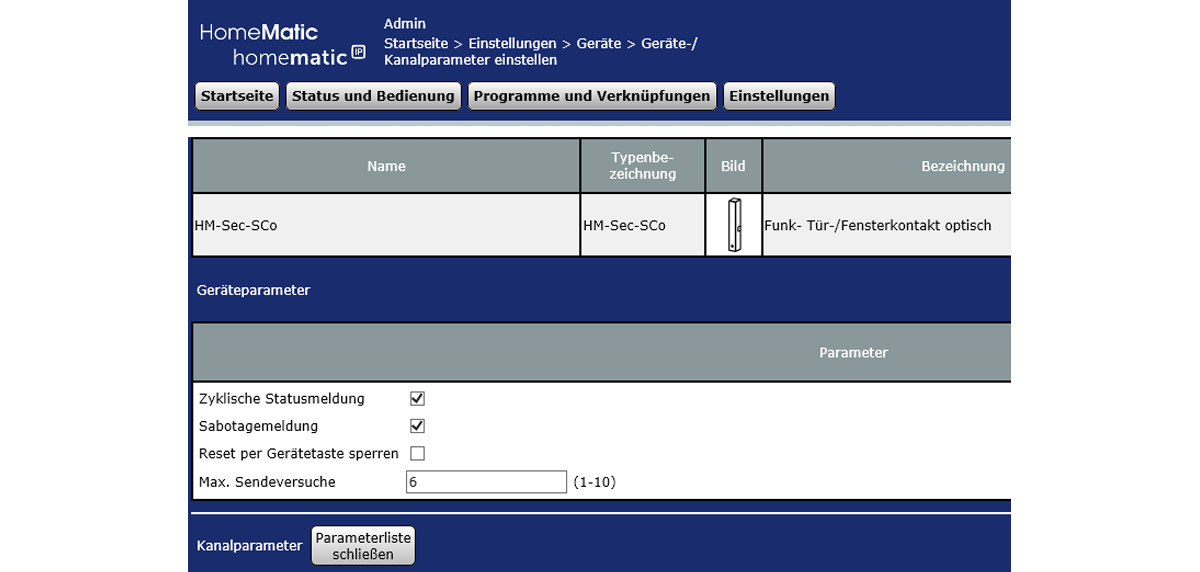
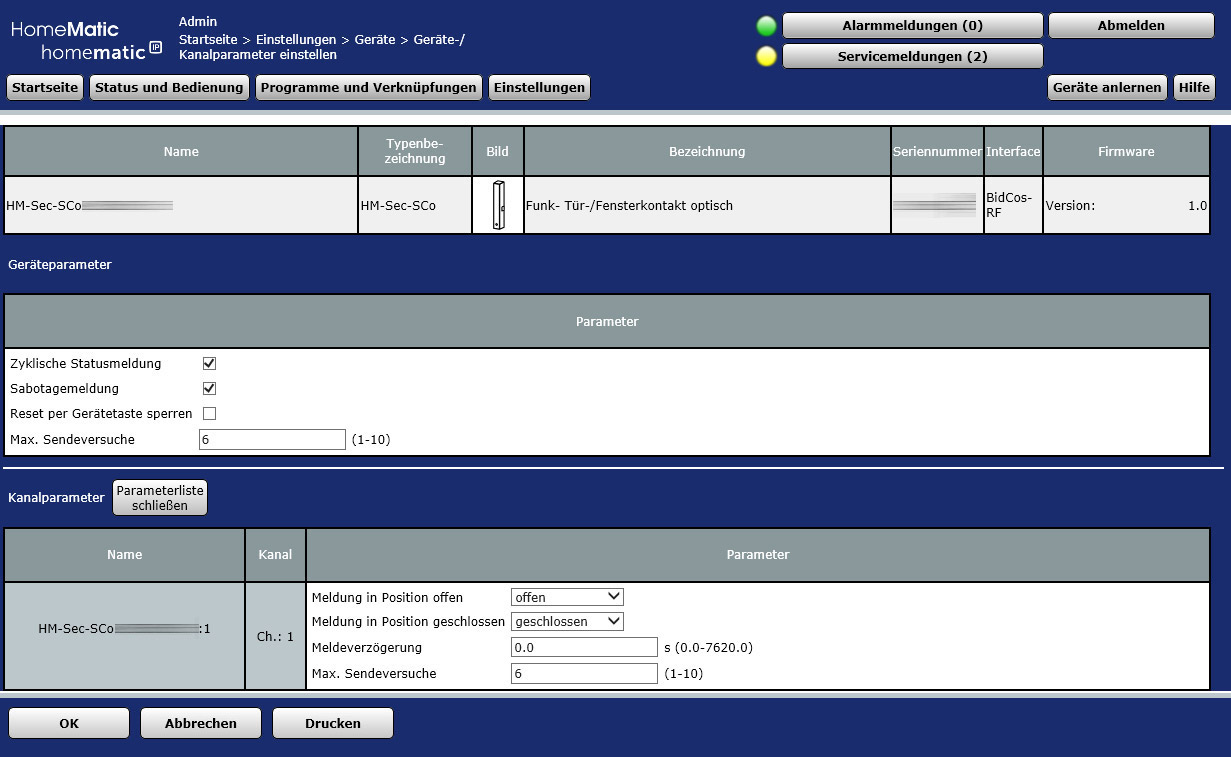
We can now already adjust some Window Sensor basic settings via “Set” or later via Settings -> Devices -> Setup. There you find the cyclic status message, reset by device key lock, the sabotage message when removing the cover, the maximum transmission attempts and channel parameters. At the Window Sensor channel parameters you can change e.g. open and closed.
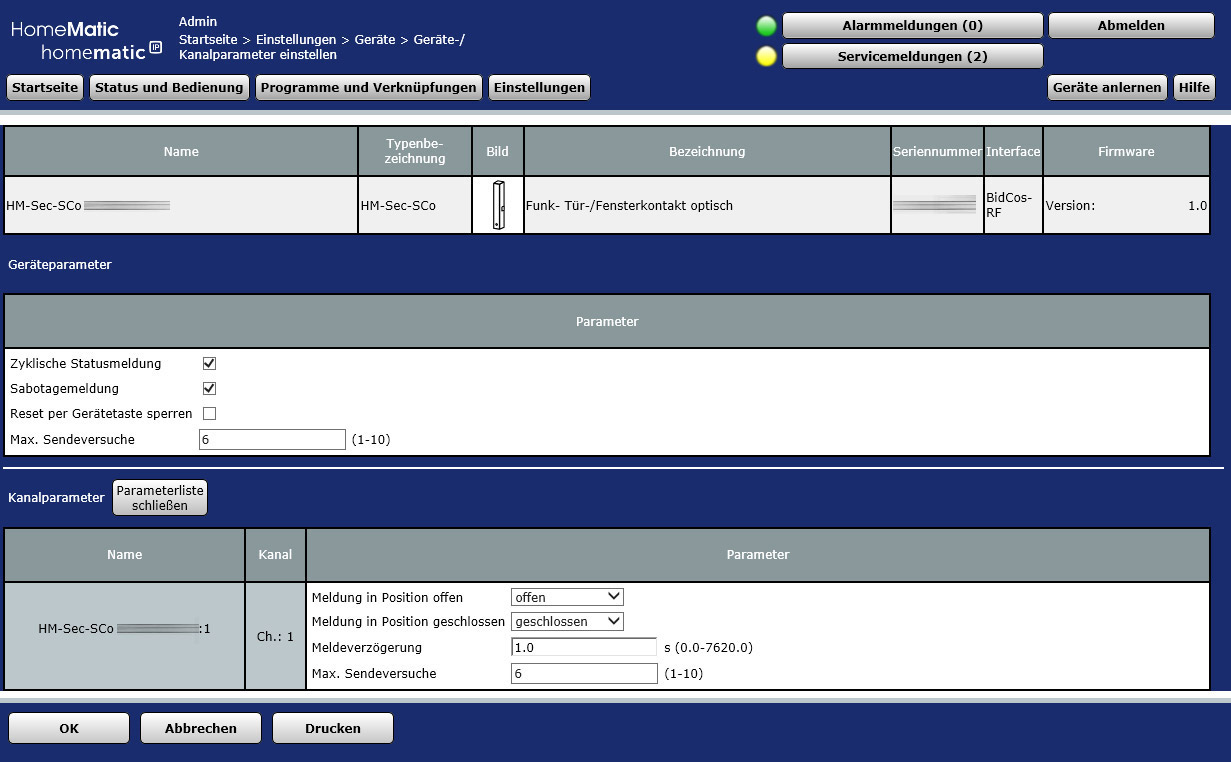
If there are problems with the Window Sensor during transmission, you can increase the maximum transmission attempts and set a message delay of 1 second. This is especially useful to suppress short window opening (e.g. when directly linked to a thermostat or for later programs).
If we save these settings with OK, we first get an error message “The transfer to the device could not be performed properly. Select Check again or Ignore”.
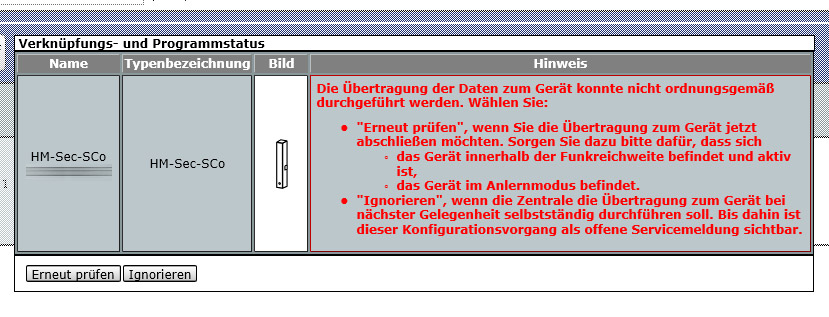
The solution is obvious, because the window sensor is not continuously connected to the central unit, but can be easily moved to a connection by means of the learn button in order to get the new settings immediately.

Now we find the Window Sensor via Settings -> Devices.
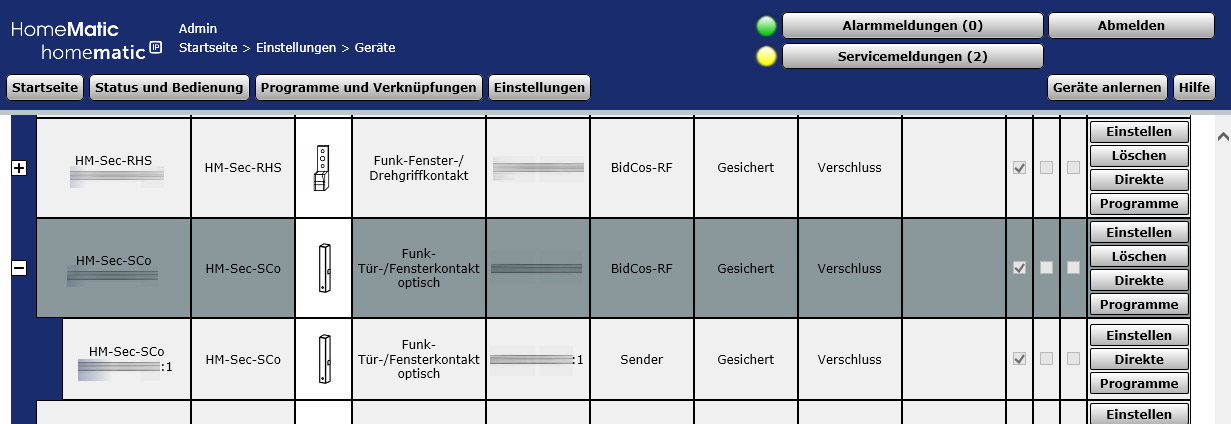
But since the name HM-Sec-SCo followed by the serial number is not too memorable …
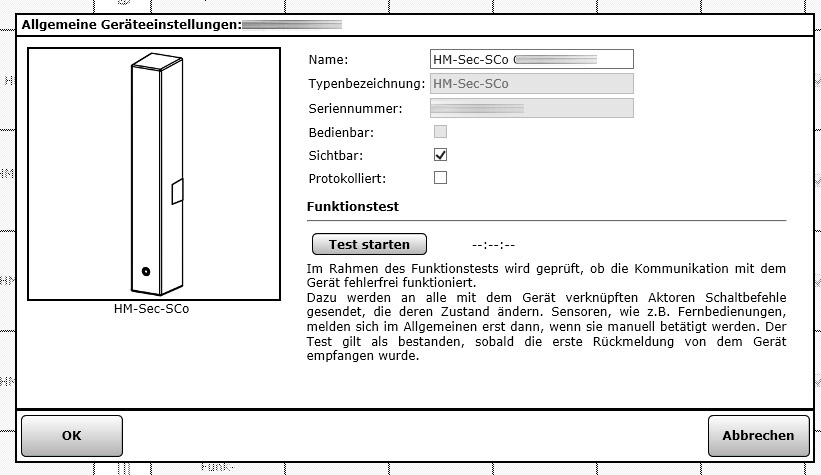
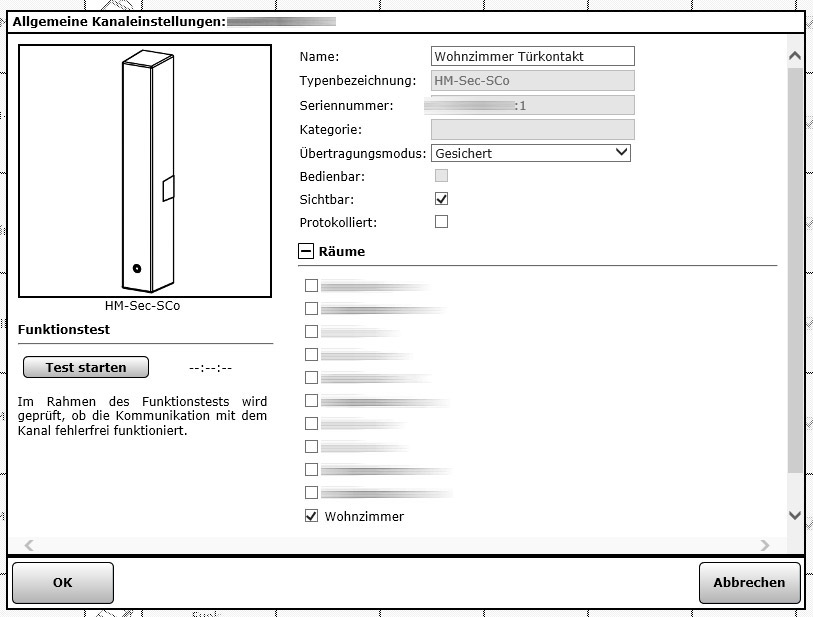
… we can change it with a short click on the name – for example in Living room door contact. If you like, you can also start a short test of the twist grip contact there.

Now the name is already correct, but the assigned room is still missing. We can assign it via Settings -> Rooms or with a click on the room field in the general channel settings. You can or should assign a room to the Homematic Window Sensor or to each Homematic device, so that you can easily find it later e.g. via an app. In the general channel settings you can also choose if you want to transfer the data securely and if the window sensor should be visible.
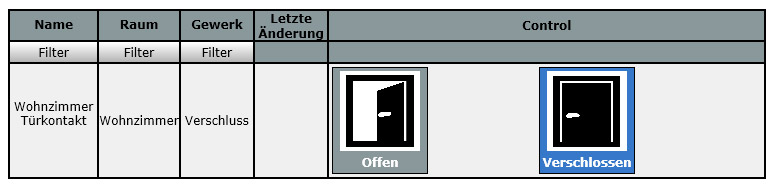
Last but not least, we can test the Homematic Window Sensor once again via “Status and Operation -> Devices” and determine whether the Homematic CCU2 or CCU3 control unit detects the correct status of the windows or doors.
That was it, at least with the teaching of the Homematic Window Sensor to the control center. We hope that this little tutorial helped with the window sensor training and if you have any questions we will help you as usual in our Smarthome Forum.
Read the Homematic Window Sensor review …
Discuss in our forum and share experiences about the Window Sensor …
Here you can buy the Homematic Window Sensor at a reasonable price. *Ad