
Practical testing …
As we already mentioned in the previous Homematic CCU2 Test, many Homematic products can be used as standalone devices. It is therefore not always necessary to purchase a Homematic control unit. The Homematic devices can usually be connected without a central unit, but in the case of the Homematic E-Paper Displays or OLED Displays the Homematic control unit not only facilitates the setup and management of the Smarthome devices but is also indispensable for programming these displays!
Homematic OLED Status Display Initial setup …
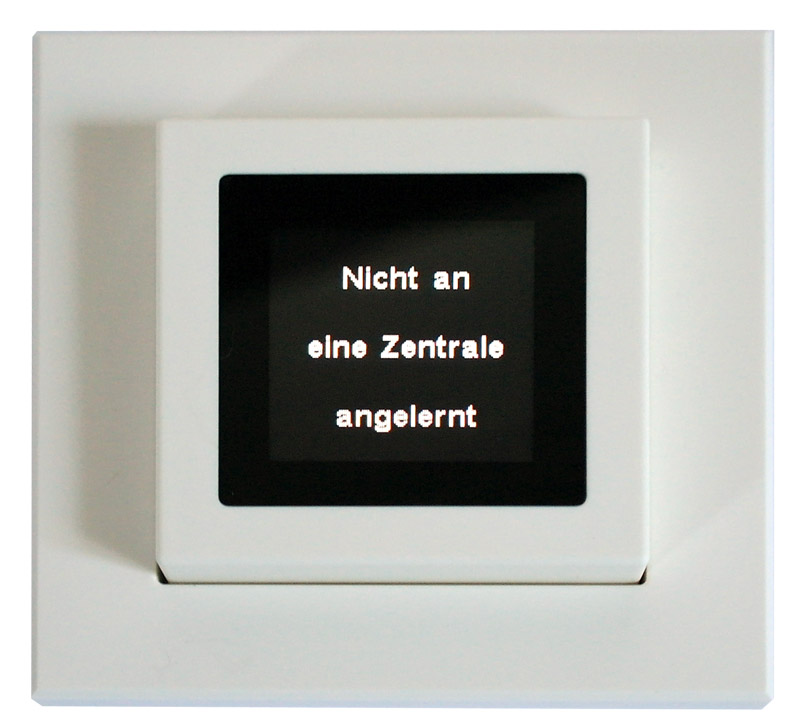
The initial setup of the Homematic OLED Status Display is very easy. All you need is the Config button below the display, which is used to connect the status display to the central unit. The display is then controlled by radio via the central unit and the buttons are assigned to the desired functions.
OLED Teach the status display to the Homematic CCU2 …
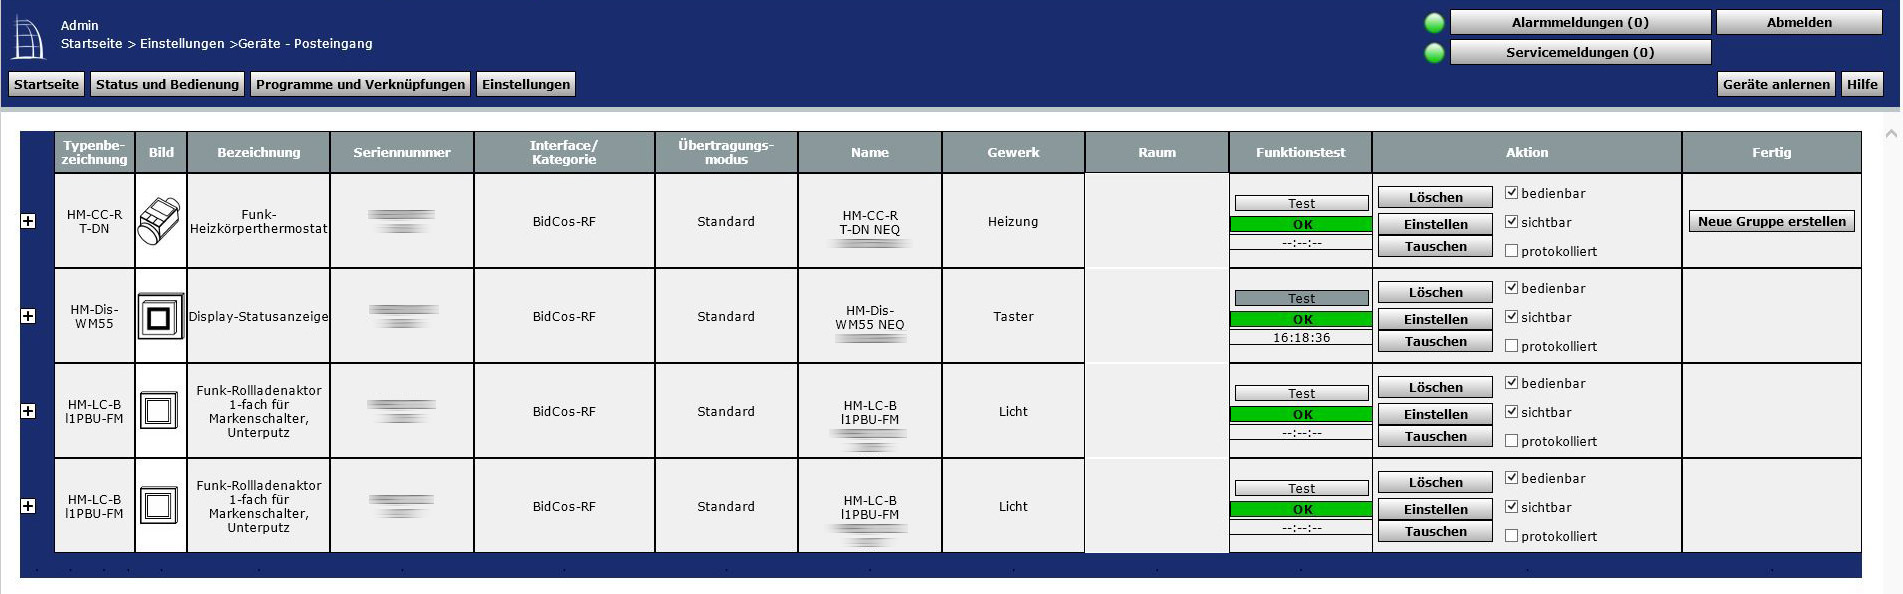
Teaching the OLED status display to the CCU2 control unit is quickly completed. We have explained exactly how this works in this small Homematic OLED Status Display Teaching Tutorial.
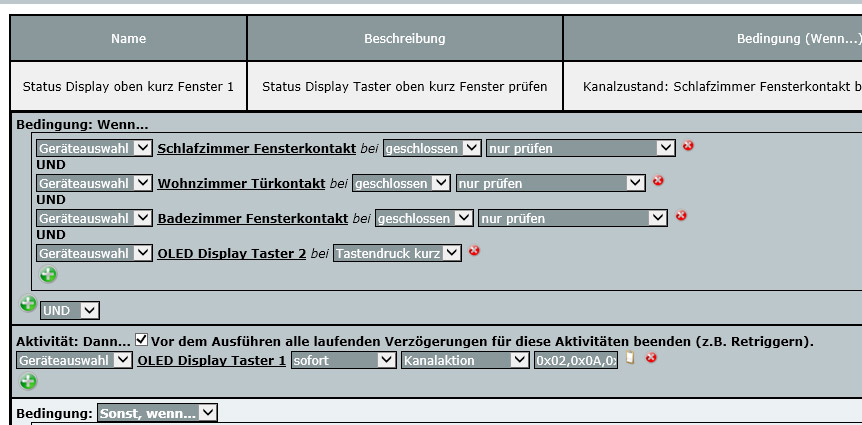
Then we can use the buttons to control the light, awning, blinds or shutters in the house. A total of four functions can be operated, as the two buttons differentiate between short and long button presses. We will show how extensive the possibilities for comfortable living are in the Homematic Status Display programming instructions.
OLED Status Display Create program …
How to create programs for the Status Display, we have explained in this small Homematic Status Display Program Tutorial.
As with many other Homematic products, the variety is almost limitless and the clear presentation looks great.
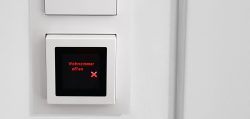
However, on Funkyhome.de we have also discovered a few weaknesses in practice, which you should definitely know before buying: Unfortunately, you can’t display the OLED display permanently even with a power supply. Also, you can’t wake up the OLED display via the central unit, but it must always be woken up with a keystroke, which can then result in an action and for 1-99 seconds the display of the desired text.
This avoids the duty cycle problem, as with the Homematic E-Paper Status Display and the batteries also last much longer as long as you don’t press the buttons all day. The organic display also lasts longer, but this severely limits its flexibility and makes it impossible to display warnings without standing directly in front of the display. Here we would have liked to have a choice for power supply operation – as with the E-Ink display – so that permanent or at least distant display messages could be triggered even with the OLED display.
Bit by bit we will give tips and tricks for the smart house or apartment in many more Homematic Tutorials. Now we come to the conclusion of the Homematic OLED Status Display.
Homematic OLED Status Display Result and general impression …