
Layout, design and features …
Before we can use the Homematic Status Display kit, we have to finish soldering and assembling some components. How to solder we have explained in numerous soldering instructions on OCinside.de.
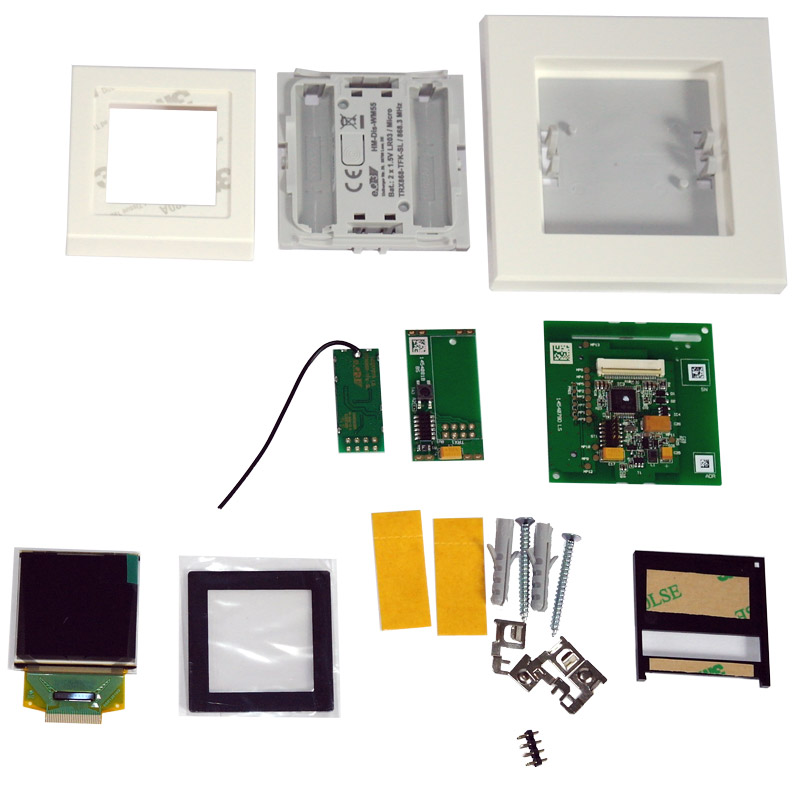
This Homematic OLED Display kit requires about the same amount of soldering as the previously tested Homematic E-Paper Display kit. So it is not just plugged together like the Homematic CCU2 central display kit. How to proceed exactly is described in detail in the enclosed Homematic assembly instructions.
Since this is a battery powered device and the assembly is possible without any problems with a few basic soldering skills, this kit saves a lot of money. However, it can of course happen that the manufacturer or ELV refuses the warranty if something was not soldered correctly. We recently had a case where the repair was refused based on the allegedly clear blinking signals of the LED, even though the kit was undoubtedly soldered correctly and was in operation for some time. In the end, however, we finally gave in. We will go into the corresponding kit Test (temperature difference sensor kit) and explain the problems and the procedure in more detail. Because our RMA experiences should also help other readers.
All in all it takes about 30 minutes to build the first OLED Status Display kite and after a few kits it is even faster – practice makes perfect!
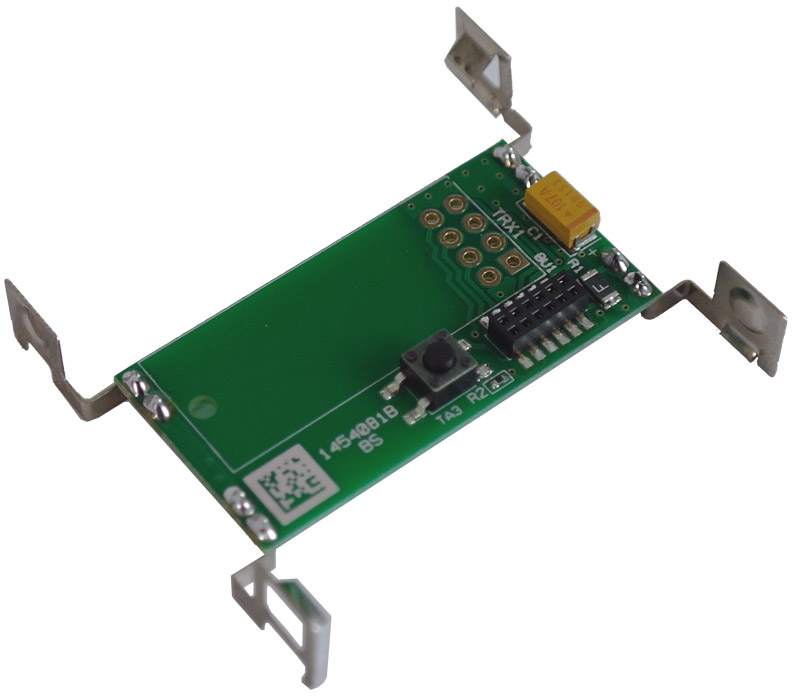
Here you can see the circuit board with the soldered battery contacts.
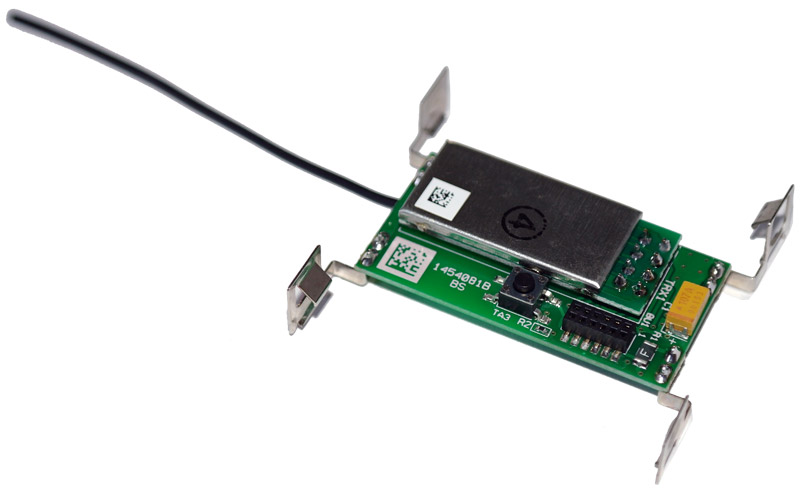
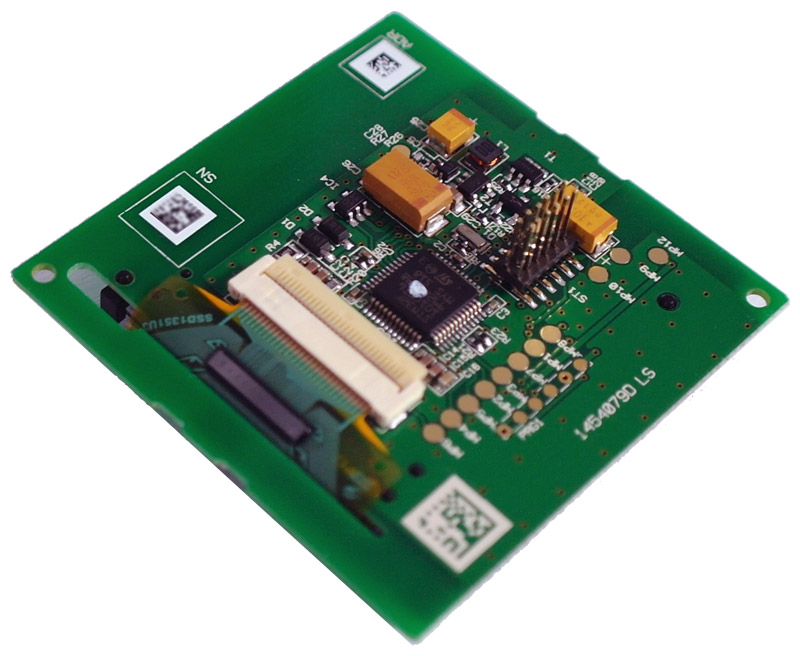
And this is how the finished soldered circuit board with the soldered 868.3 MHz radio module looks like.
Now glue the frame to the display controller board using double-sided adhesive tape, then glue the OLED display module to the frame …
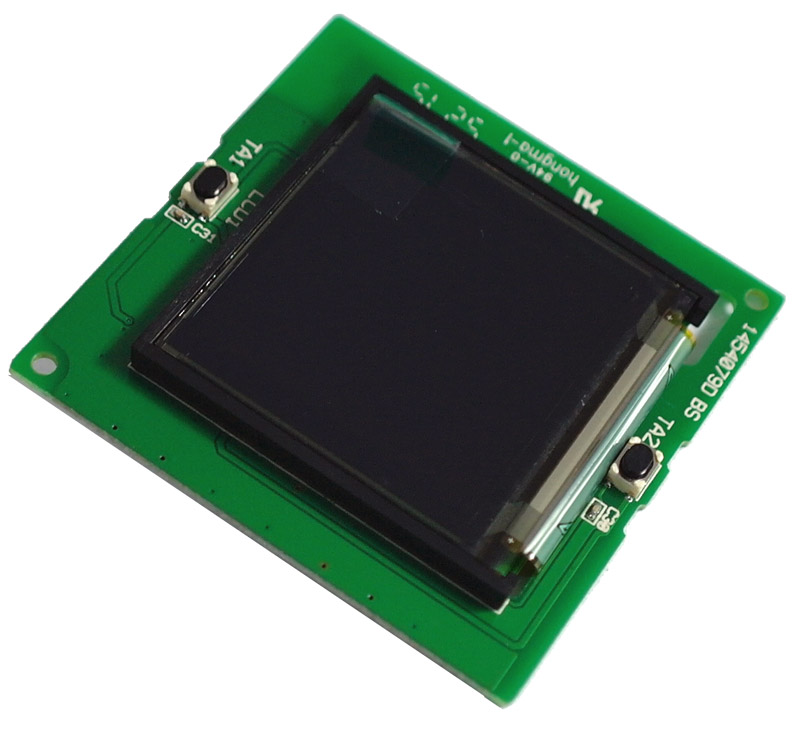
… and now connect the OLED display using a foil conductor.
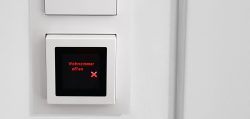
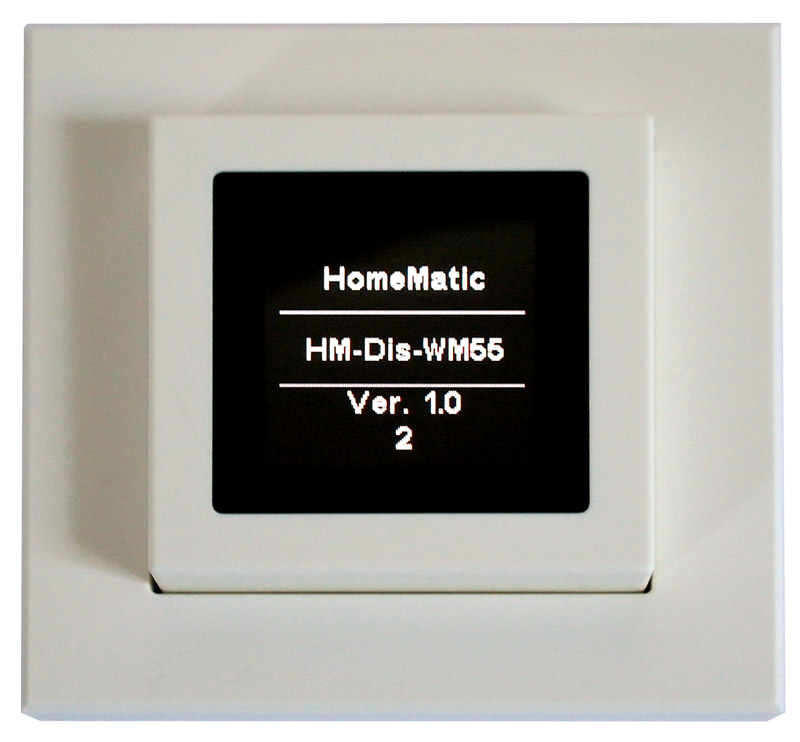
Then insert it into the supplied case and that’s it. As soon as you have inserted the two AAA batteries, it’s ready to go: The Homematic OLED display immediately reports its status with a status display.
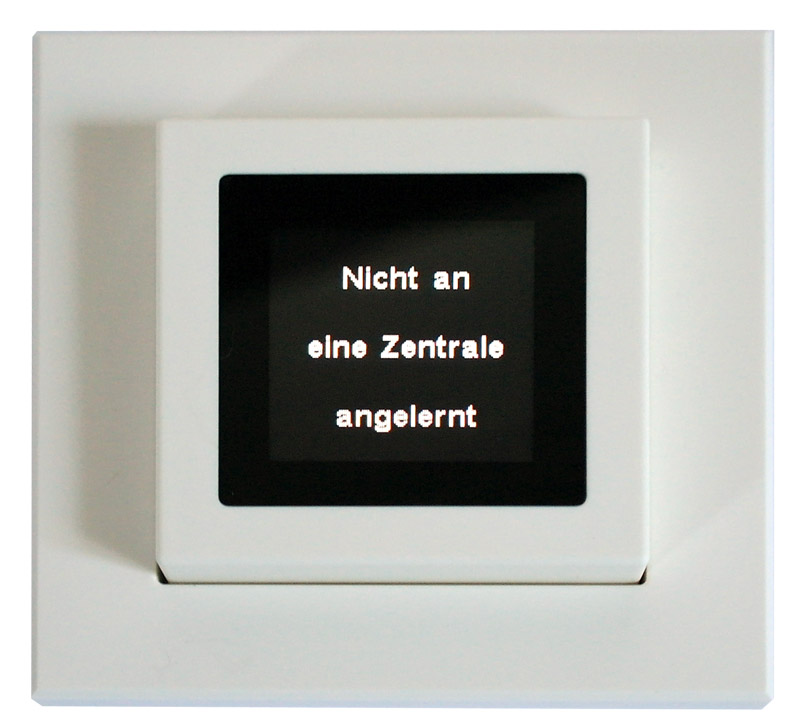
It then indicates that it has not yet been taught to a central unit.
The mounting of the OLED status display is very versatile by the way, because you can either mount it on a flush mount box or you can mount the display on the surface or you can mount it in an optional available ELV Homematic IP Table Display for battery powered devices *Ad in 55 format (141742). For wall mounting you simply screw the included mounting plate to the wall and put the display together with the frame on it. The included 1-slot frame doesn’t look quite as nice as an ST55 Gira frame, though. For this reason, we used a Gira frame or a 2-slot Gira frame in pure white gloss and mounted the OLED display under a Homematic dimmer light switch. Even without any screws, the Status Display fits perfectly into the frame. Of course, the display can also be integrated into standard 55 mm frames from other manufacturers such as Busch-Jaeger, Gira, Merten, Berker, Jung, düwi and Kopp.
As an option there is even a ELV Homematic IP power supply *Ad available (143484), which allows the Smarthome Display to be powered via a flush mount box and eliminates the need for two micro batteries.
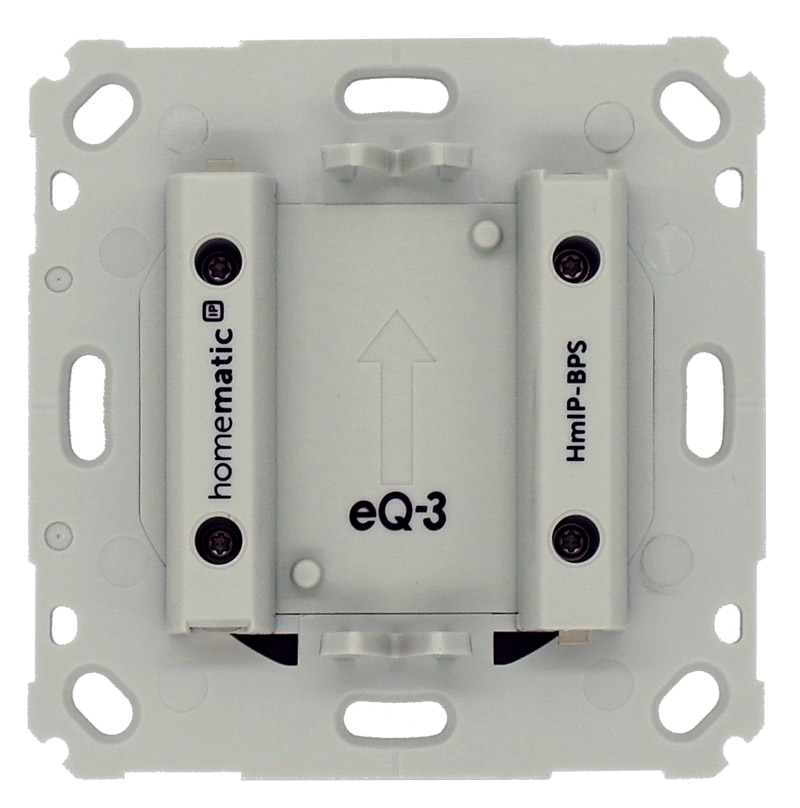
Of course we wanted to test this right away and ordered a Homematic power supply for brand name switches as a complete kit. The functionality is simple but ingenious, because the Homematic power supply has four contacts with a total of 3 volts supply voltage, which are simply pressed into the back of the Homematic Status Display in the form of two micro batteries.
The Homematic power supply unit itself only requires the 230 V outer conductor and neutral conductor with a cross-section of 0.75 to 1.5 mm² (both as a flexible cable without ferrule or rigid cable) and is installed in a standard flush-mounted box with a depth of at least 31 mm. All important information has been exemplarily noted on the back. Nevertheless, the installation may of course only be carried out by qualified personnel, such as an electrician.
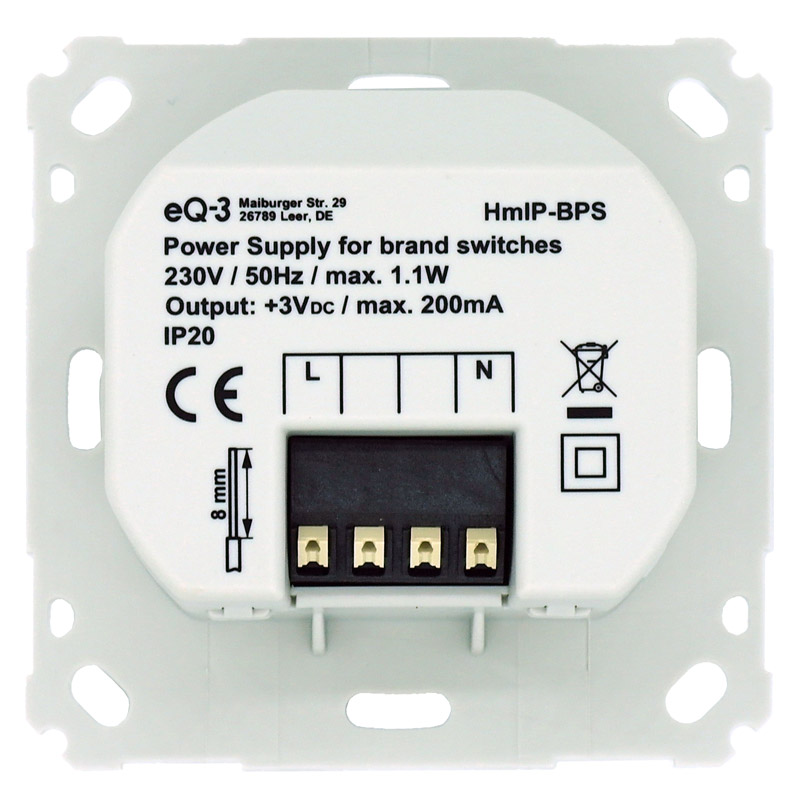
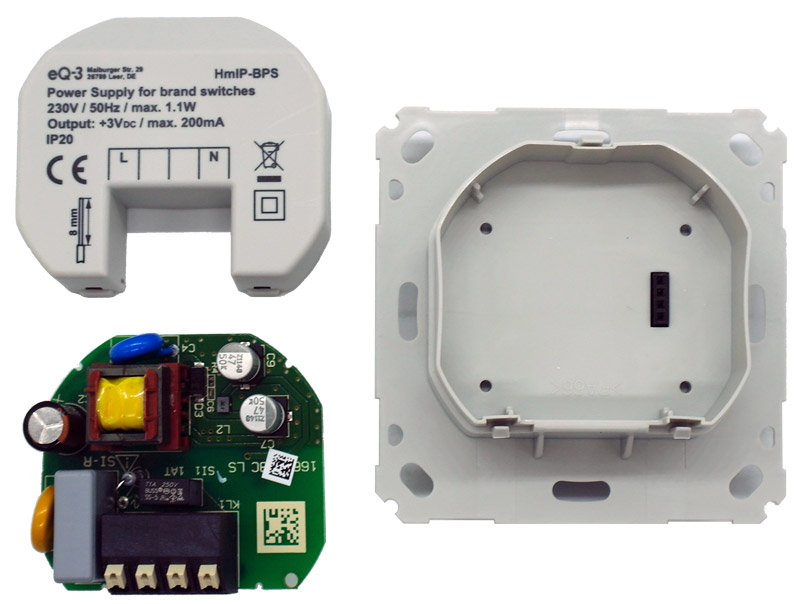
The design of the switching power supply is kept relatively simple and the power consumption in idle mode is just 0.12 watts. The maximum power consumption is 1.1 watts and the maximum output power of the 3 volts is 200 mA.
This is what the fully installed Homematic IP power supply unit with Gira 2-gang frame looks like.

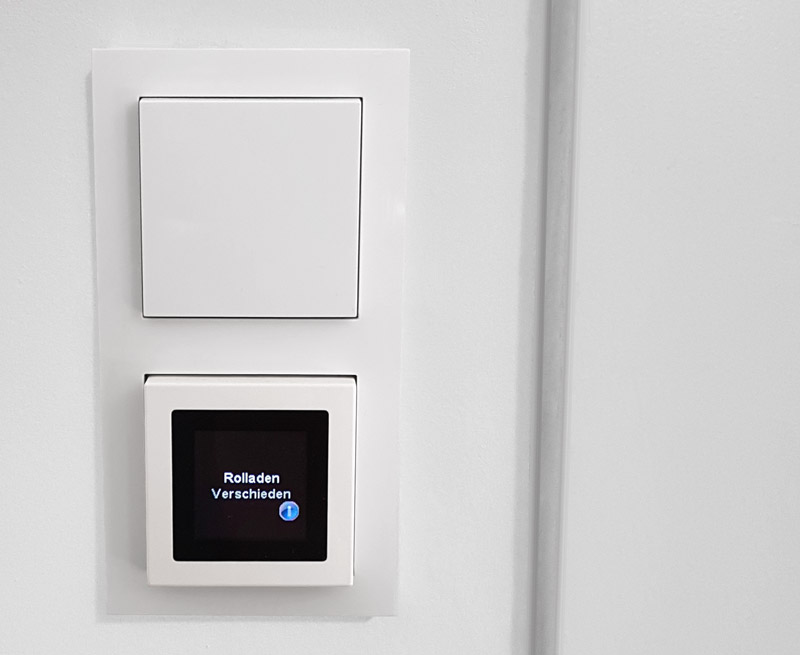
And so the finished OLED status display looks glossy pure white in a Gira 021229 2-gang frame, for example. A Homematic dimmer can be seen at the top and below we have integrated the Homematic Status Display, with which you can even control the roller shutters.
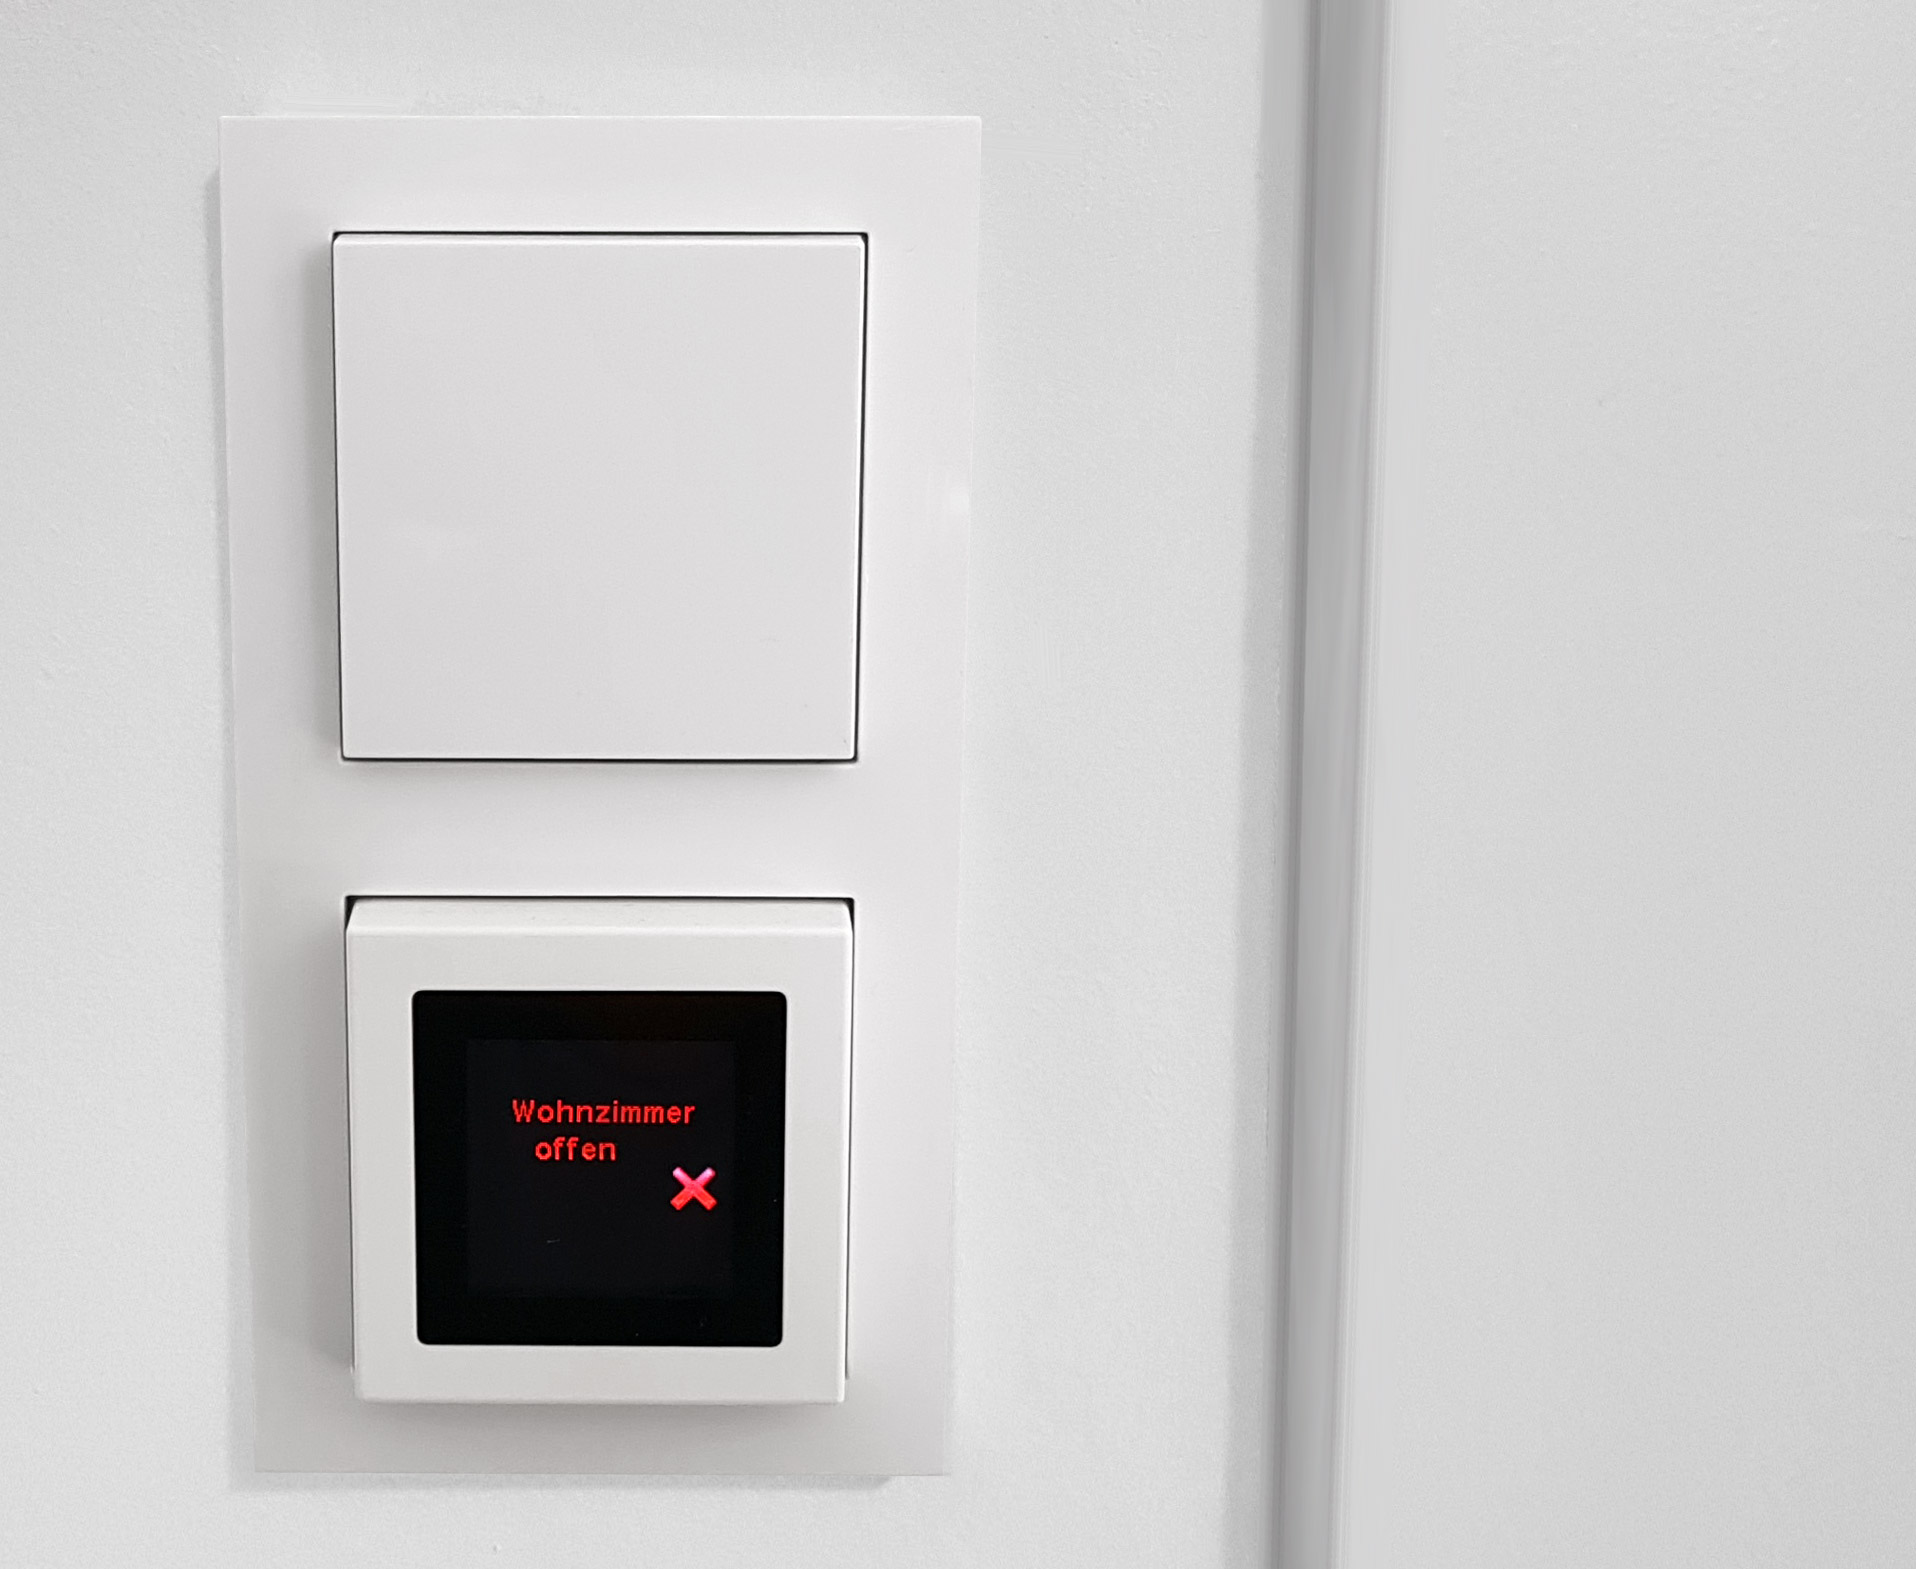
In our example, a long keystroke upwards raises all shutters or a long keystroke downwards lowers all shutters and in the middle you can read with a short press downwards whether all shutters are down or with a short press upwards whether all windows and doors are closed and which one was left open. Of course you could also combine both and output other data.
Let us now turn to the setup of the OLED Status Display and the review of the eQ-3 OLED Status Display in practice.
Homematic OLED Status Display Practical testing …