
Layout, design and features …
Before we can use the Homematic Blind actuator kit, we must finish soldering and assembling the following components.
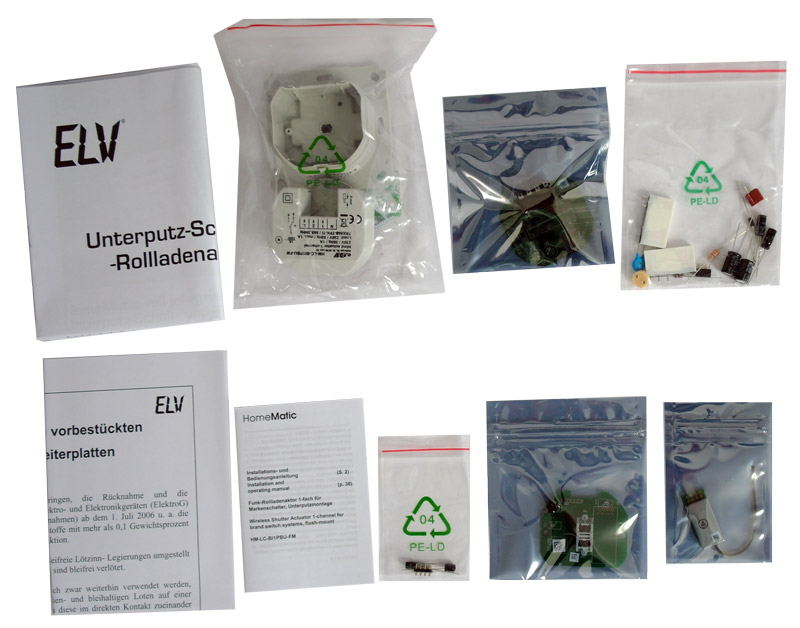
In contrast to the Homematic CCU2 kit and Homematic radiator thermostat kit this time some soldering is necessary. How to do this is described in detail in the enclosed Homematic building instructions.
Actually, it would not be a problem to solder this kit with a little bit of soldering knowledge, but we would like to point out here that this may only be assembled and installed by appropriately trained professionals! Because this is not a battery operated device. Further safety instructions can be found in the construction and operating instructions.
All in all it takes about 1 hour to build the first Shutter Actuator kit and after a few Shutter Actuator kits it will go a little faster.
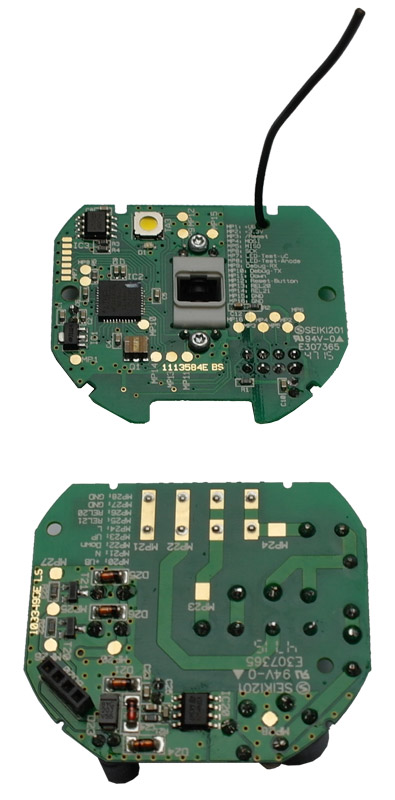
However, some soldering points are close to SMD components, so we can not recommend this kit for inexperienced hobbyists.
Here you can see the soldered controller unit on top and the relay unit on the picture below.
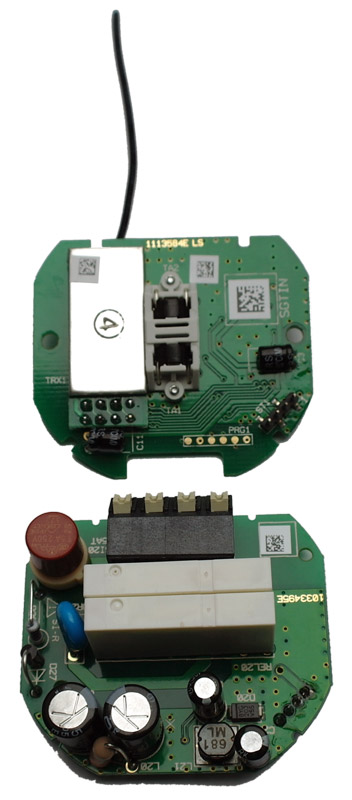
This is what the two boards look like on top.
Now we still have to insert these boards into the case, whereby we first insert the Controller Unit after the button for learning and screw it tight with two Torx screws. As you can see on the picture, the boards have an unmistakable shape, so that you can hardly insert the board wrong.
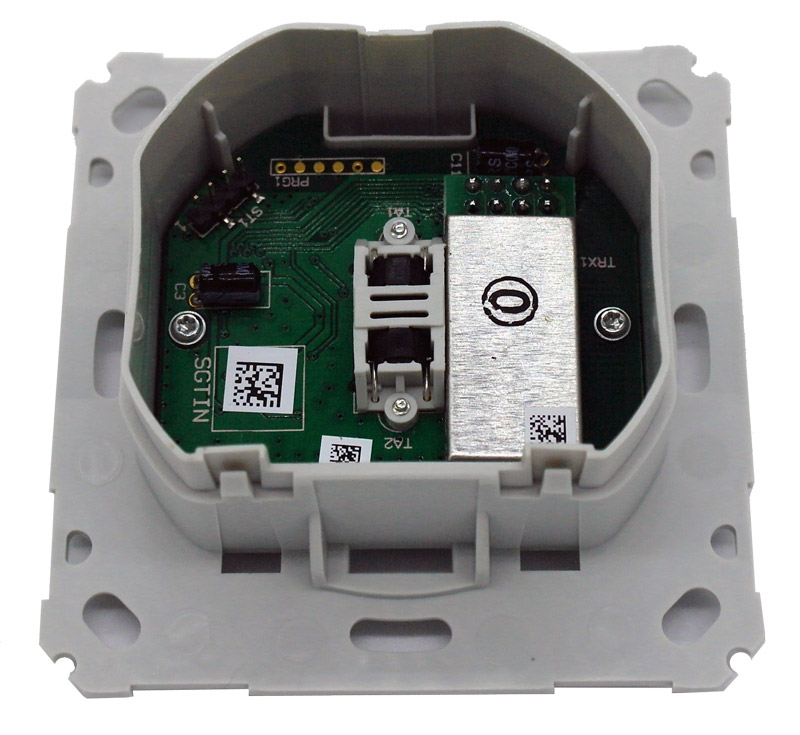
Continue with the relais board (middle of the picture) before continuing with the cover. Unfortunately the relay board is not screwed down, but only held by the cover. We would have liked to have a more stable solution, which could have been realized with longer screw-on bars.
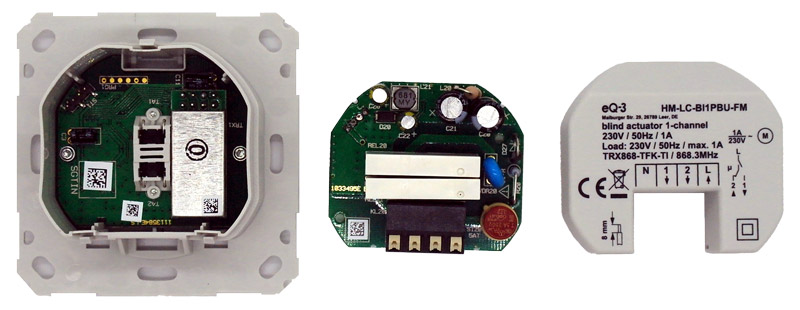
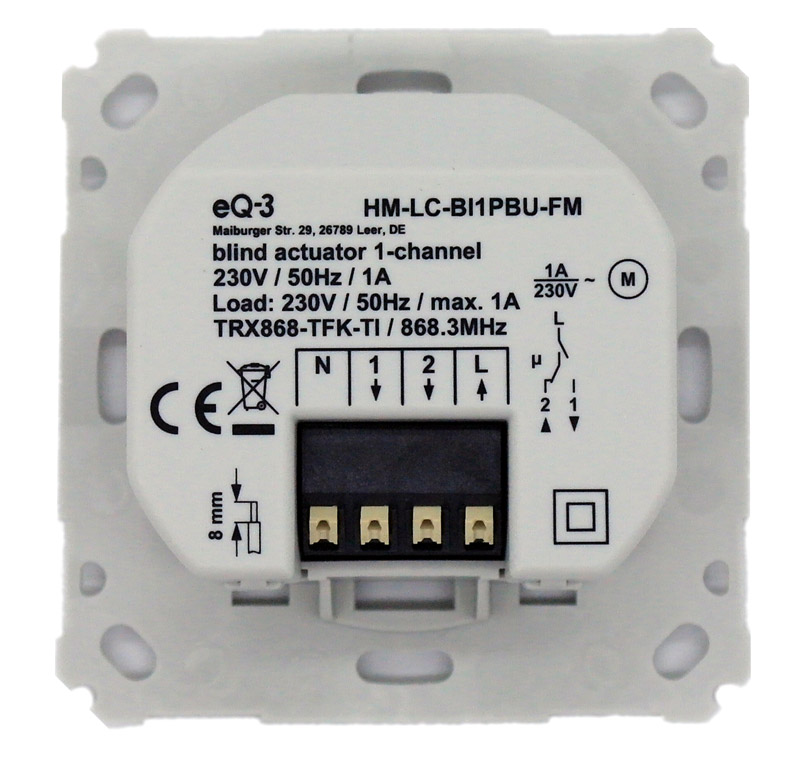
The cover of the case is only hooked in with small clips and so you could possibly remove the cover together with the relay board. Furthermore, the 4-pole spring-cage terminal for rigid or flexible cables should be used with caution. Although it is very easy to plug in a 0.75 to 1.5 mm² wire, it does happen from time to time that the spring-loaded terminal becomes somewhat snagged and therefore does not lock. In addition, when mounting in a short flush-mounted box, it is possible to accidentally press the cables onto the release and thus release the cable. We would like to suggest the use of the deep flush-mounted boxes in any case. Otherwise it is a very convenient solution. The Shutter Actuator should be mounted in the UP box so that the front lettering is clearly visible.
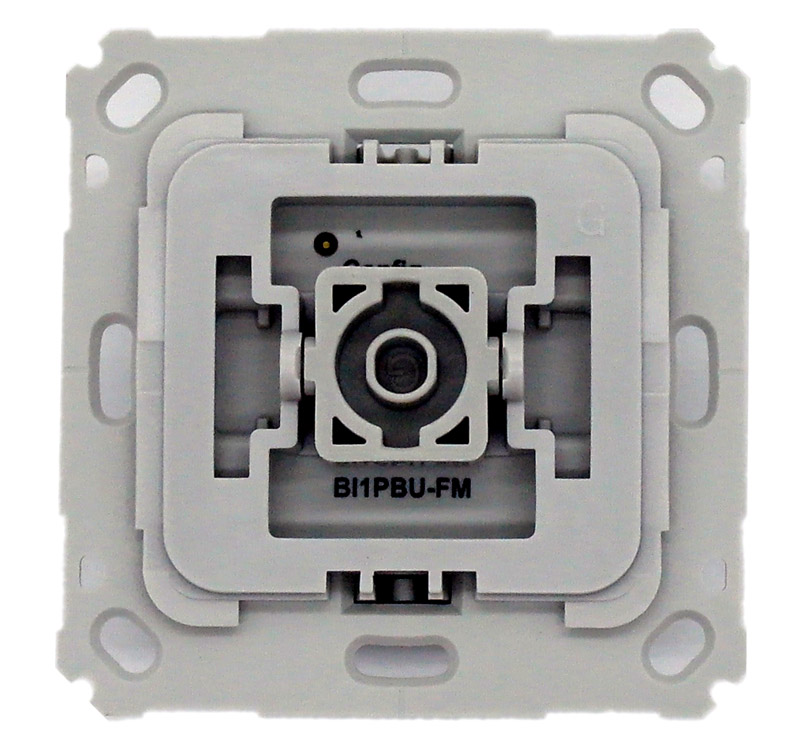
This is what the finished front of the shutter actuator looks like. The Config button is described in the practical test on the next page. For a quick test you could even use a screwdriver to operate the two centered buttons.
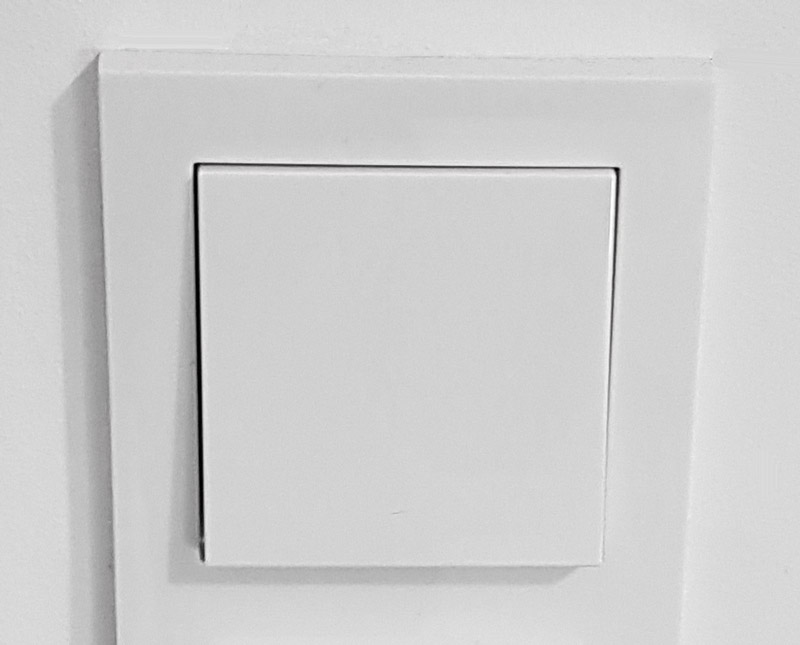
In order to be able to use this Homematic blind actuator in common brand switch ranges, eQ-3 offers adapters for the most common switch manufacturers such as Busch-Jaeger, Gira, Merten, Berker, Jung, duewi and Kopp. These are priced in packs of 3 at approx. 7-10 Euro. So you can continue to use existing frames and rockers or even change to another manufacturer if you wish.
Now you can simply attach the usual rocker – here, for example, we have attached a pure white shiny push button rocker 029603 from the Gira ST55 series.
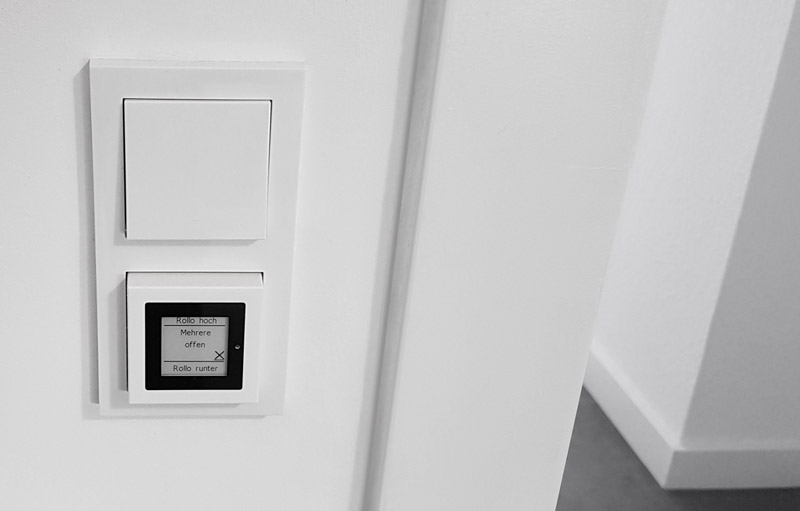
And this is how it looks in a Gira 021229 2-gang frame in pure white glossy, for example. Below this we have integrated the Homematic status display, with which you can also control the shutter actuator – in our example a long up or down button press raises or lowers all shutters and in the middle you can still read whether all windows and doors are closed. But we do not want to digress too far at this point.
Alternatively, there is also the compact Homematic 76799 HM-LC-Bl1-FM wireless shutter actuator *Ad for hidden installation in junction and switch boxes.
In our opinion, the 15 Euro surcharge for the assembled product should be invested this time if you are not a trained specialist with good soldering skills.
Let us now turn to the setup of the shutter actuator and the eQ-3 shutter actuator test in practice.
Homematic Shutter Actuator Practical testing …