
In this small Homematic E-Paper Status Display Teaching Tutorial for beginners we show today on Funkyhome.de how to teach-in the Homematic HM-Dis-EP-WM55 E-Paper status display to the Homematic CCU2 control unit and how to set up the wireless E-Paper status display.
In the Homematic Status Displays Programming Guide we then show how to program the display to show the status of windows and shutters, for example. To do this, we press the buttons briefly to query the values and press the buttons for a long time to raise or lower all the roller shutters in the house. There are, of course, many more possible applications, but more on this later.
Teach the E-Paper status display to the Homematic CCU2 …
To teach the E-Paper status display to the CCU2, select Teach-in devices after calling up the Homematic CCU2 interface top right and start the teach-in mode with the Teach-in HM devices button. Now the central unit waits for 60 seconds for new devices, which you want to connect to the central unit by pressing the Config button on the respective device. The Config button can be found on the back of the display.

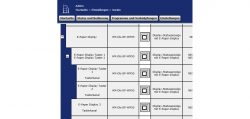
Now click on the inbox, where the learned devices can now be found. So don’t be surprised if the device does not appear in CCU2, because it has to be confirmed first! You can do this with all the devices you have learned and then rename them, assign them, program dependencies and adjust them. Here you can see a Homematic radiator thermostat at the top, below that a Homematic status display as an OLED version and then two HM-LC-BI1PBU-FM shutter actuators from the previous Homematic shutter actuator review.
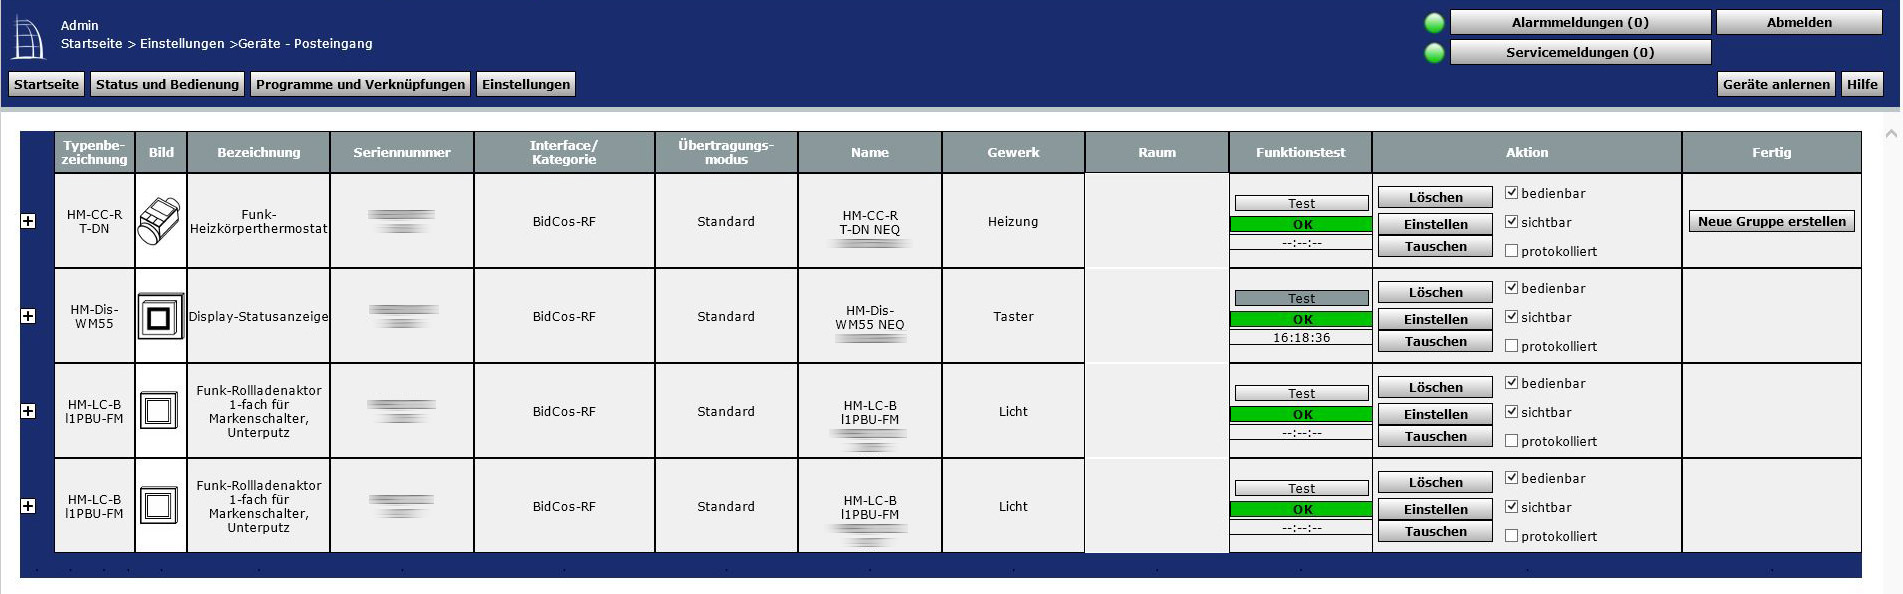
The confirmed Homematic status display can now be found in the CCU2 Central Unit under Settings -> Devices -> Adjustment, where you can open the different channels to configure them. We have renamed the E-Paper Display as E-Paper Display for testing purposes, assigned the buttons as E-Paper Display buttons 1/2 and as room to the bedroom. The clear naming is very helpful later, e.g. during programming and in the iOS or Android smartphone or tablet app, and should be done directly.
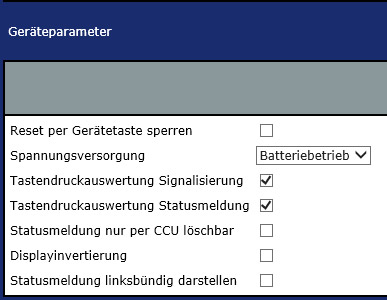
Now we can make some basic settings via “Settings” or later via Settings -> Devices -> Adjustment.
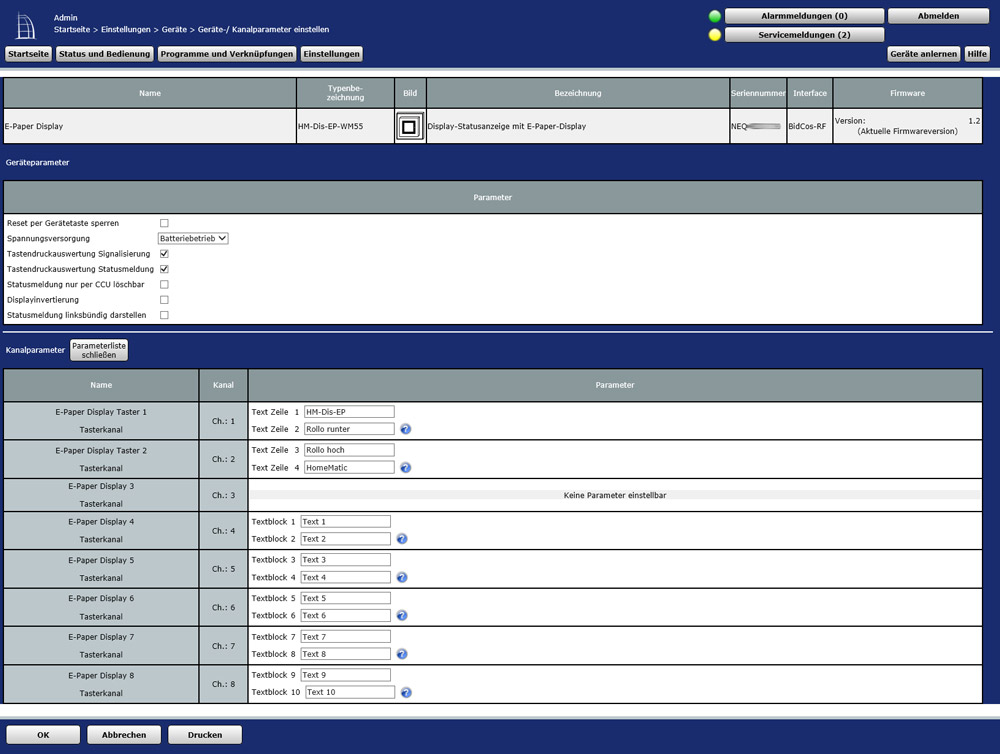
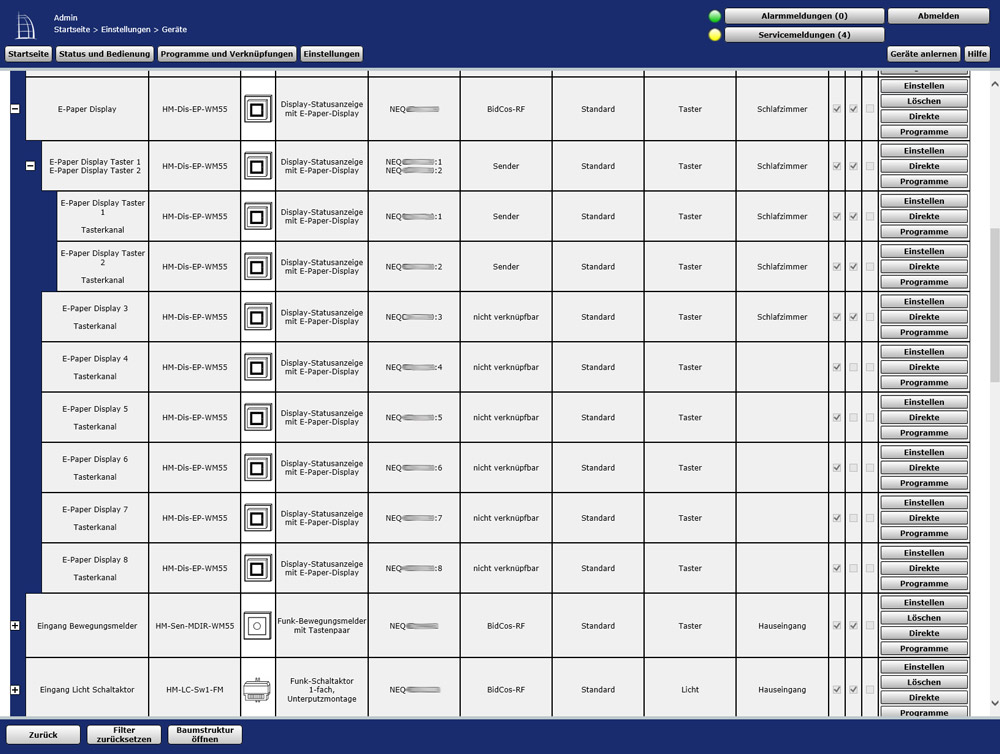
As a basic setting, you can, for example, determine whether the display is to be operated by means of a mains adapter or, as is standard, using the batteries. The right choice is essential for the lifetime of the batteries. It is also possible to invert the display and the texts can be set to be centered or left-aligned in the display. After a firmware update these settings should definitely be checked.
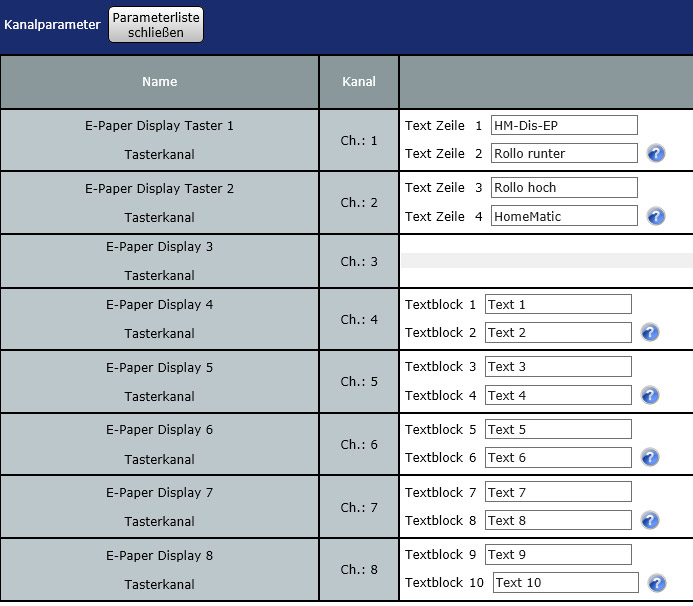
Further down you will find a parameter list via the corresponding button, where you can enter various texts (max. 12 characters per line). The text for the upper and lower button must be entered at this point, because it cannot be used as a status display! The ten text blocks are to be entered optionally and enable access to frequently used text blocks such as “shutter” “door”, “window”, “open”, “closed”, “bathroom”, etc., thus also reducing data traffic.
In the Homematic Status Display Guide we will now show how to program the Homematic Display using a few examples.
We hope that this little guide will help and if you have any questions we will of course help you in our Homematic Forum.
Read the Homematic E-Paper status display review …
Discuss in our forum and share experiences about the E-Paper Display Teaching Guide …
Here you can buy the Homematic E-Paper Display at a reasonable price. *Ad