
Practical testing …
Let’s move on to the Bosch Camera Practical testing. First, mount the Bosch Smarthome Camera and install the Bosch Smart Camera in the app according to our Bosch Smart Home Eyes installation guide.
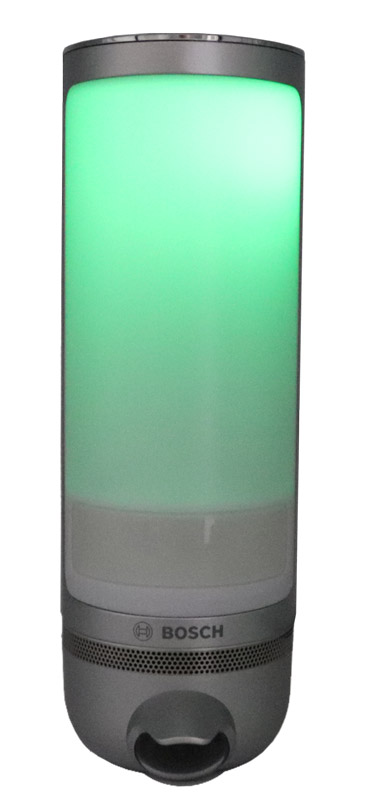
Tip: By the way, if the lamp does not light up green but flashes red or flashes red and green alternately or cannot be addressed for other reasons, there is also a Bosch camera reset. Speaking of which, if the Bosch Outdoor camera flashes red and blue, no internet connection could be established to the Amazon Cloud Server. For the Bosch reset, briefly disconnect the lamp from the mains or briefly turn off the corresponding fuse, turn it back on, wait about 90 seconds until the lamp no longer glows red, then within 2 minutes press with a safety pin, or similar at the bottom of the small reset hole and hold for about 5 seconds until the Bosch lamp flashes red quickly. It will then stay red a little longer, as the camera has now performed the factory reset and is restarting with factory settings. This can take about 90 seconds again. Now the Bosch Outdoor camera will flash green and is ready for WLAN connectivity.
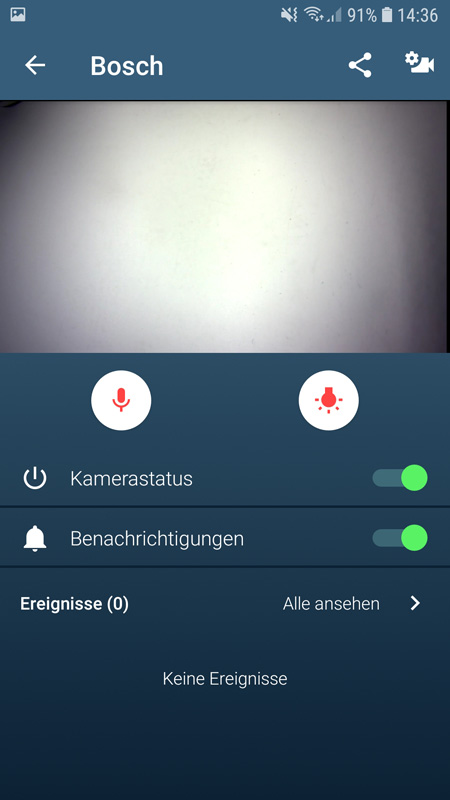
After the successful installation and WiFi connection, open the Bosch Smart Camera app in Google Android or Apple iOS and you will see the following initial screen. The camera name is displayed at the top, in our case Bosch, next to it there is a share button and on the far right the button with the settings. Below that, the last camera image is displayed, which can be viewed as a livestream by clicking on the image. Directly below, there is a button on the left that allows you to talk to the camera as long as you keep it pressed. To the right, you can manually turn the lighting on or off. The camera status switch turns the camera on or off. The same goes for the notifications, which we will show in a moment, and the last unseen events are displayed at the very bottom. All in all, the design is very clear.
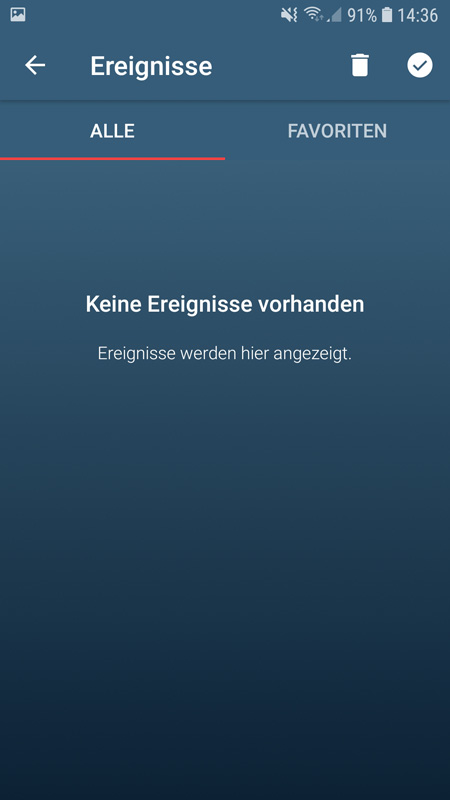
In the event list, you can delete the events and, if desired, save special events as favorites. Up to 200 events can be stored in the cloud for a maximum of 15 days before they are automatically deleted. Important videos should therefore be saved locally beforehand via the Share button.
The Bosch Camera App settings are also clearly arranged. At the top, you can assign a name to the camera. Below that, you can select whether you also want to record audio along with the video recordings. This is an important point that we had criticized with the Steinel CAM light WLAN camera, for example. Before using and installing a surveillance camera outdoors, it is essential to find out about the relevant legal requirements anyway. Below still follow the settings for the lighting, …
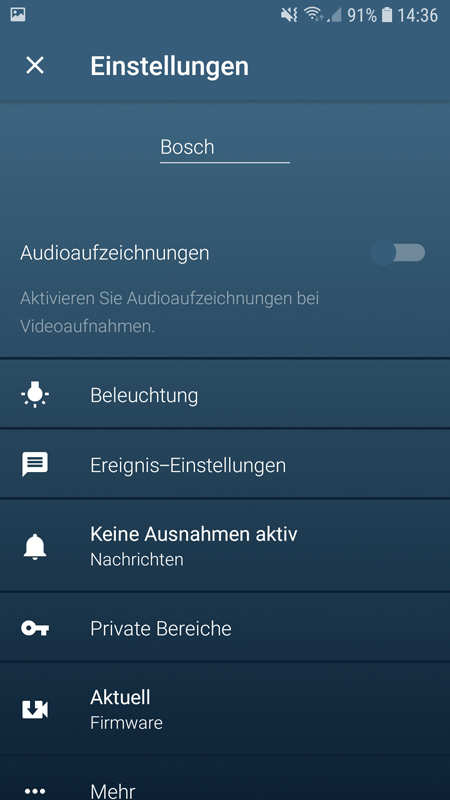
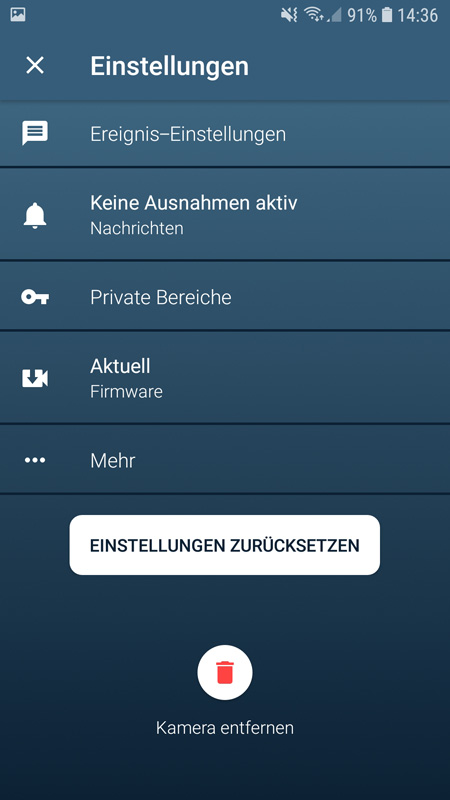
… Events, exceptions, private areas, firmware update and the display of the WLAN signal strength under “More”. Last but not least, you can reset the settings or, if desired, remove the camera from the Bosch Camera app.
Lamp …
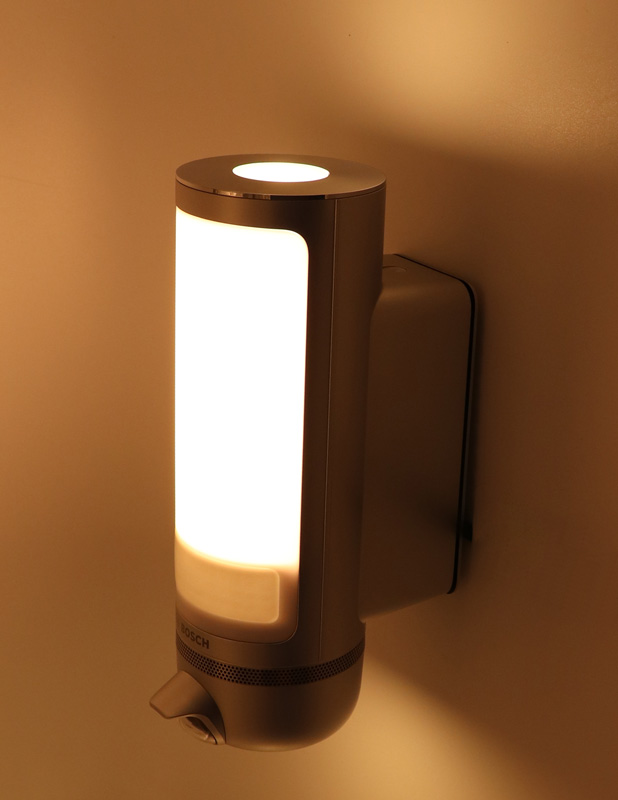
A very important function of the Bosch camera is, of course, the lamp. This can be found in the Bosch Camera app in the aforementioned settings under Lighting. You can switch the so-called mood light on and off at dusk or at a certain time, depending on your preference. Furthermore, you can choose whether you only want to activate the front lamp (power consumption depending on the brightness in addition to the idle consumption of 3.3 watts between approx. 0.1 watts and 6 watts) or whether you also want to activate the upper and lower lamps and thus consume approx. 1.9 watts more.
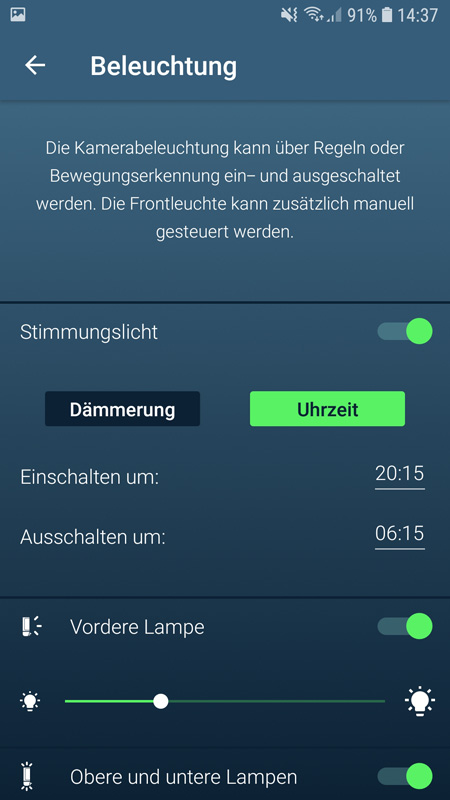
We really like the separate switching from the front lamp to the top and bottom lamp, and it reminds us a bit of the well-known Puk Wall wall lamp from Top Light *Ad, however, we would have liked Bosch to give us a choice between warm white, neutral white and cool white, because we feel the light is clearly too yellow, so very warm white.
As mentioned earlier, you can also have the mood light turn on only at dusk and even set a time in combination with dusk.
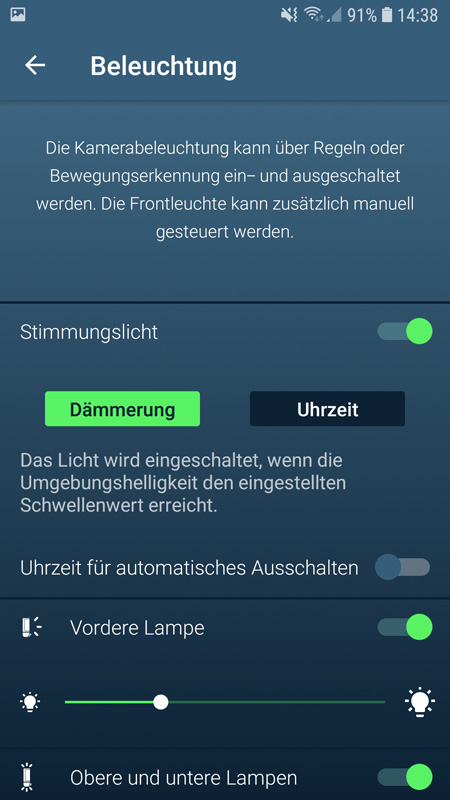
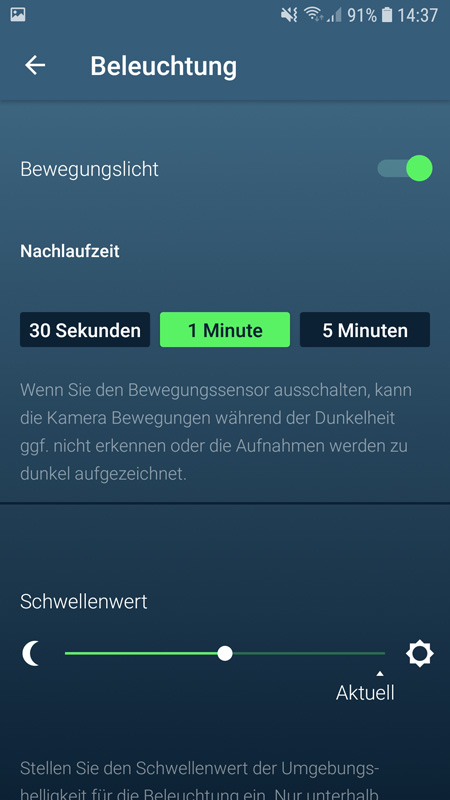
In the lower area of the lighting settings, you can select from which darkness the lamp should switch on or off. You can also select whether and for how long the light should be turned on when motion is detected. Not everyone wants this, although it is of course better for a camera shot when there is movement.
Event settings and motion zones …
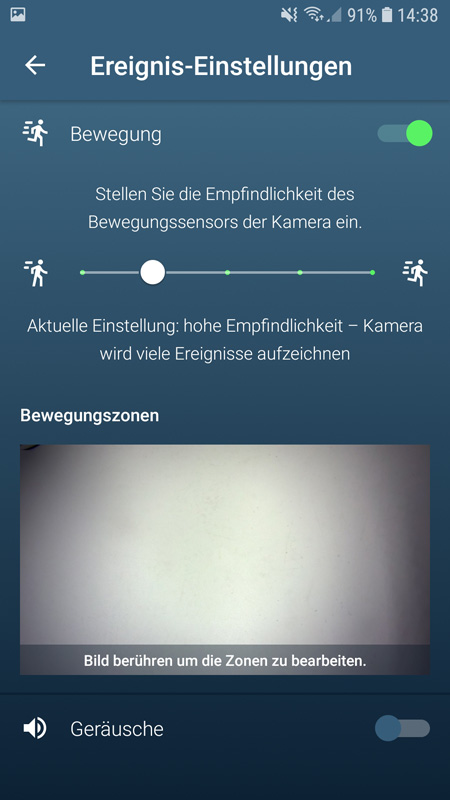
Which brings us to the next item of the settings, the event settings. Here you define if and with which sensitivity of the motion detector an event should be recorded. What should trigger the event in the end – a video recording, a mail or an illumination, is up to the user. Sounds can also be set to trigger the event and motion zones can be defined, just like with professional surveillance cameras.
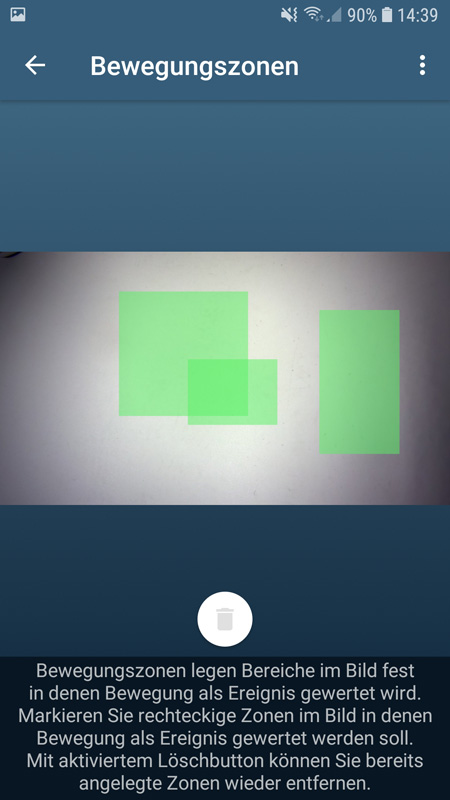
With a click on the motion zones you also get a corresponding guide.
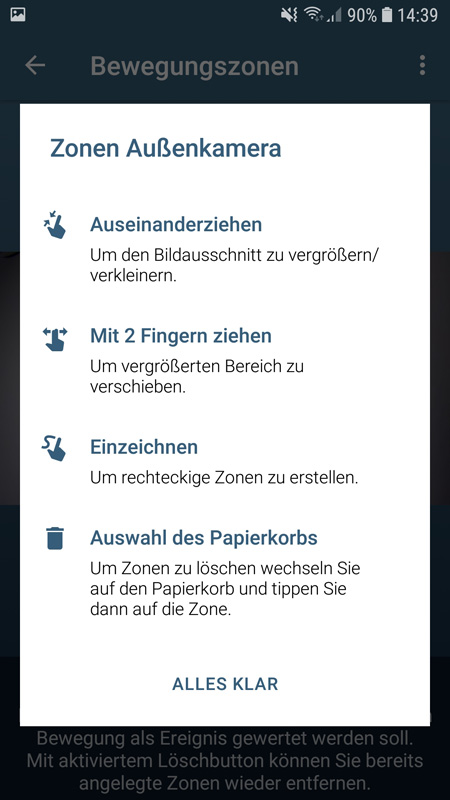
Great thing, just like a professional surveillance camera or Synology NAS Surveillance Station you can set the desired zones, with which an event should be triggered. And you can even have private areas blacked out. That’s what you want in a surveillance camera!
In the alarm exceptions of the settings page, you can now specify exactly when you want to be informed and how.
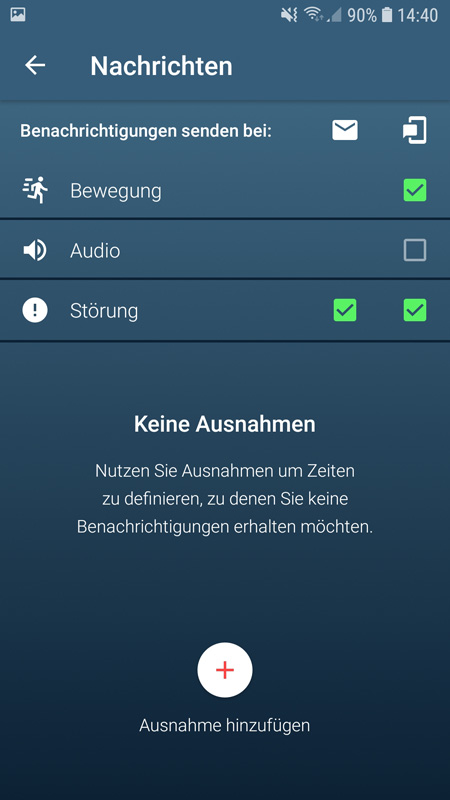
And can even set exceptions for this according to time or days.

Overall, the app is very well designed and runs smoothly. Speaking of which, so that you can get an idea of the quality of the video recording, we have of course created a small video again. Unfortunately, the compression rate or resolution cannot be changed and the acoustic noise can also be heard during the live transmission.
Bosch Smart Home Eyes Video …
Here you can see a Bosch Smart Home Eyes outdoor light video in Full HD quality, that is with 1920x1080px resolution.
Bosch Eyes Outdoor camera Stromverbrauch …
In idle mode, i.e. without a lamp but with a Wi-Fi connection, the power consumption of the Bosch Eyes Smart Home Outdoor camera was about 3.3 watts. In our opinion, that is absolutely within the green range. Only the recently tested Steinel CAM light is a bit lower at about 2.1 watts, but the previously tested Ring Doorbell Pro Video WLAN doorbell was at about 5.2 watts in idle for comparison, for example.
If you now add the front lamp, you get a total of about 3.4 watts with the lowest illumination and about 9.6 watts with 100% brightness.
Thus, the maximum power consumption of about 11.5 watts is reached when the upper and lower lamps are switched on.
Bosch Smart Home Eyes Result and general impression …