
Who hasn’t experienced the problem of being in the garden or in the basement for a short while and then the mailman or parcel delivery person rings the doorbell. It would be helpful to receive an immediate message or email on your smartphone. But maybe you just want to integrate the doorbell into your smart home, so that a light flashes or a sound is emitted when the doorbell rings. Even if there is now even an official Homematic IP solution, we show today in a step by step tutorial, how to integrate your doorbell at the front door easily and inexpensively into the Smarthome and how to send emails with the Homematic CCU2. In another tutorial we will show you how to build a mobile Homematic door chime yourself.
This is what we have planned …
We have given some thought to the easiest and cheapest way to integrate a bell contact into the home Homematic Smarthome. There are, of course, as so often, many ways that lead to the goal. For example, there is the HmIP-MOD-RC8 or HM-MOD-EM-8 Homematic 8-channel transmitter module, which can also be operated with a battery and integrated into a small housing. And from Homematic IP there is HmIP-DSD-PCB already a bell signal detection module. Alternatively, you can also from Homematic an optical HM-Sec-SCo Homematic window contact something modify to be able to use it as a button input. You could use the sabotage function for this, if you still want to use the optical part for the front door or you use (like us) the integrated photo sensor, which is easier and better to query.
This is needed …
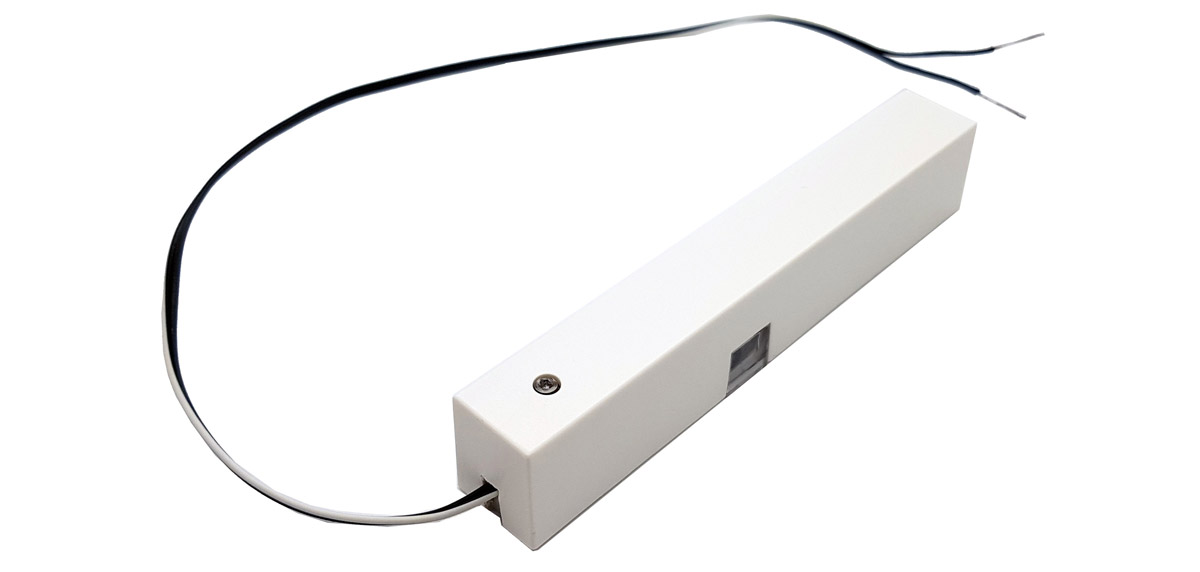
We need the Homematic window contact *Ad, which we’ve already tested here. For this we still need a soldering iron, side cutters and a 2-wire cable.
Via Amazon *Ad you can buy most Homematic products at a reasonable price..
Next is the window contact as a doorbell theory and practice …