
In the new Shelly Installation Guide, we show newcomers to Funkyhome. de step by step how to install Shelly products, how to add Shelly devices, create Shelly groups, create Shelly scenes, and give some basic tips on Shelly setup via app or Shelly Cloud website.
Here you can buy Shelly products. *Ad
Installation …
Shelly devices can be set up either by entering the IP address directly in the browser and/or by using Shelly’s preferred method of accessing the Shelly Cloud.
You can access the Shelly Cloud either via iOS or Android app or you can access the Shelly Cloud via the Firefox, Chrome, Opera, Edge, etc.. Web browser.
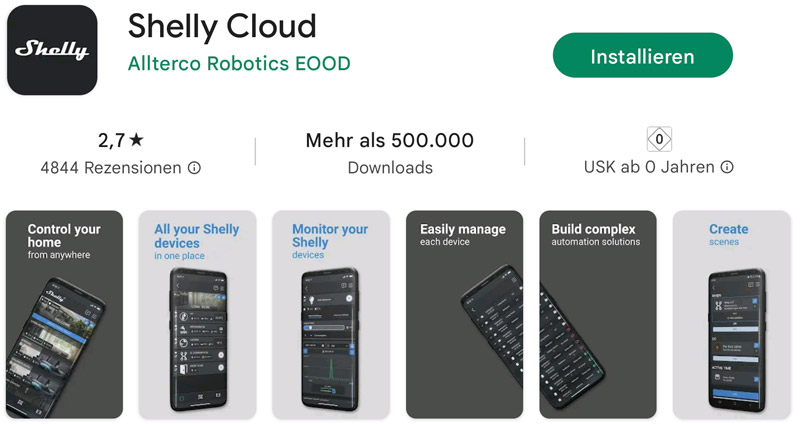
Shelly iOS App or Shelly Android App …
For those who want to use the Shelly App, first find the Shelly Cloud App through the Apple App Store or Google Play Store for Android devices and install the app.
Shelly Cloud Webseite alt …
Alternatively, simply call either the “old” Shelly Cloud website:
https://my.shelly.cloud/
Shelly Cloud new …
Or you can go to the “new” Shelly Cloud website:
https://home.shelly.cloud/
Now you first create an account at Shelly by registering with Shelly.
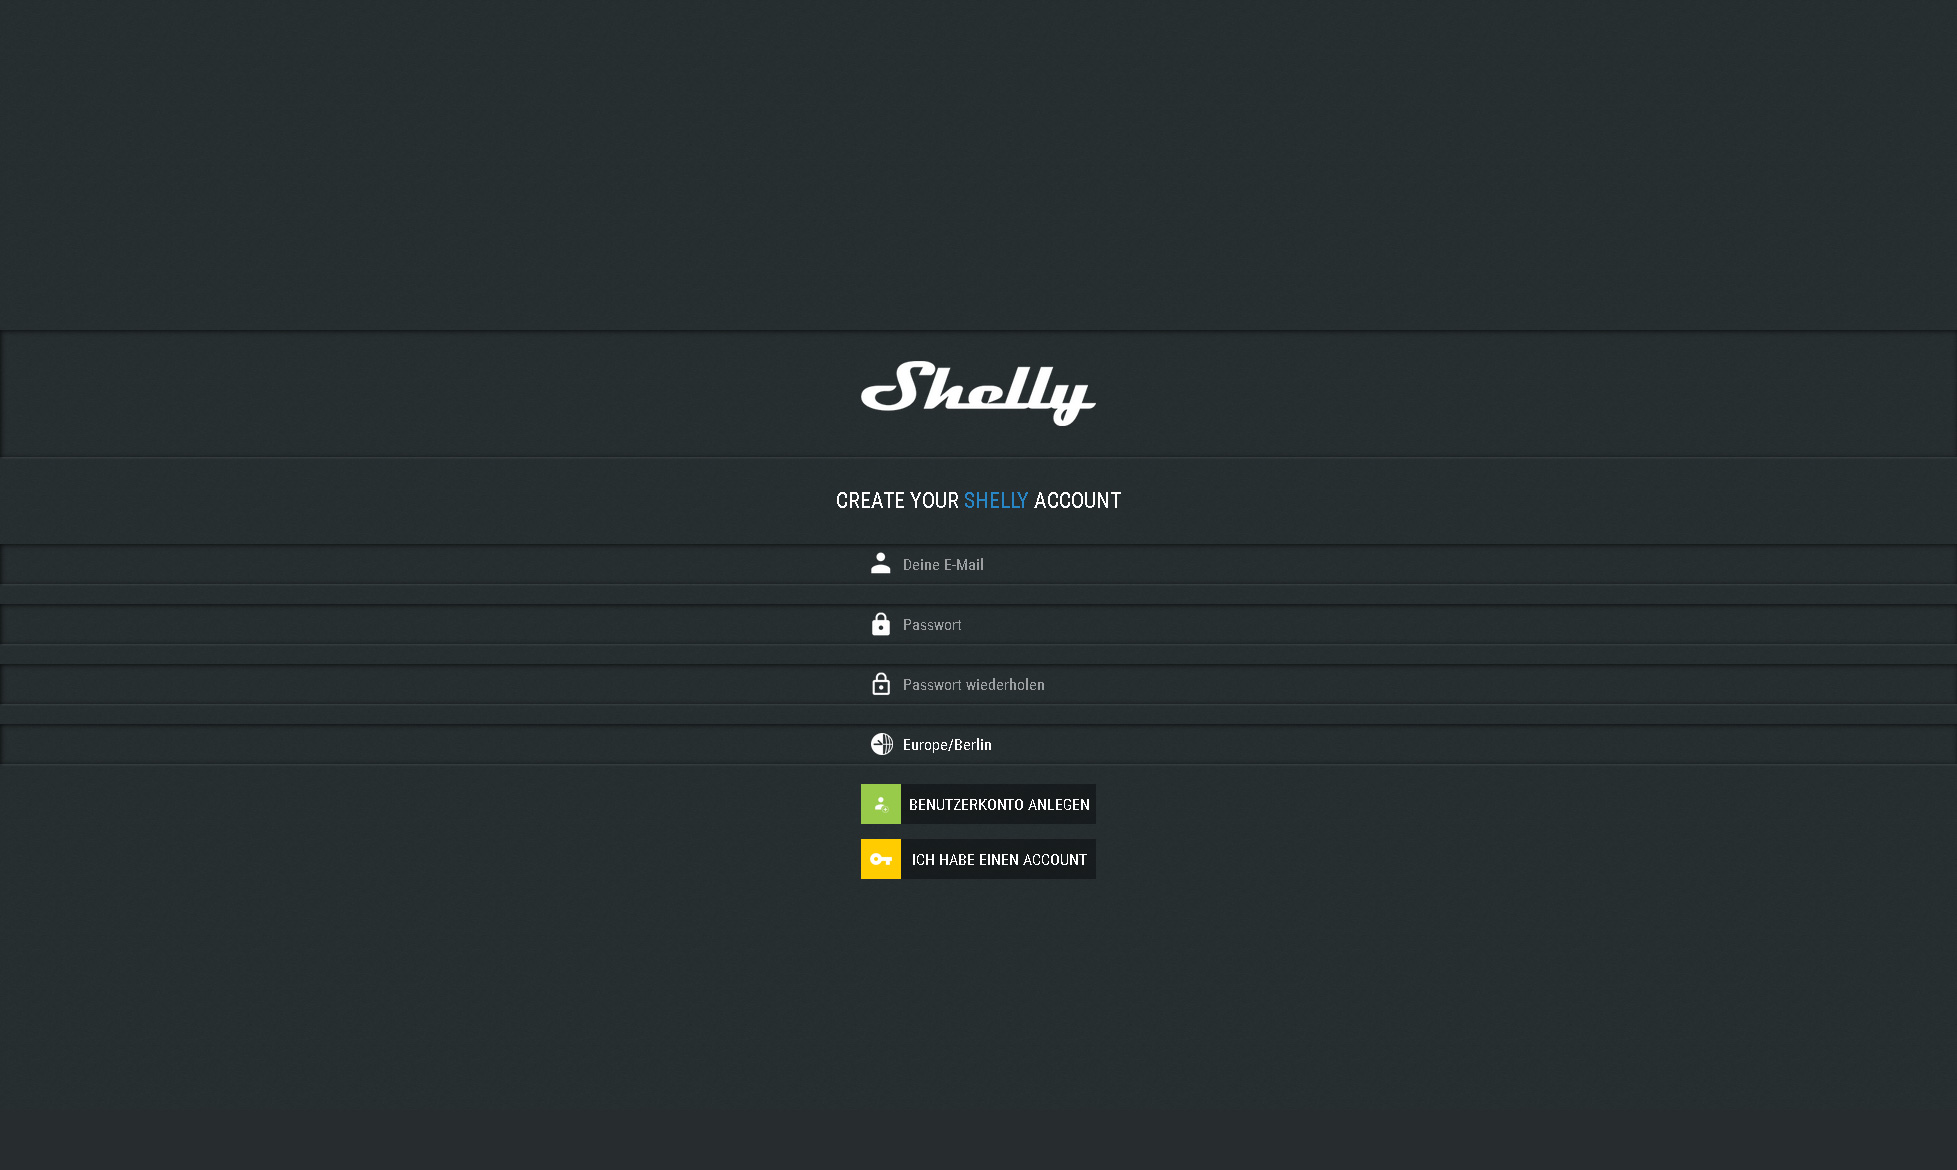
Shelly Cloud old …
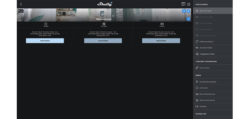
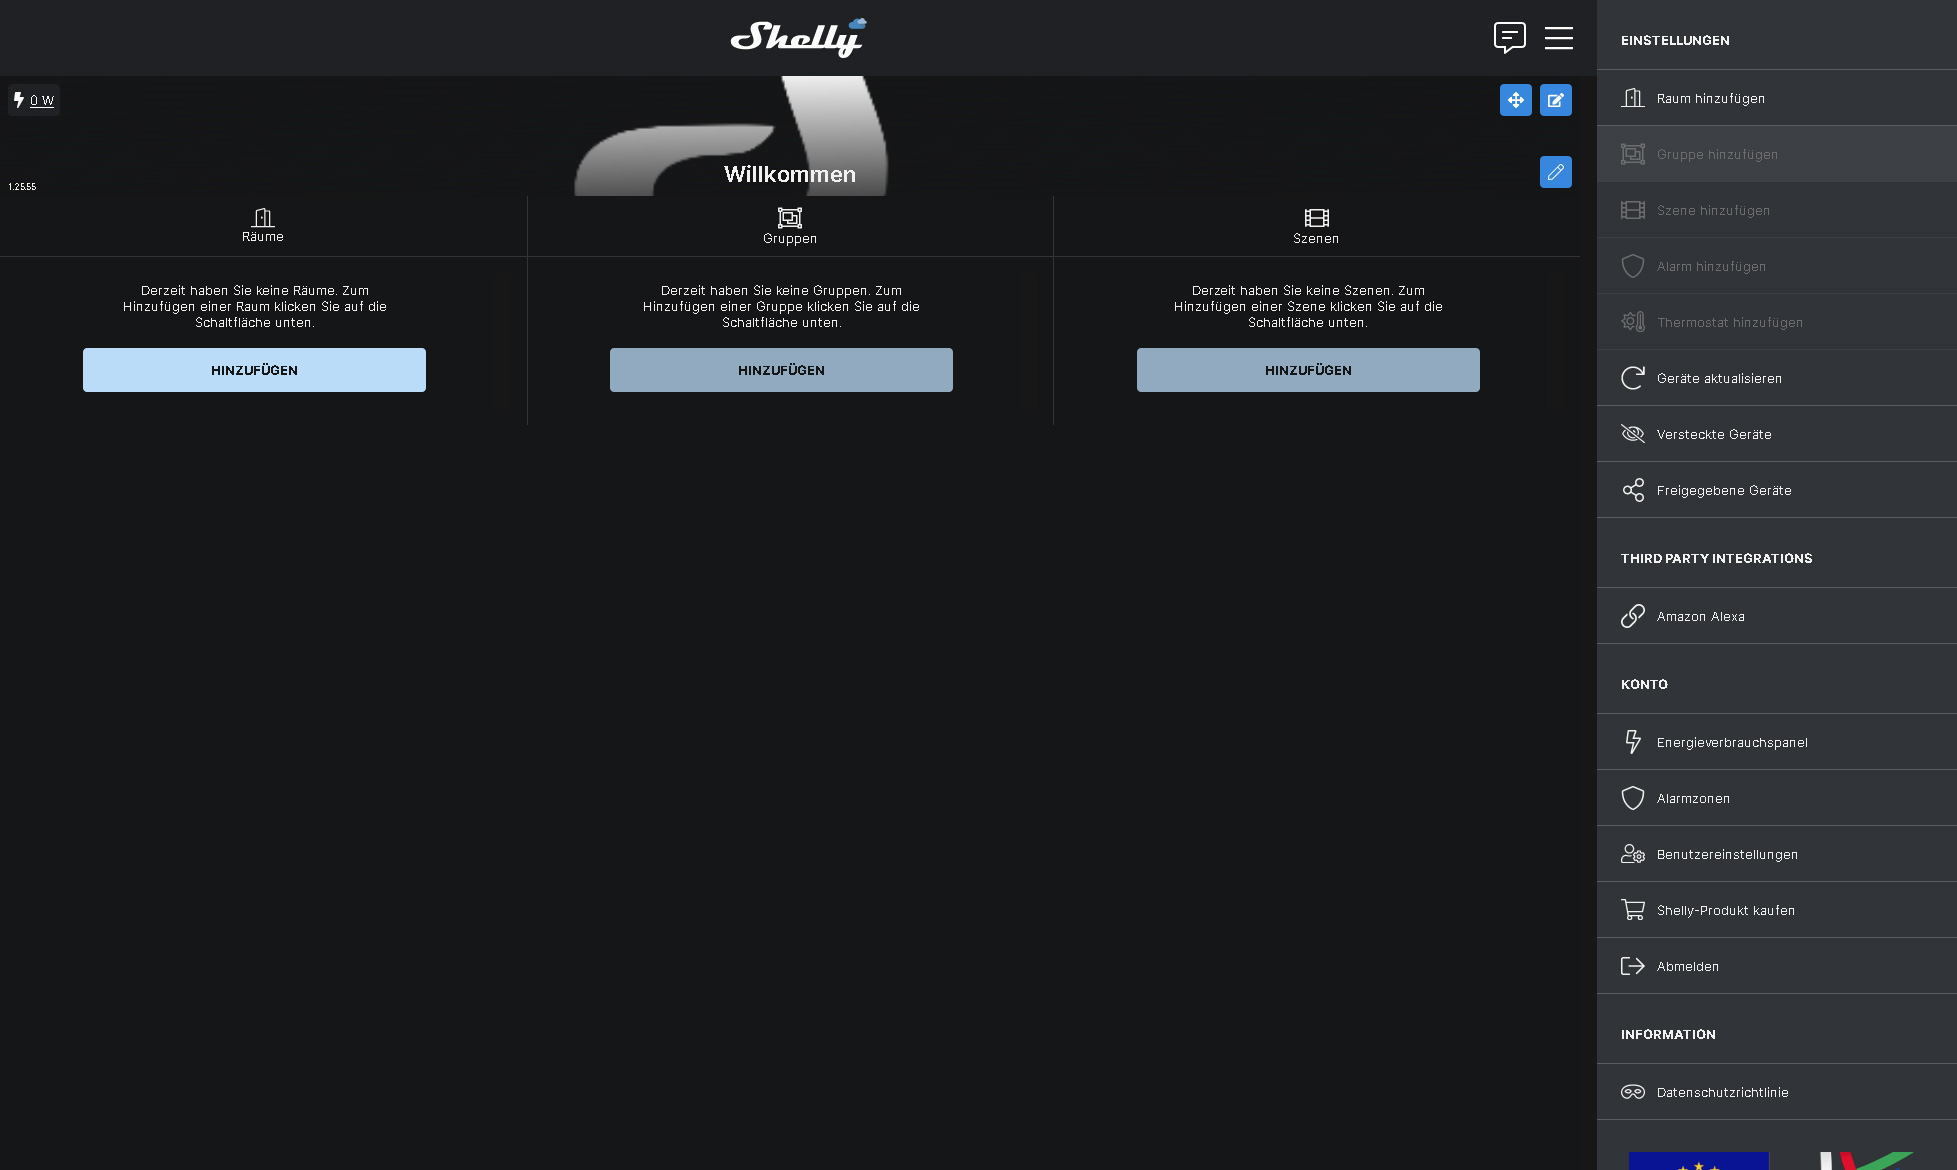
After the Shelly login you will get to the Shelly Cloud entry page. This is how the entry page looks like in the old version:
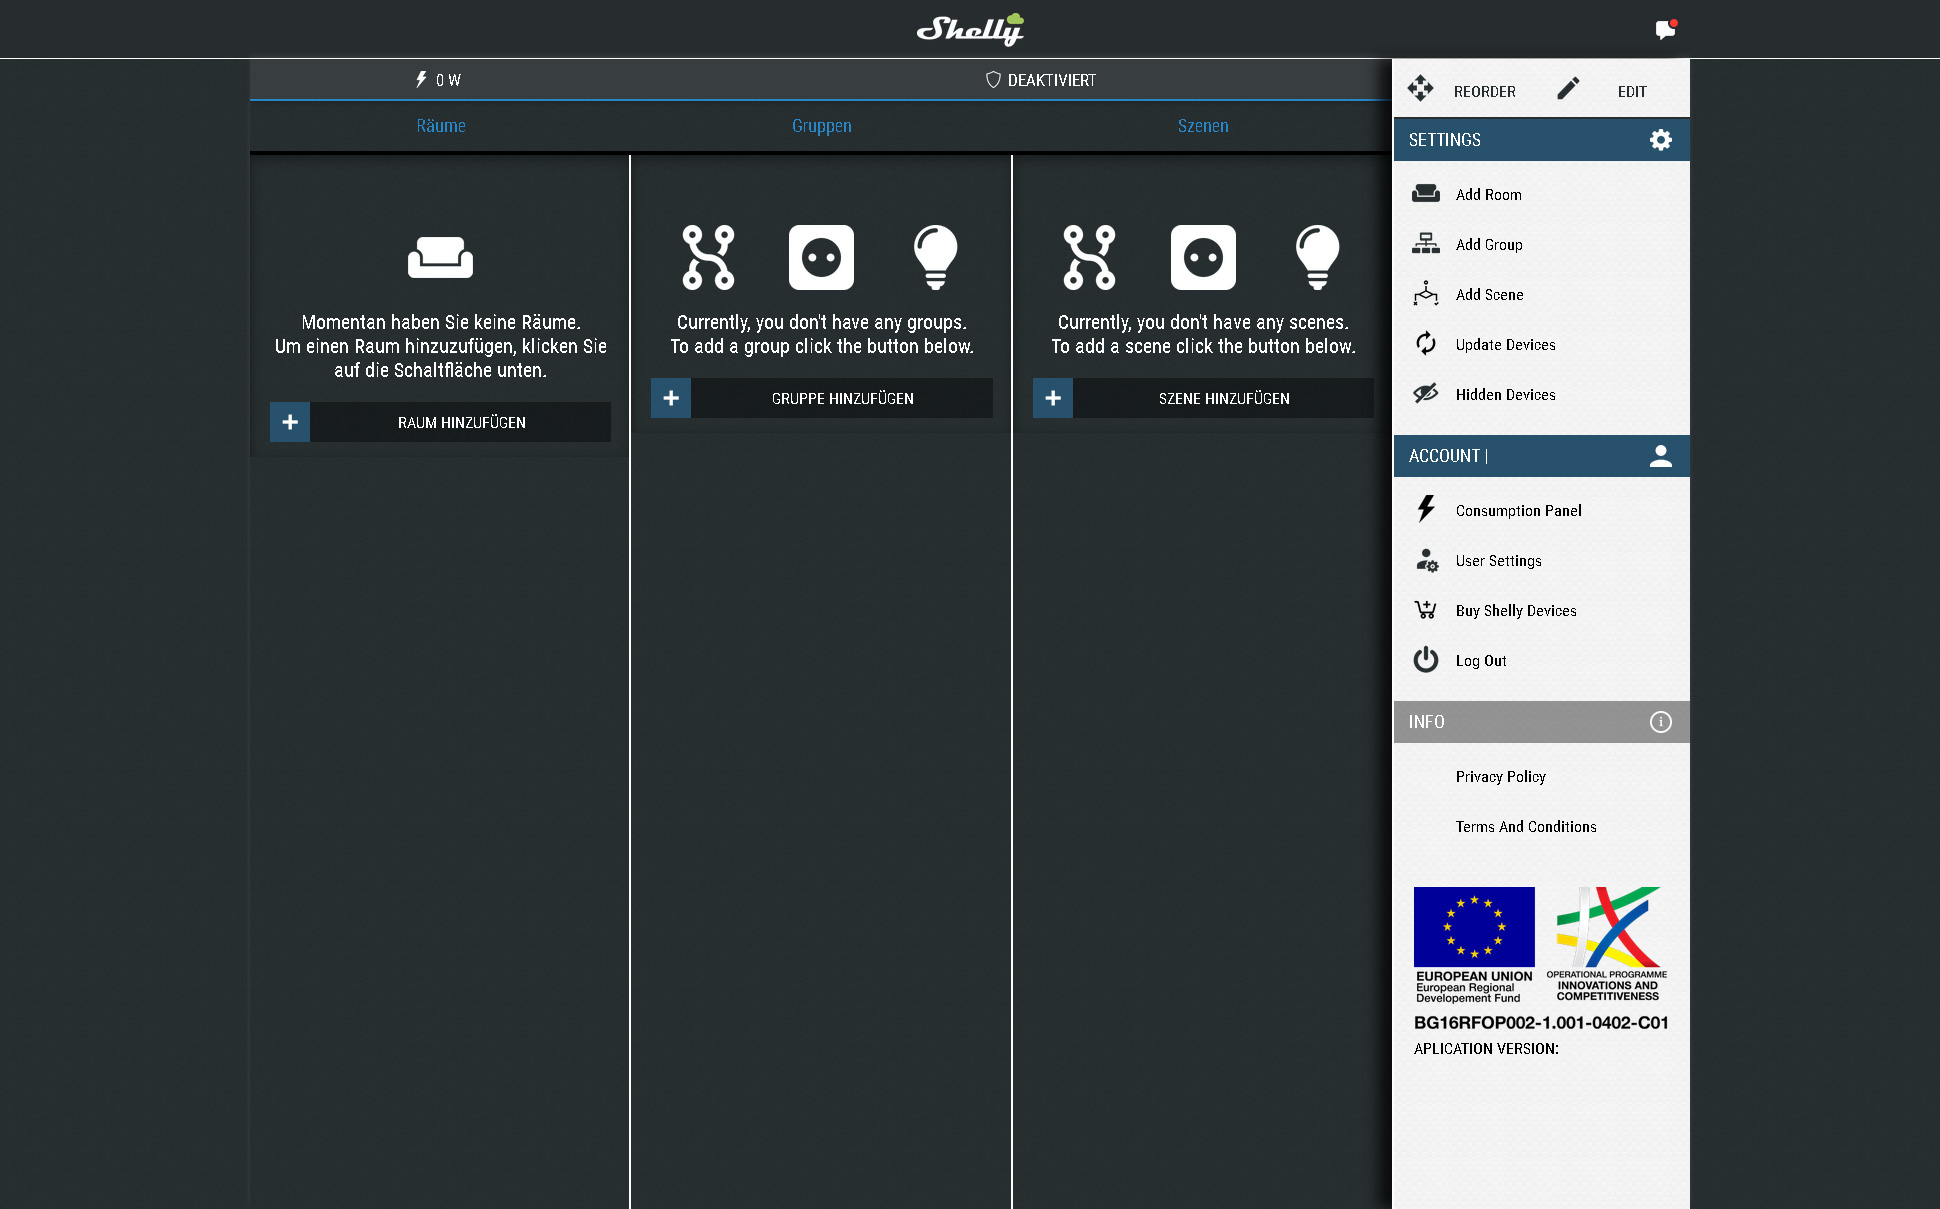
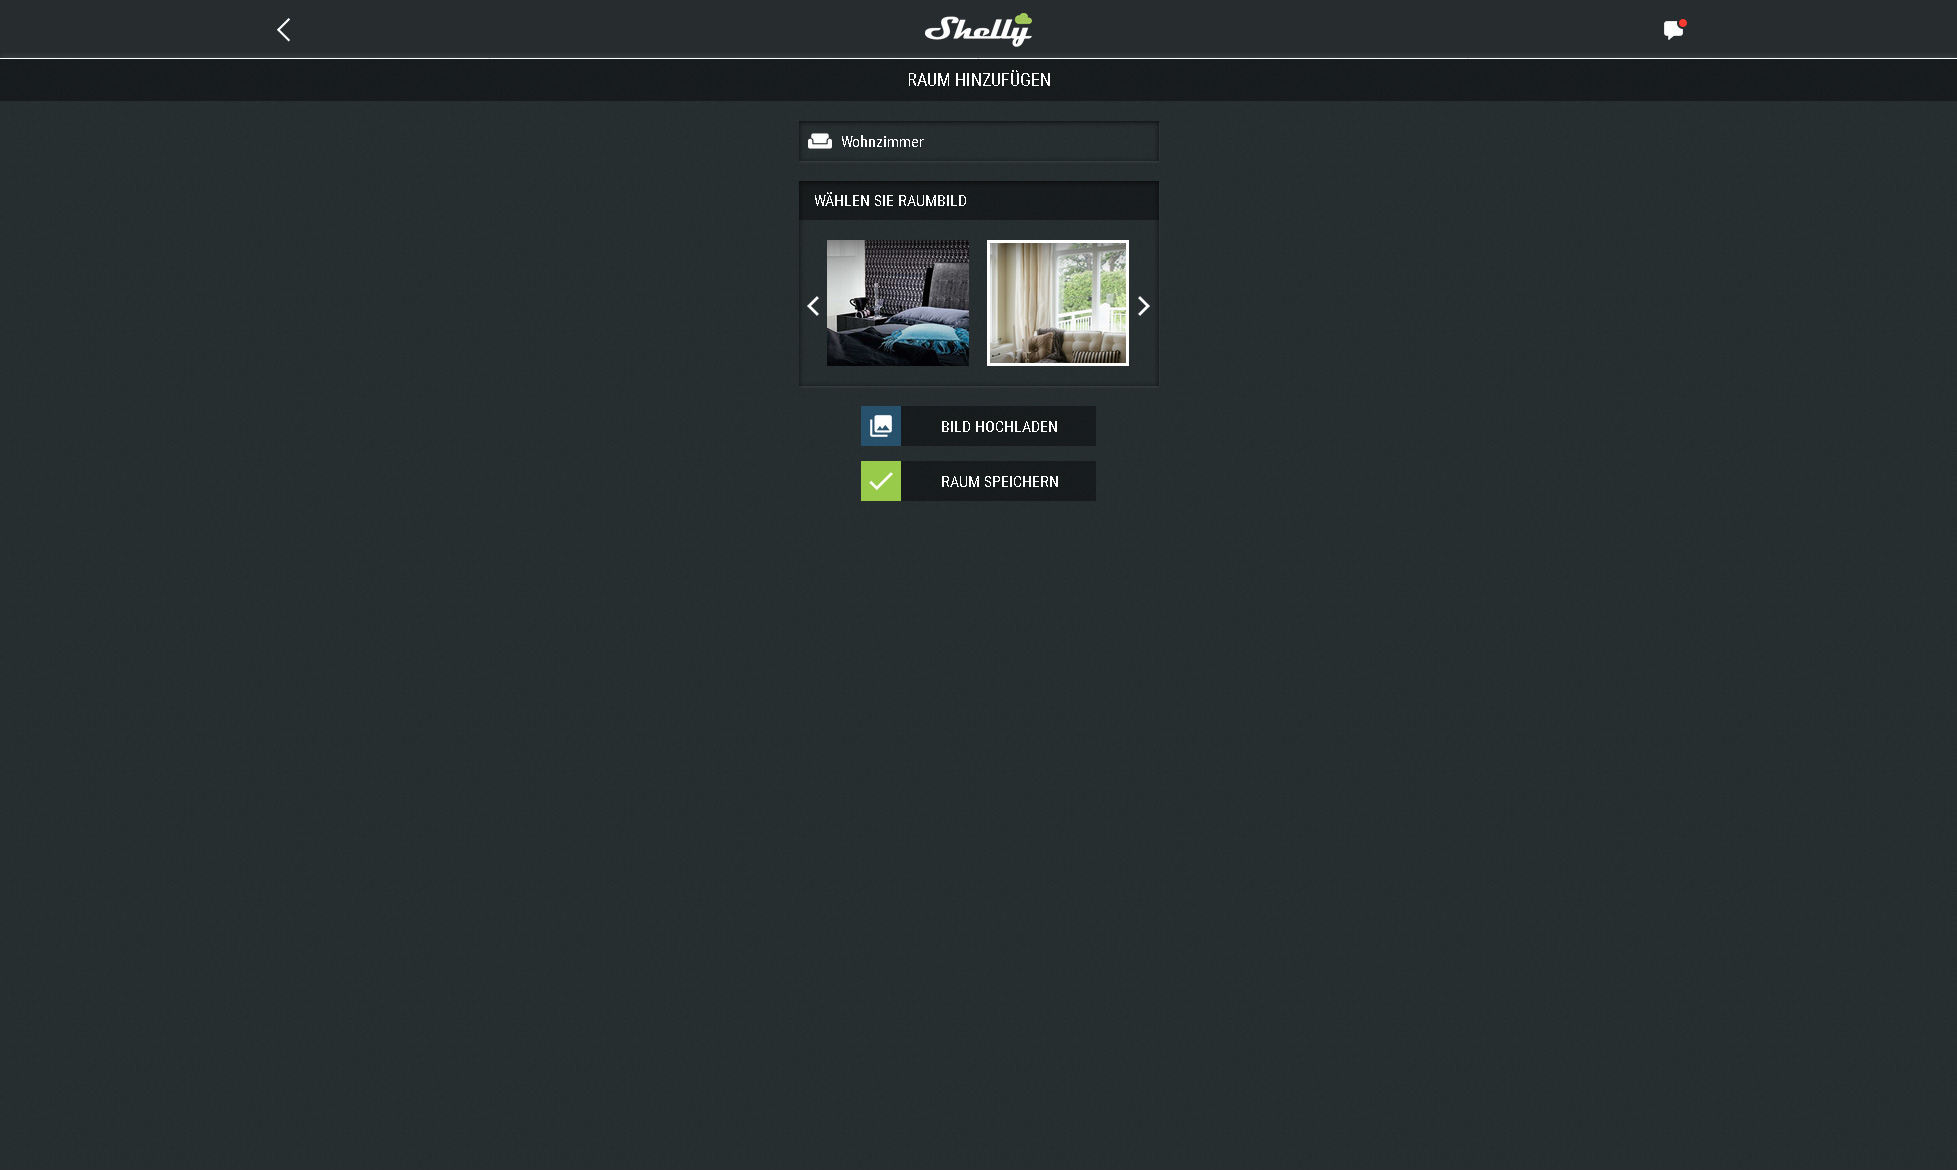
There you can create a Shelly room, a Shelly group and a Shelly scene as well as make some settings. We start with the room, which we call living room in our example, select or upload a suitable image and confirm with Save room.
Now we have created a room in the Shelly Cloud and can add the devices.
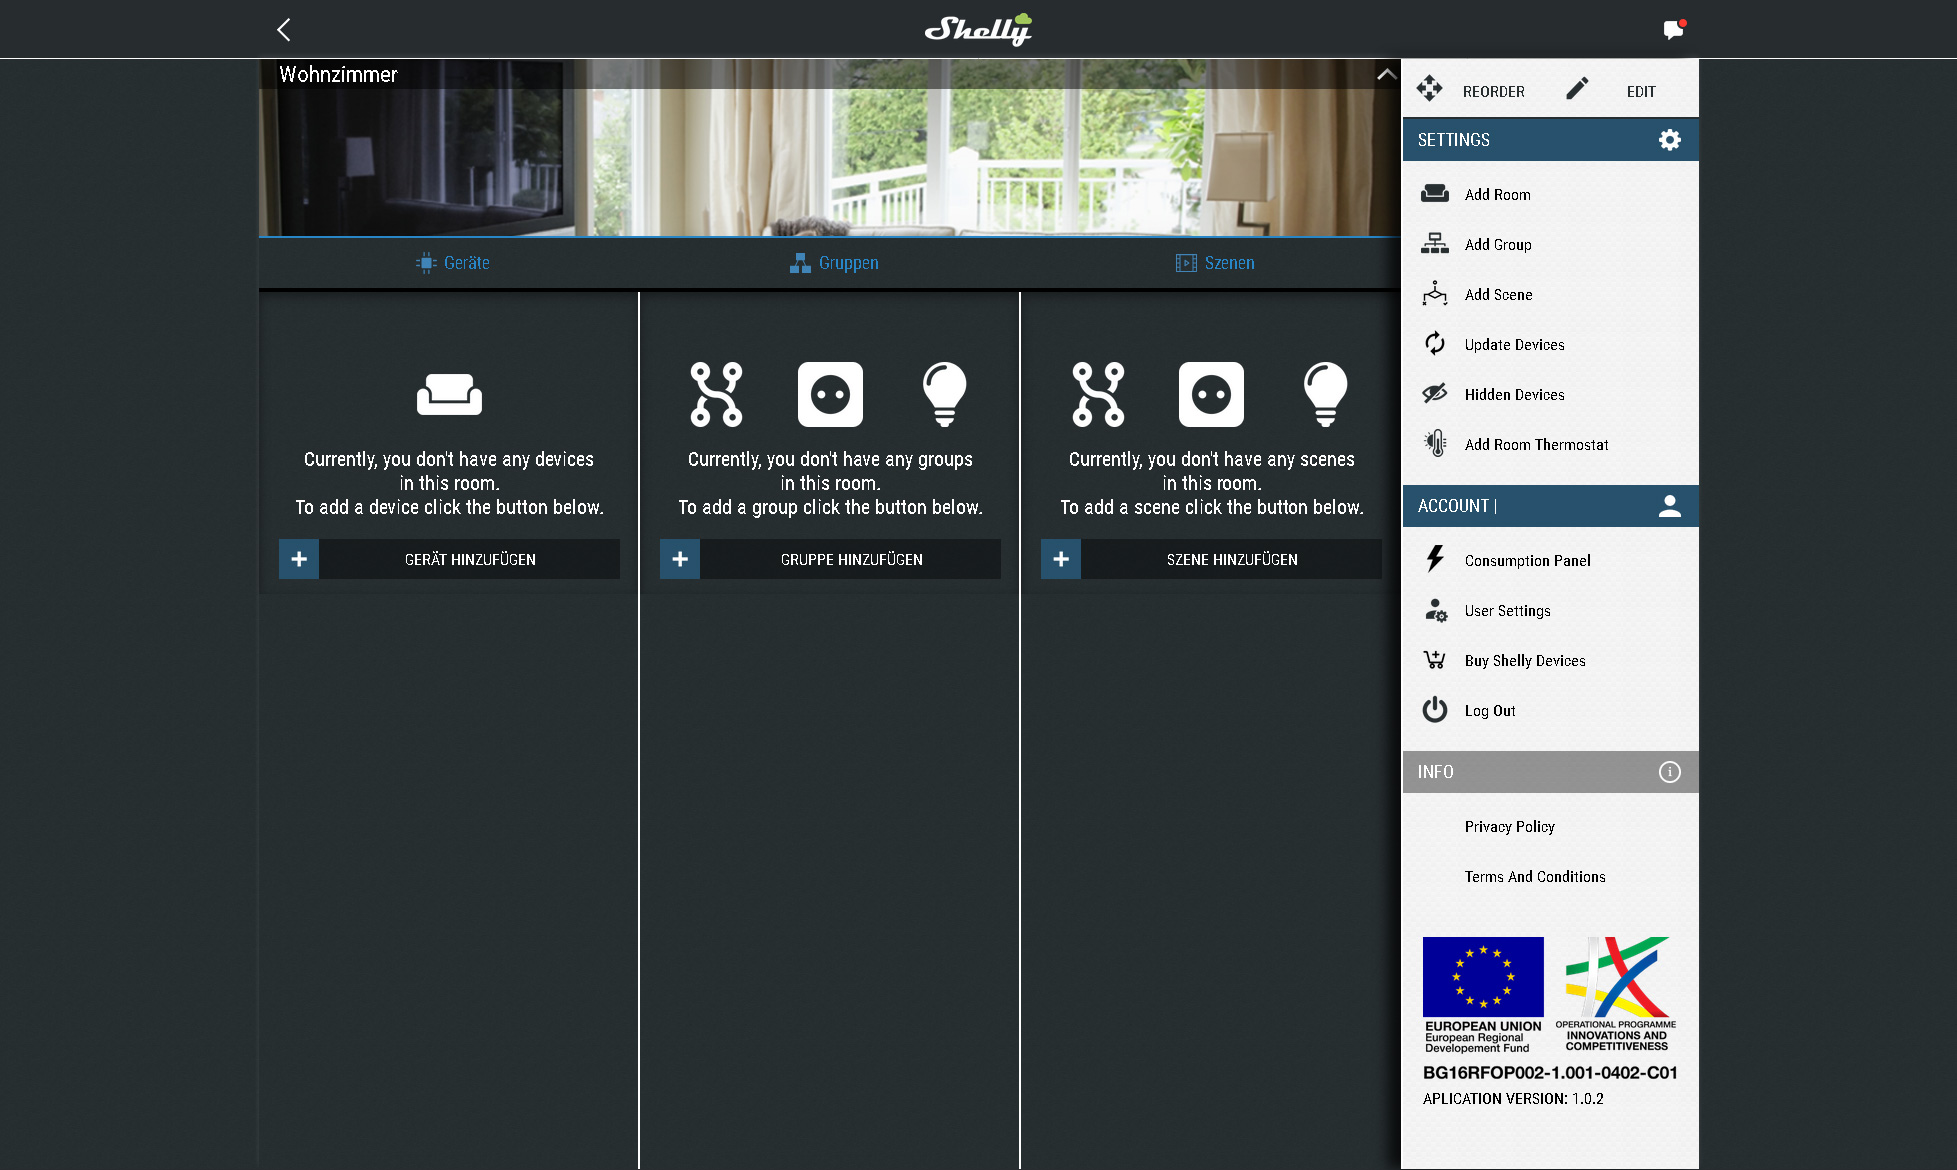
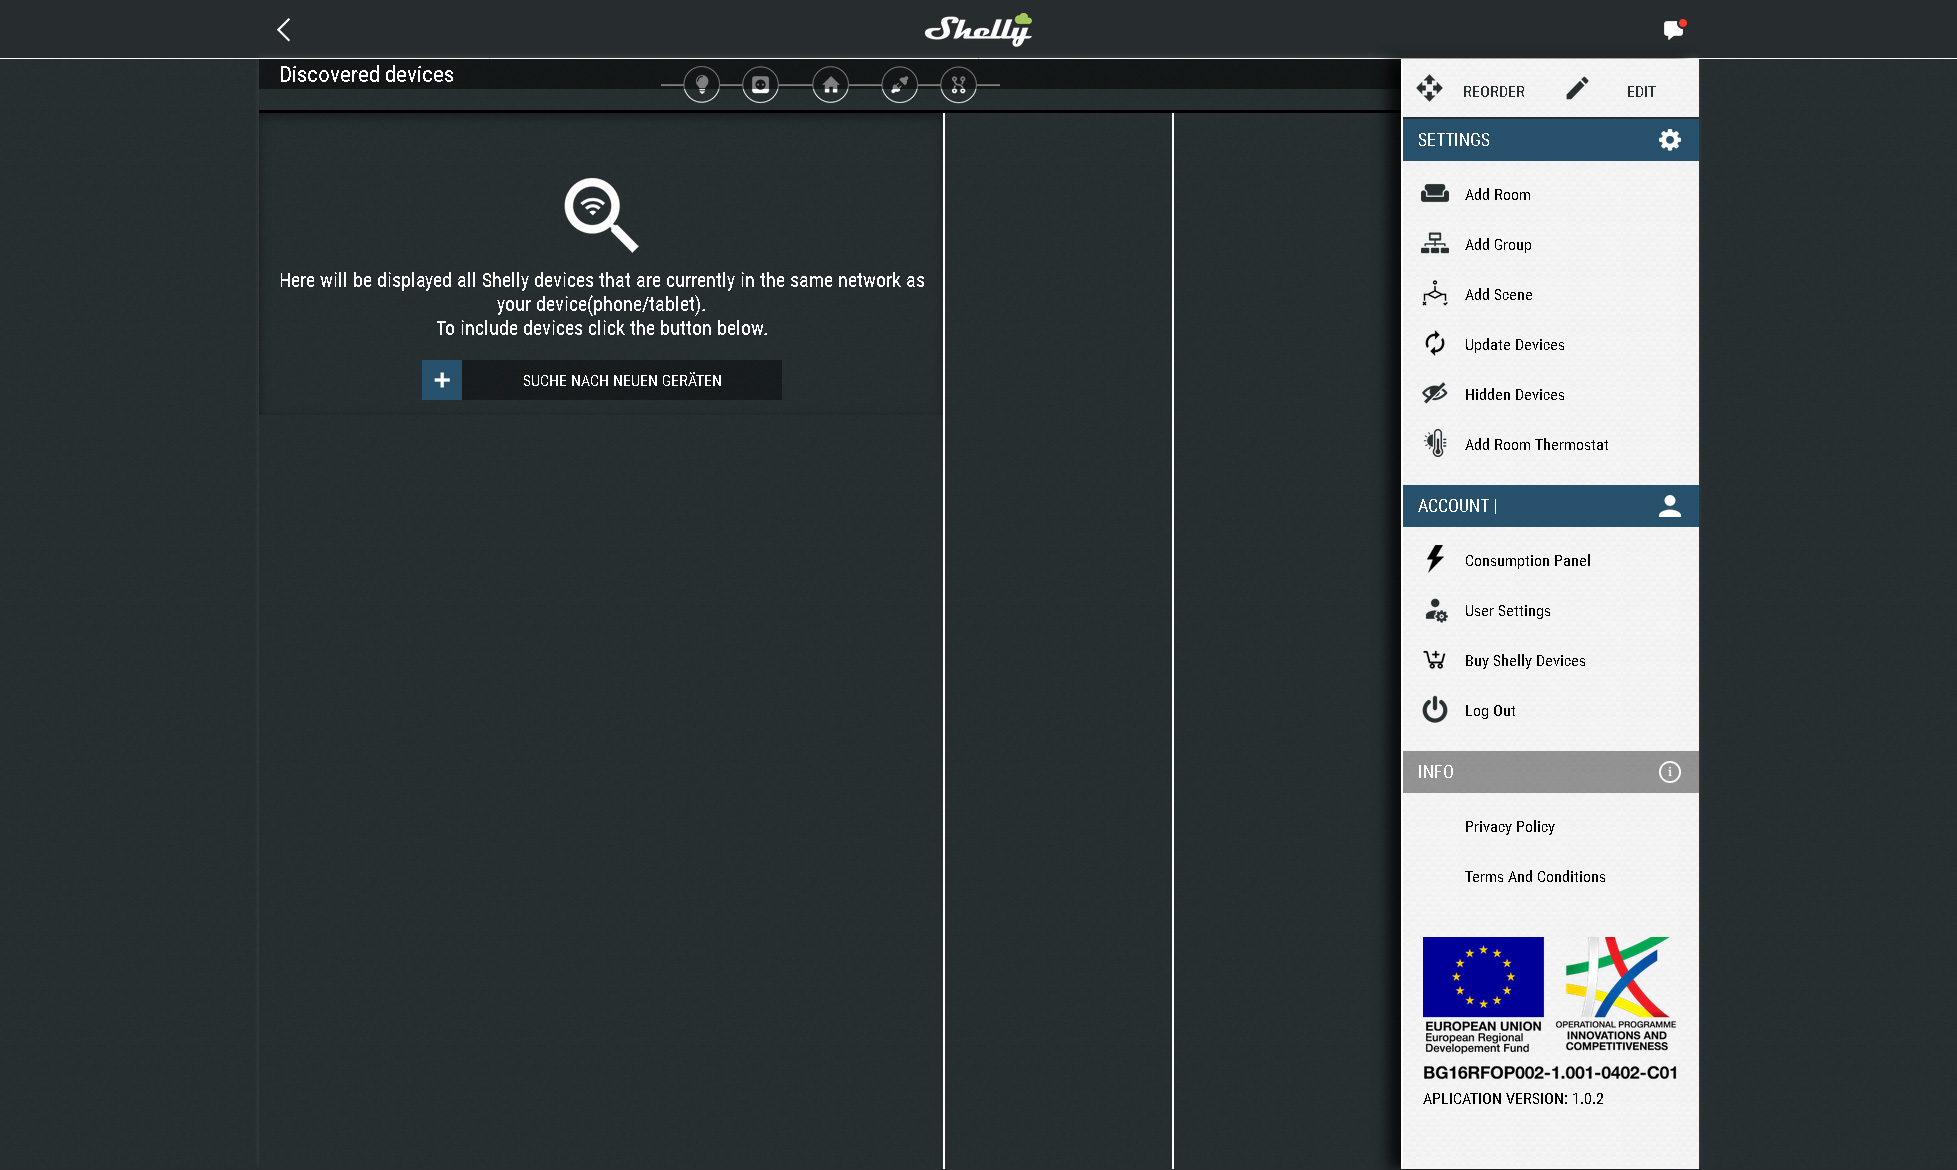
To add devices in Shelly, click on Add devices and search for the devices. However, the devices must be on the same network as the PC, tablet or smartphone that we just used to access the website.
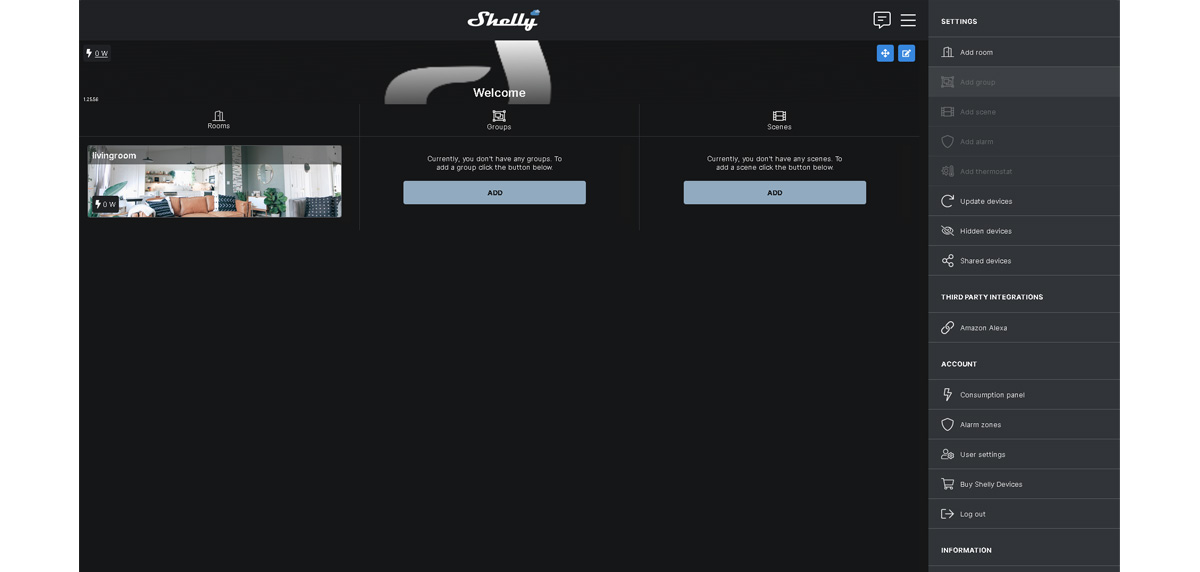
Shelly Cloud new …
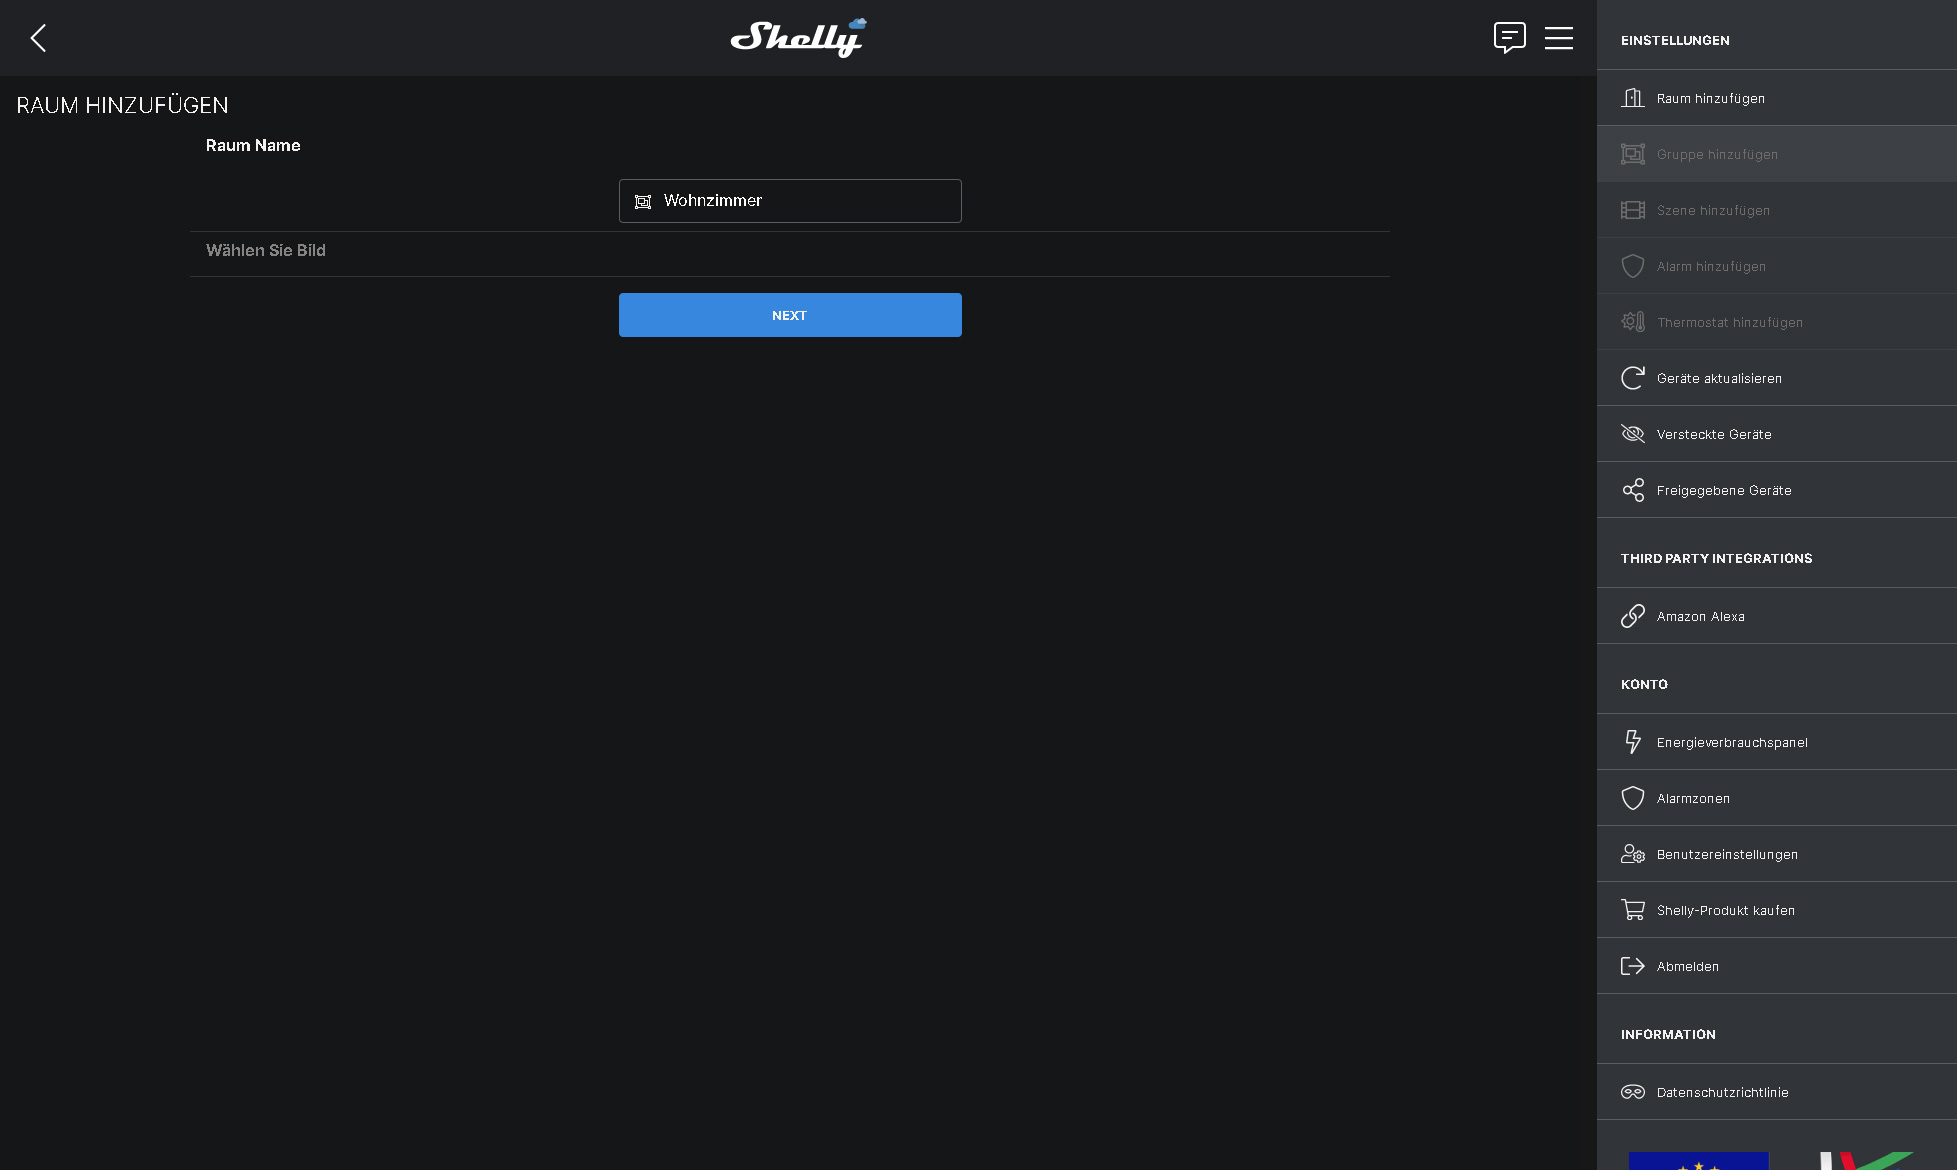
Using the new home.shelly.cloud website, it will look like this. The Shelly entry page.
Create Shelly room.
Select room image.
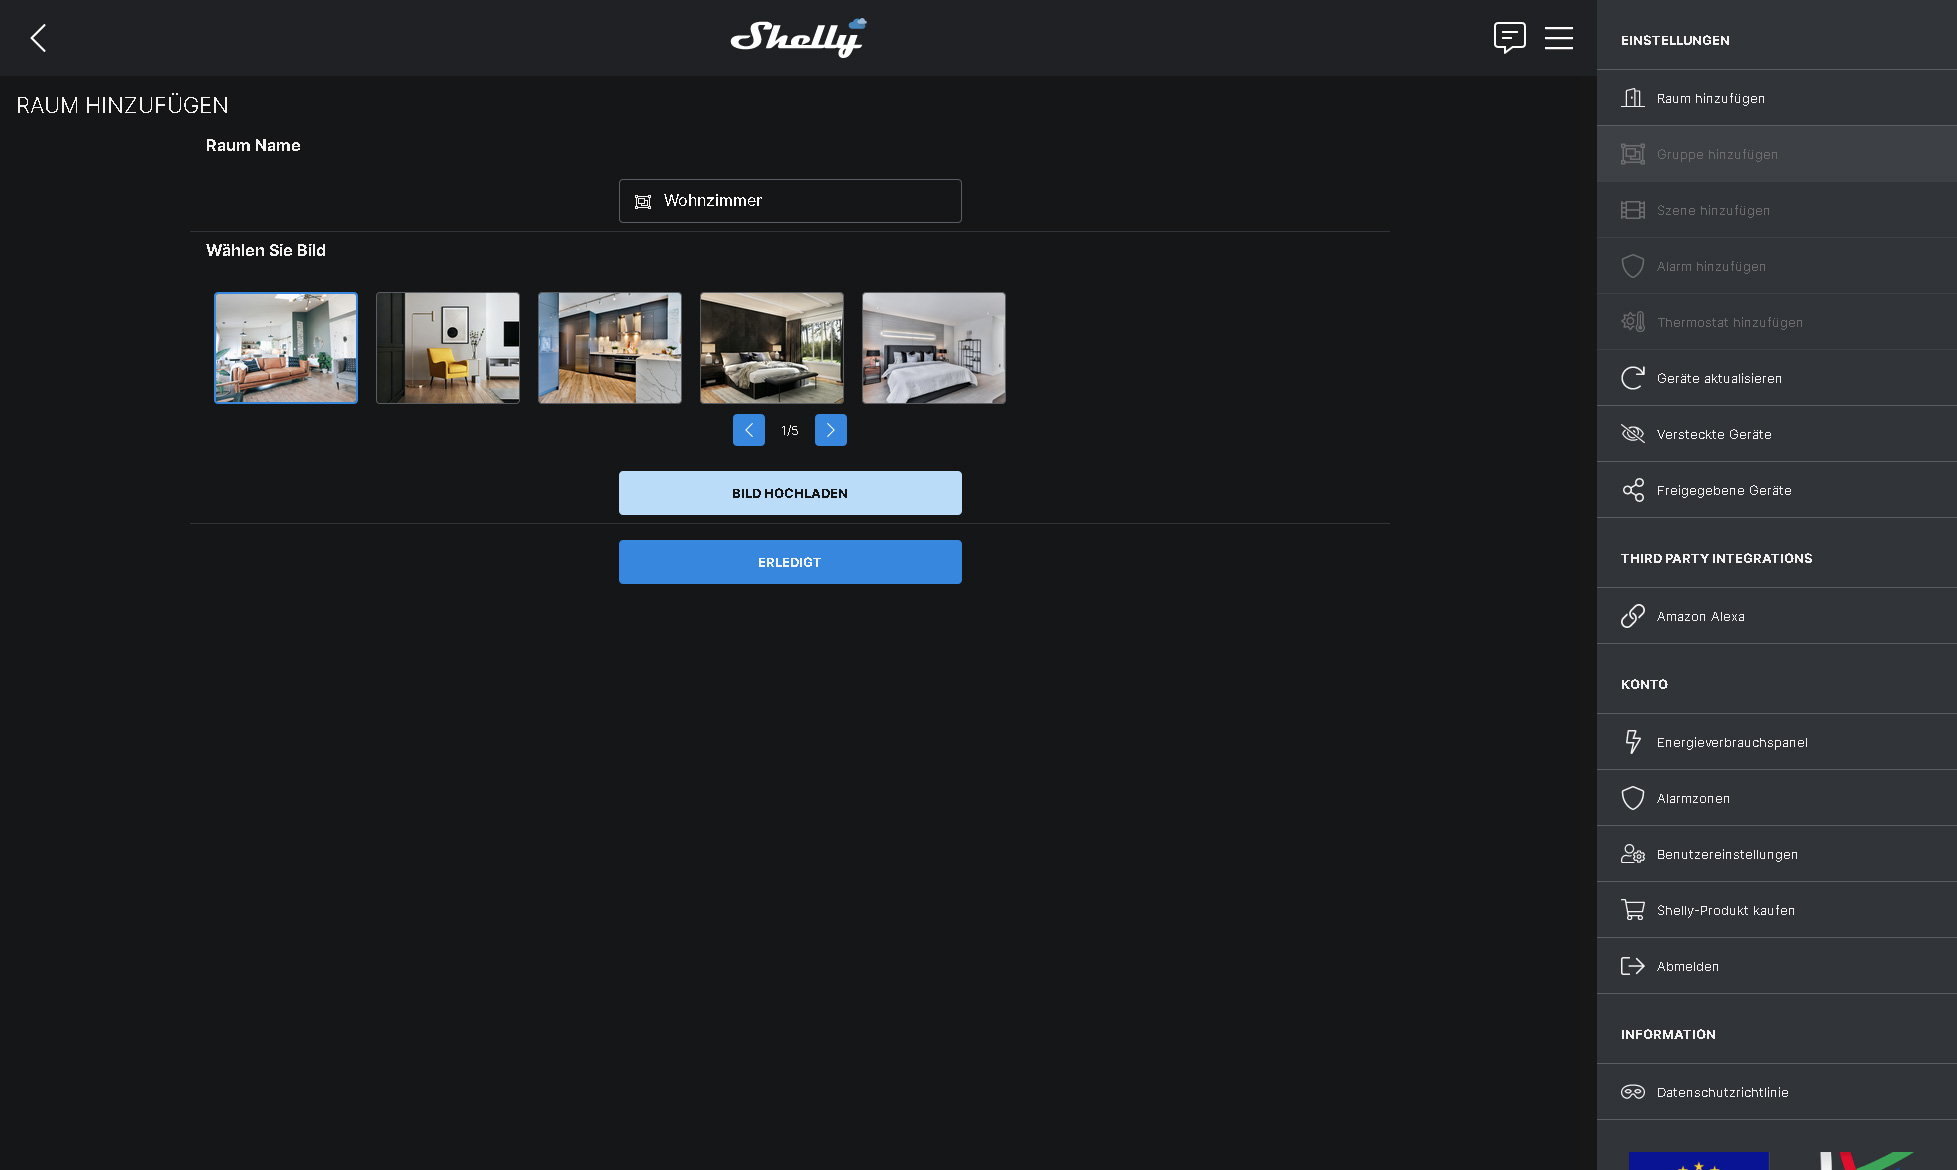
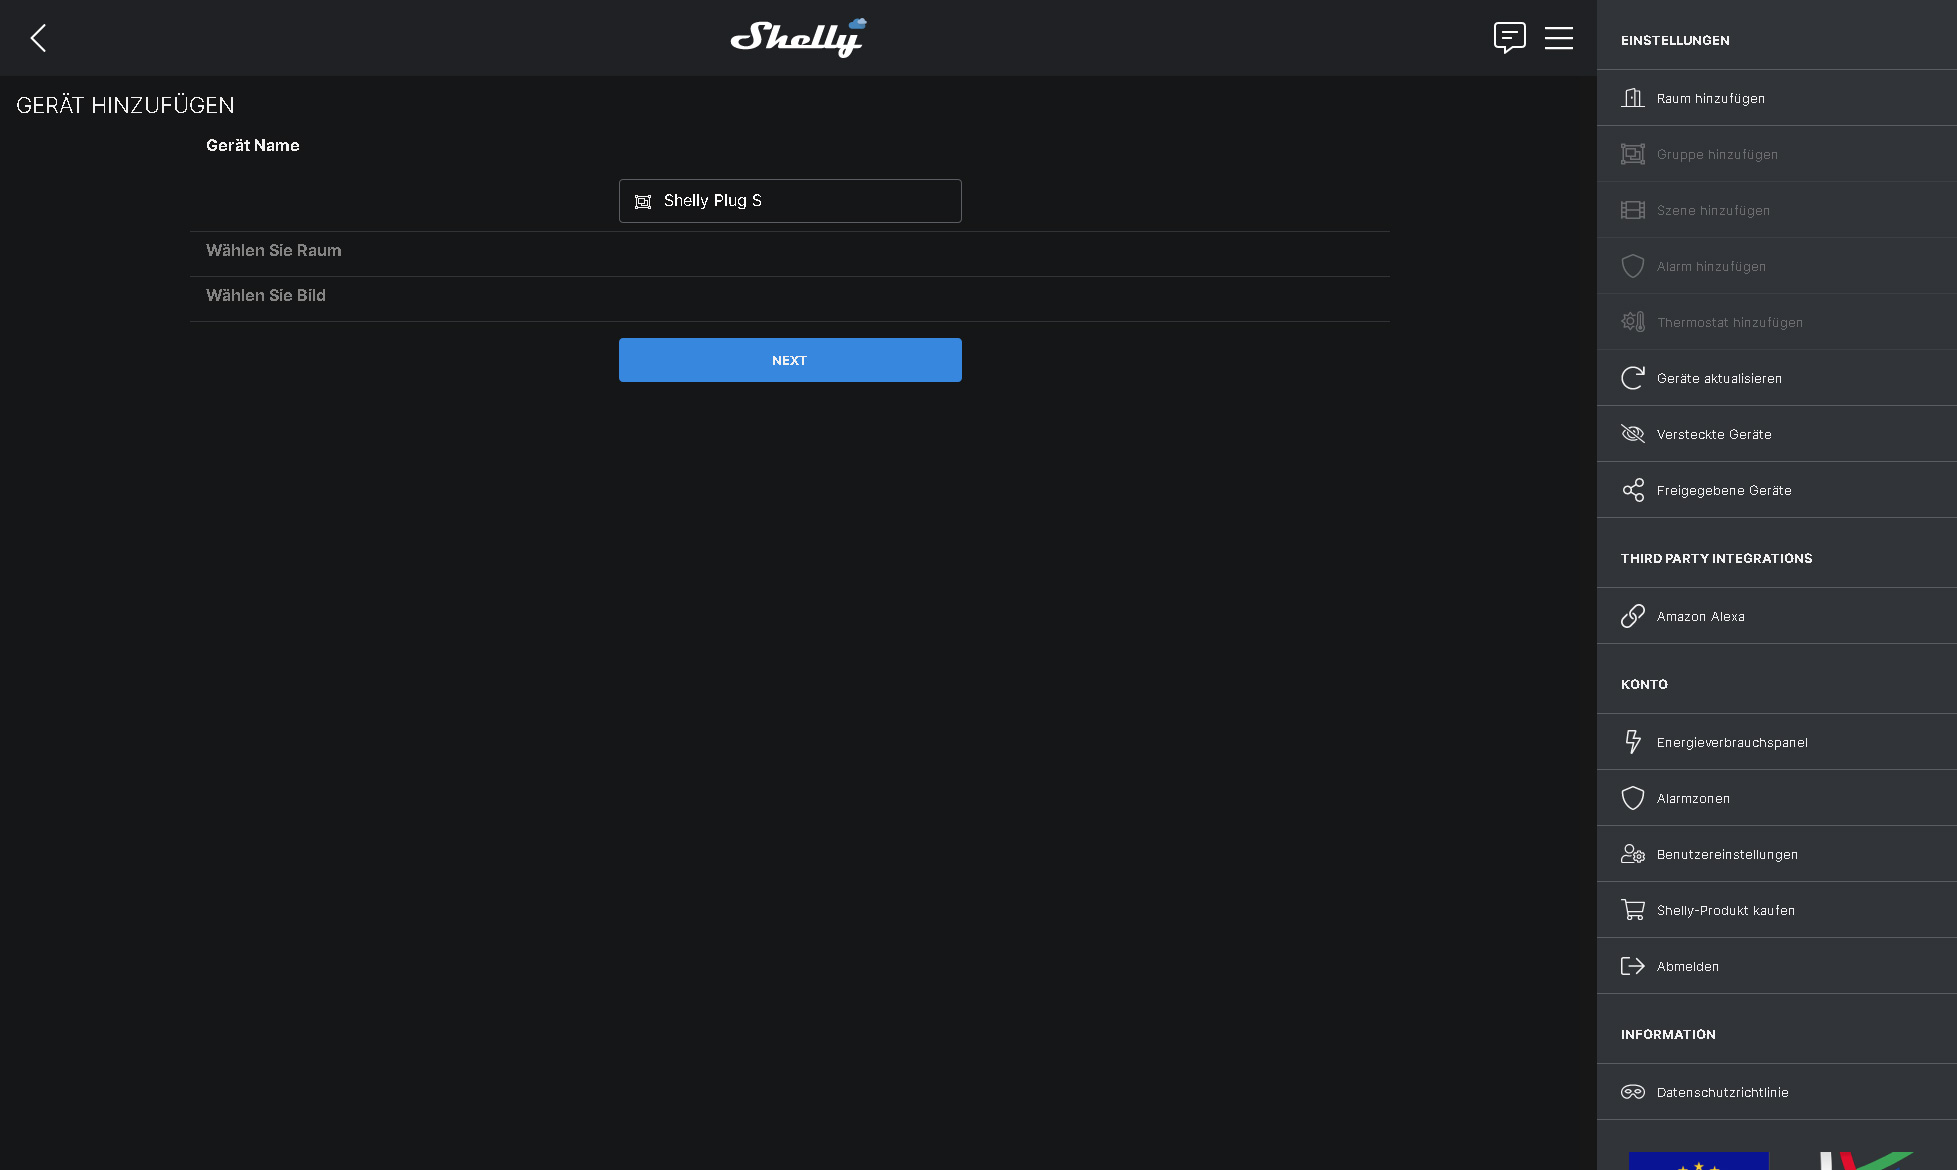
Create Shelly device by clicking Add Device.

Connect Shelly device …
To connect the Shelly device, plug the corresponding device, for example the Shelly Plug S, into the socket and press the power button on the Shelly Plug S, if the LED is not already flashing blue. If you like to setup battery powered Shelly devices with USB port (like Shelly Button1 or Shelly Plus H&T), you should plug in the USB power cable during installation to prevent that the Shelly device disconnect during setup.
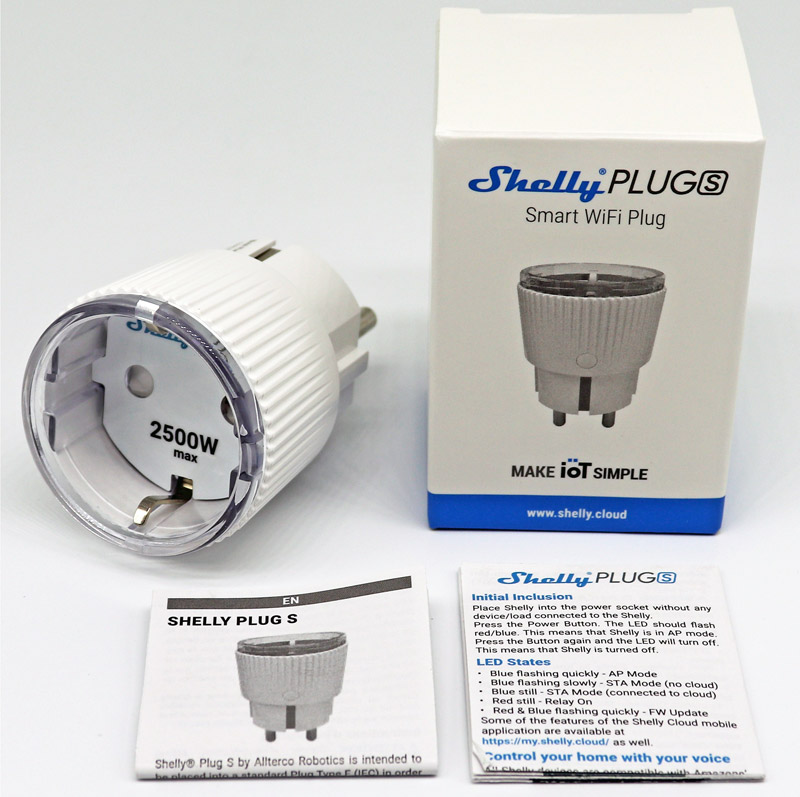
Shelly device mode …
You could also use the button on the Shelly device to change modes, from AP Mode (LED flashing blue rapidly) to STA Mode without cloud (LED flashing blue slowly) or to STA Mode with cloud (LED lit solid blue), but we’ll go into that in more detail soon. If the LED flashes alternately blue and red, a Shelly firmware update is being performed.
Tip: It is best to deactivate the 5 GHz WLAN in the router during the Shelly setup, since the Shelly devices work with the 2.4 GHz WiFi.
Connect to the shelly device …
Now take a smartphone or tablet or PC with integrated WLAN module and connect via WLAN to the newly appeared shellyplug-s-x WiFi device (select “once” so that the smartphone does not try to connect to the direct shelly WiFi again and again).
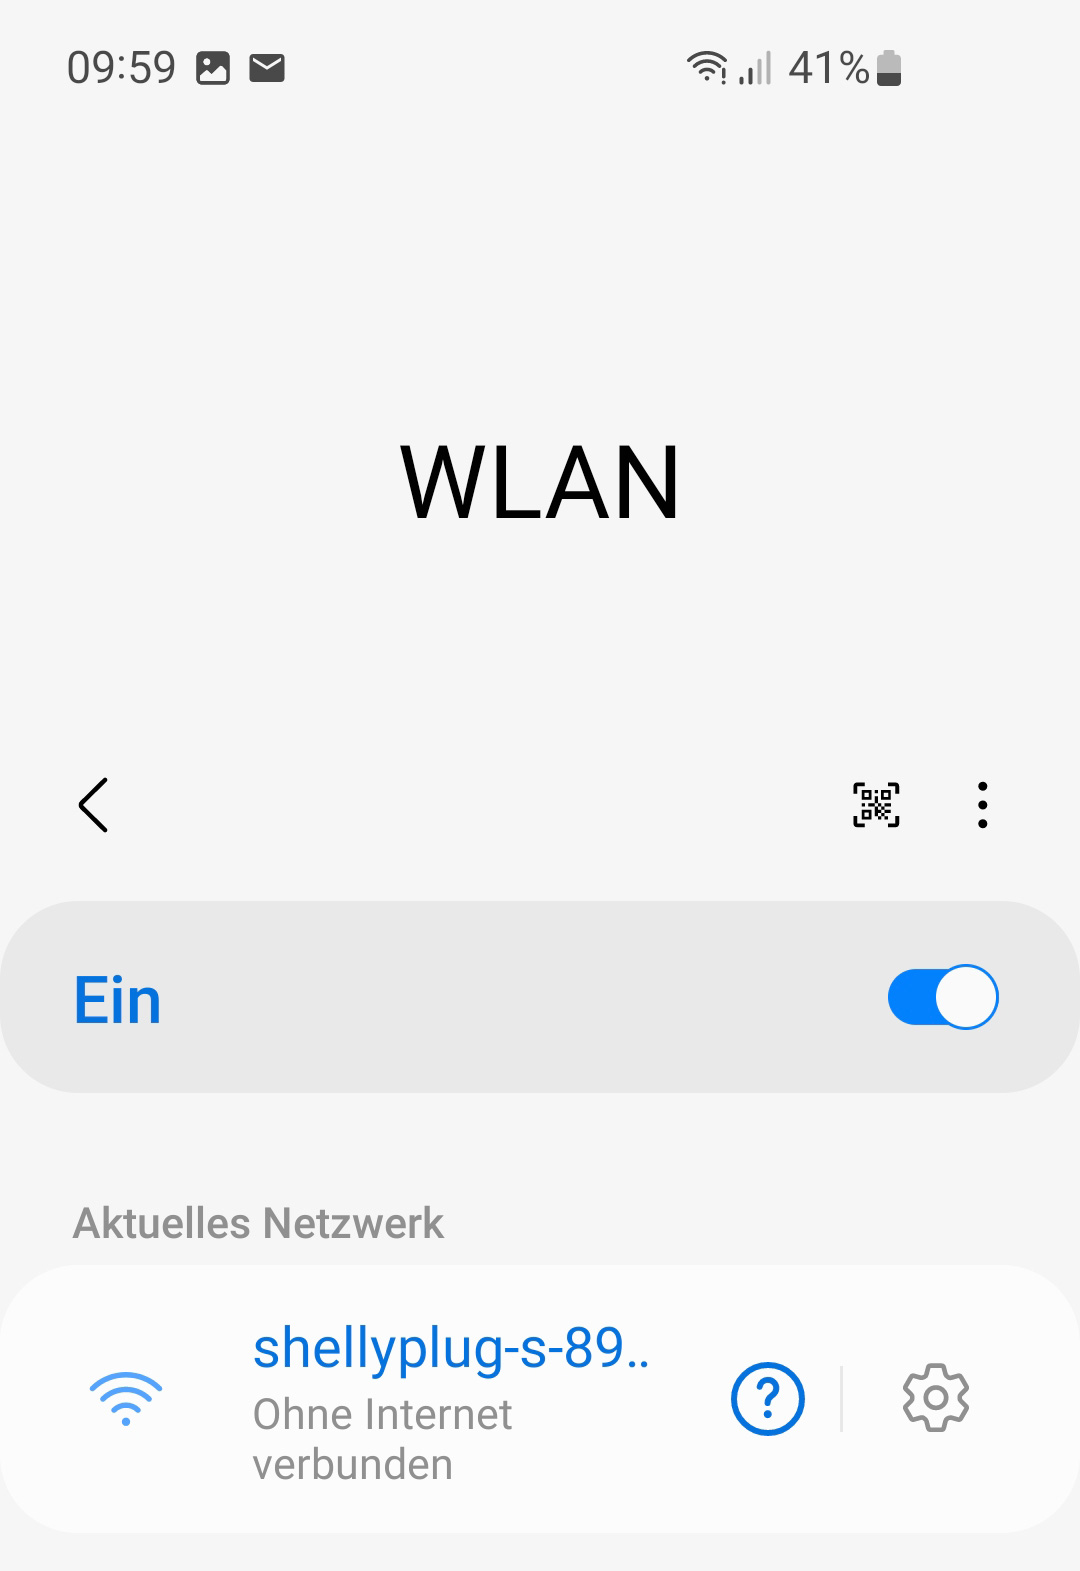
Then you call the following IP address with this device via the mobile browser:
http://192.168.33.1
Note: Disconnect the mobile network (LTE, etc.), otherwise the smartphone would search for this IP address via the Internet.
Der integrierte Webserver zeigt nun das Shelly Webinterface an.
There you select Internet & Security.
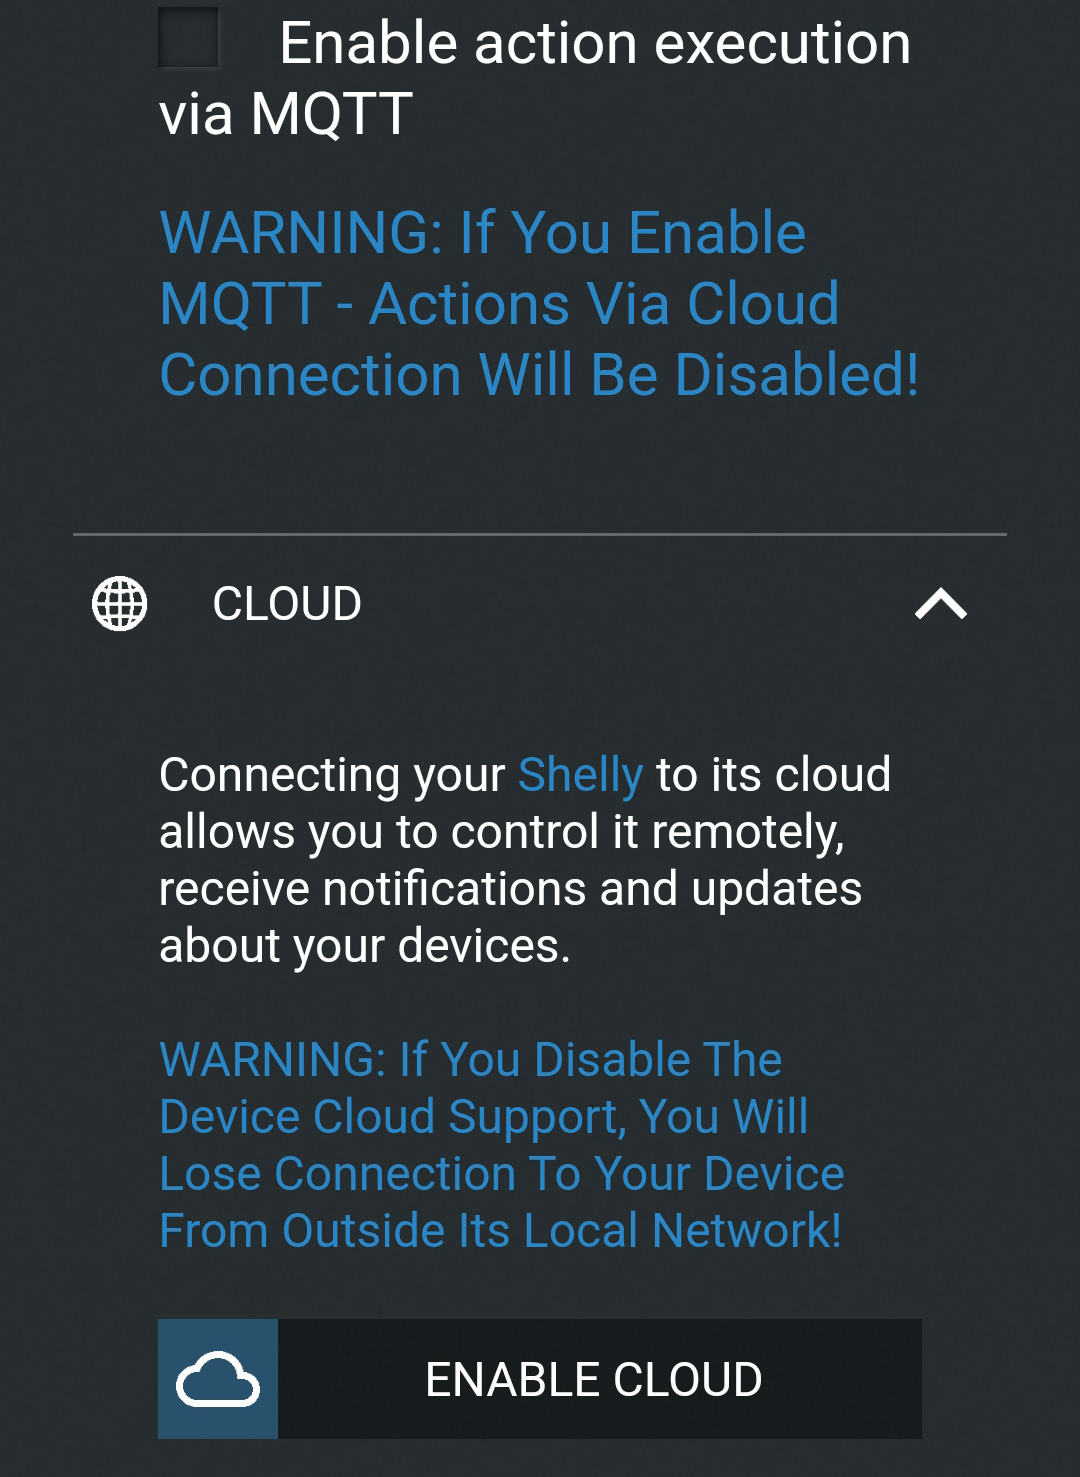
Enable Shelly Cloud …
If you want to access and integrate the Shelly device via the shelly.cloud web interface via cloud access outside the local network, you must now activate the cloud function via Cloud -> ENABLE CLOUD. If you have forgotten to do this, you can still do it later via the IP address assigned by the router.
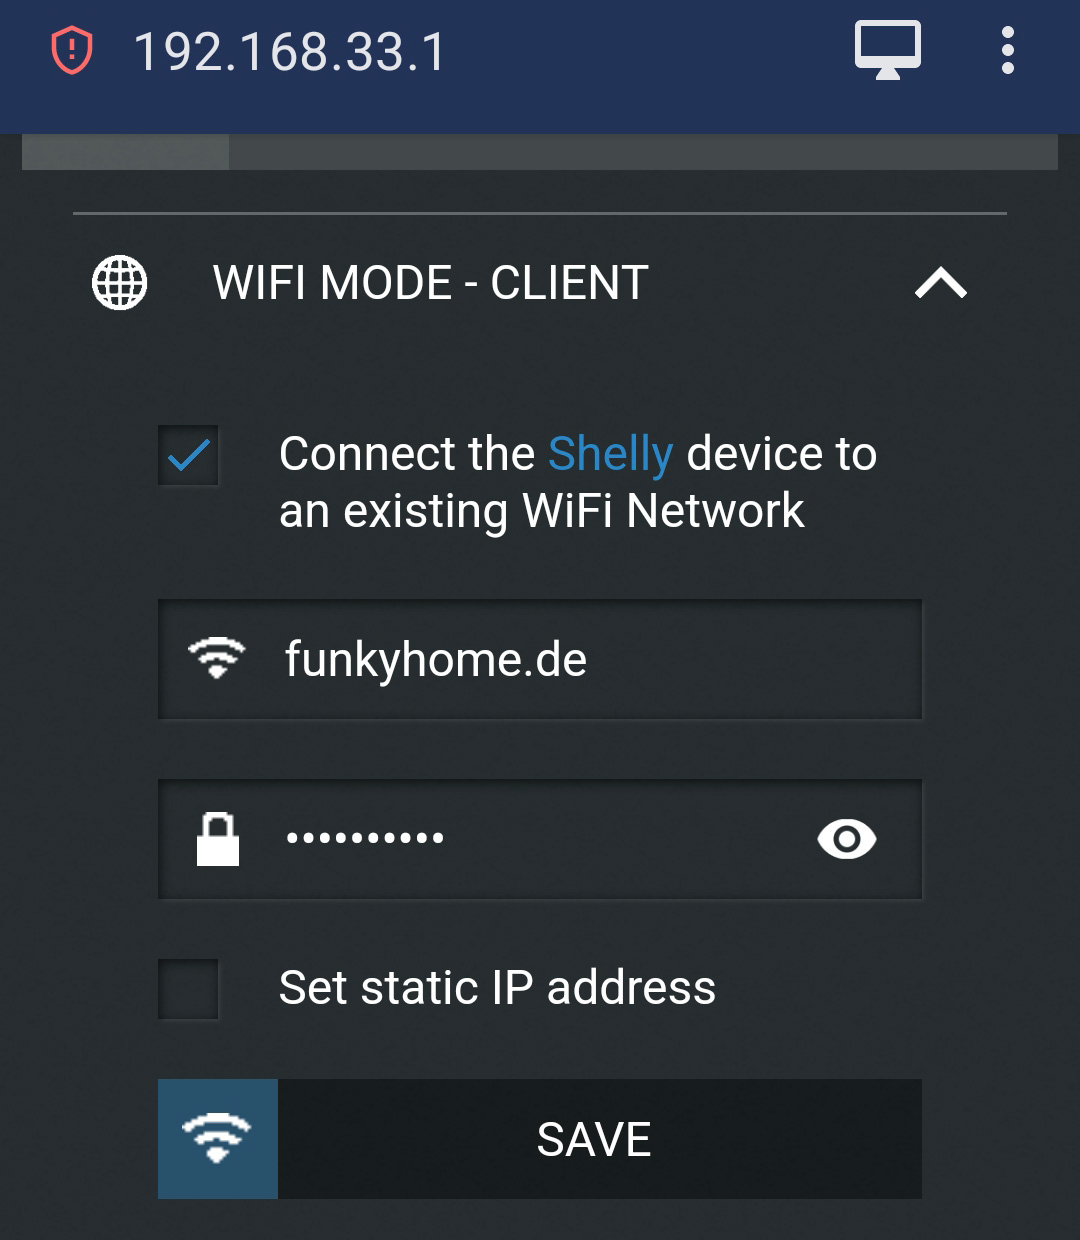
Now enter your own login data for WLAN access under WIFI MODE – CLIENT. These are saved in the device with a click on the SAVE button and the Shelly device now disconnects the Shelly device from the smartphone to connect to the WLAN router in the home network. From now on, you can no longer connect via the IP 192.168.33.1, but now go via your own WLAN router to the Shelly Cloud or the assigned IP, which you can look up in the router (e.g. AVM Fritzbox or Linksys, Telekom Speedport, NetGear Nighthawk, D-Link, TP-Link, etc.).
This IP address can now be used to access the Shelly component and set up the Shelly device or directly assign the functions, set up timers and improve Shelly security. We recommend the option to create a Shelly username and password via Internet & Security -> RESTRICT LOGIN to secure access to the component. By the way, the Shelly default password is admin and the user is also admin.

Tip: You can also use a guest WLAN for the Shelly Smart Home devices to separate the network from the private LAN. But then you have to select “Devices are allowed to communicate with each other” under Guest WLAN in the router. In addition, it is possible to block the Internet access via corresponding router profiles, so that the Shelly component can no longer connect to the Internet.
Shelly Firmware Update …
If you want, you can also update the firmware of the Shelly device at the same time. The new firmware can be downloaded under Settings -> Firmware Update.
Integrate Shelly Devices …
When called Shelly Cloud on PC via web browser add Shelly device and let search for it in LAN.
If you have gone through the Android Shelly app, the app will now automatically add the device in WiFi.
Via the Shelly Cloud app, you can also change the devices at any time, e.g. rename the Shelly device or change the Shelly device image by clicking Edit Device.
Step by step, you will then proceed with assigning/naming all devices.
Hint:
– Sometimes the setup does not work right away, then you have to remove the device again and try again.
– It is recommended to assign a fixed IP to each device. This can be done in the device settings.
– Afterwards you should check in the device info if there is already a 12-digit ID. If this is not yet 12-digit, you should change to 12-digit to avoid conflicts in the cloud.
To do this, simply enter the following in the browser: http://x.x.x.x/longifyid
Attention, this causes a factory reset and you have to set up the device again afterwards. Instead of x.x.x.x enter the IP of the corresponding device.
General Shelly Settings …
At this point we would like to give a few explanations about the Shelly settings in general:
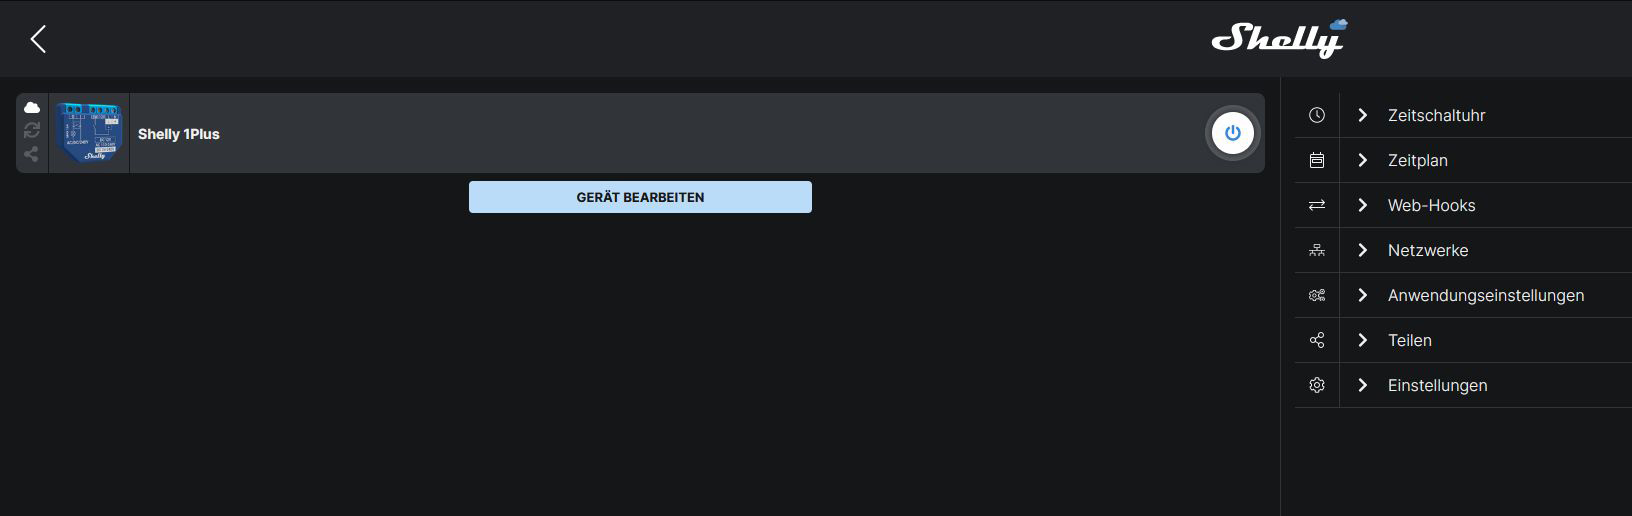
The menu for configuring the devices is always structured quite similarly. You can mostly set simple time functions (timer, schedule) here relatively easy. Overview in the app.
Create Shelly Groups …
Here you can group different devices, for example to turn off all devices in the group with one click. But unfortunately there are restrictions here what kind of devices you can group.
Create Shelly Scenes …
Here you can create scenes, simple if-then sequences. As already mentioned, there would be for example the washing machine, which reports as soon as it is finished: If consumption < x watts, then alarm on cell phone. But also the control of other devices such as heaters/ventilators: If temperature < x °C, then switch on device or If humidity > x, then switch on fan.
That’s about it, at least with the teaching of the Shelly components. The setup works very similar with other components like the tested Shelly EM, Shelly 3EM, Shelly Plug S, Shelly Button 1, Shelly HT, Shelly Plus 1 and Shelly 1PM. We hope that this small guide has helped with the learning and setup and if you have any questions we will help as usual in our Smarthome Forum.
Read the Shelly Smart Home Gadgets review …
Discuss in our forum and share experiences about the Shelly Guide …