
EcoFlow Delta 2 Max Installation …
This brings us to the installation of the power station with solar modules, microinverter and switchable sockets. First, it is best to install the EcoFlow app on a smartphone or tablet. The battery of the power station is usually only precharged to just over 30%. If possible, you should not discharge the battery much below 30%. But before you connect the battery to the power outlet or the solar panel for the first charge, you should, in our opinion, install the app and configure the power station correctly with it!
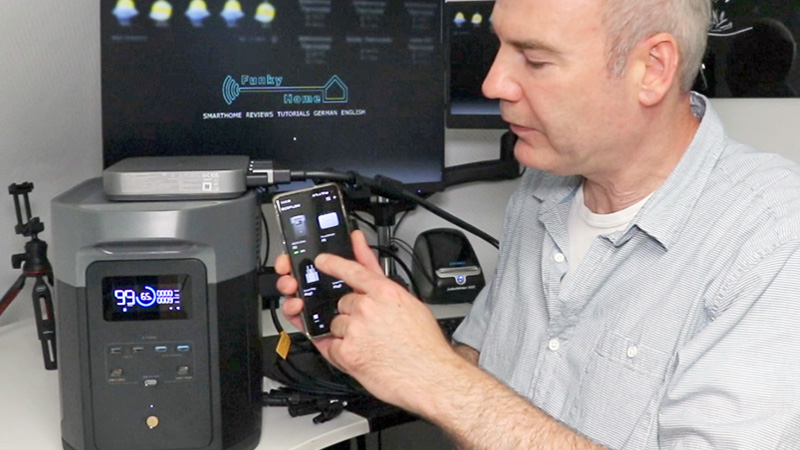
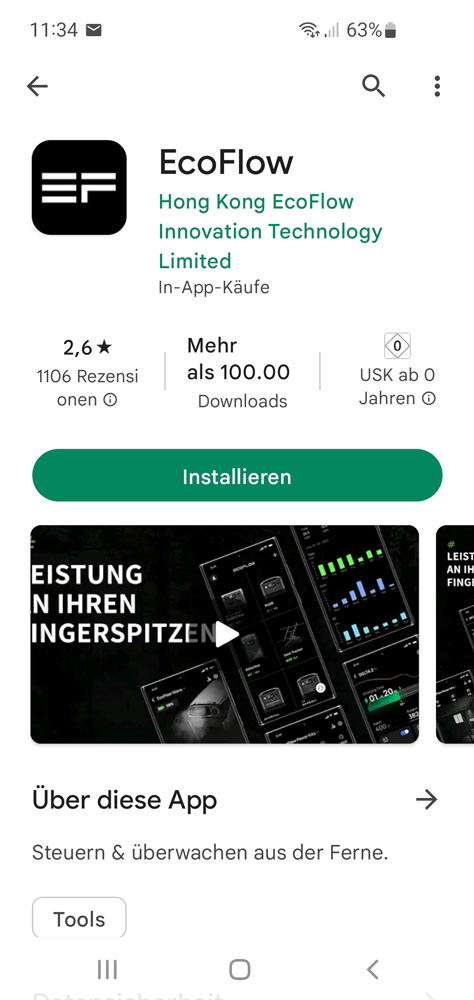
With the app you can define with what, how much and how you want to charge. Therefore, you should first download and install the 80MB EcoFlow app using our EcoFlow app guide.
After that add the powerstation in the app and then start with all the EcoFlow app settings. Because as long as you don’t connect any device to the powerstation, the pre-charged battery capacity is easily enough to do all the basic initial settings.
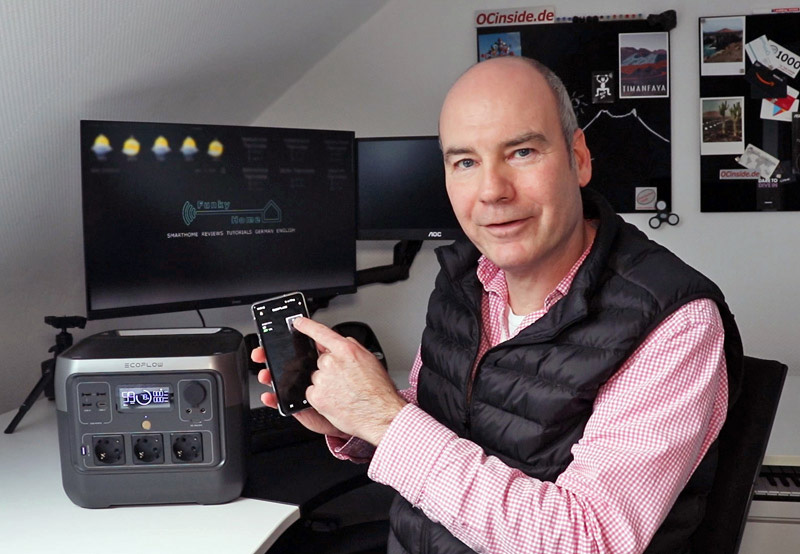
In the step-by-step EcoFlow app guide, we give you some tips that you should first read through in full. As much as you’re looking forward to finally getting started, there are a few little things you should pay attention to and set correctly right at the beginning – for example, the maximum charge level, the minimum discharge level, the charging speed, DC mode, X-Boost mode, but also the timeout, so that the power station can’t discharge too deeply.
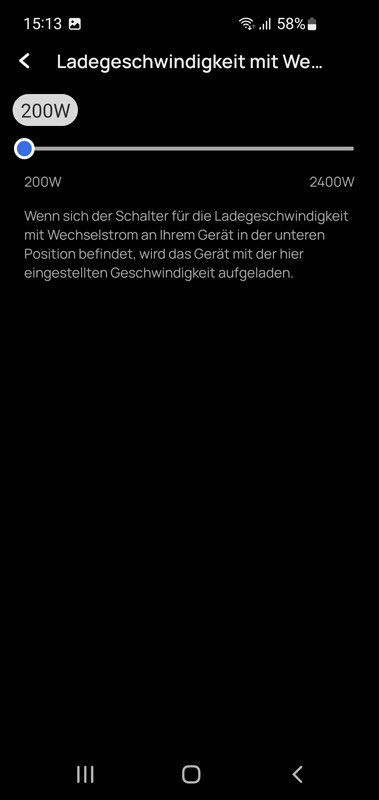
One small thing in advance, the charging speed can only be set in steps of 100 from a minimum of 200 watts up to 2400 watts with the EcoFlow Delta 2 Max Powerstation. 100 watts or even 50 watts like in the previously tested EcoFlow River 2 Pro are unfortunately not adjustable. Speaking of which, if the powerstation only charges at 2400 watts, you should take a look inside here. We will explain everything else in Practical testing.
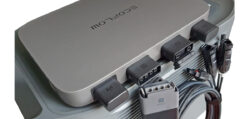
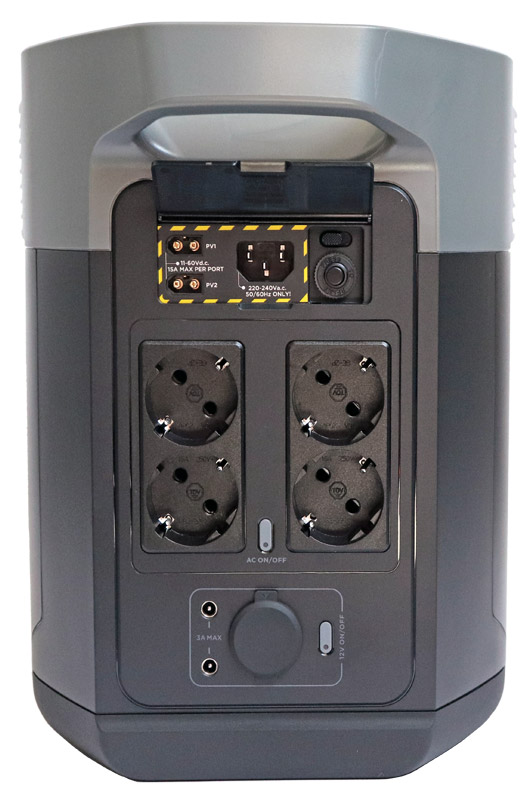
The power station offers all inputs and additional outputs on the back. On the top left, under a flap, you can see two sockets for the 11-60V DC input from a solar panel or a car charging cable with up to 15A per connection as well as a cold appliance socket for the power supply via 220-240V AC socket. To the right is another X-Stream toggle switch, which you can slide to the left to always charge at 2400 watts or slide to the right to charge at a power selected in the app from 200 to 2400 watts. Directly underneath are still the 4x 230V earthed sockets along with a button to turn this AC power on and off. At the bottom there are two DC5521 sockets for charging notebooks and the car connection under the protective cap as well as a button for switching on these DC power supplies. In the middle there is a gold/yellow power button with an operation LED. And last but not least, there are 4x 230V Schuko sockets with a button to switch on the AC power supply.
Let’s move on to the microinverter installation on the next page and go even further into the possible connections of the power station along with possible solar modules.
EcoFlow PowerStream Installation …