
Practical testing …
Shelly Review
Shelly EM Review
Solar management with Shelly 3EM
Shelly Plug S Review
Shelly Button 1 Review
Shelly H&T Review
Shelly Plus H&T Review
Shelly 1PM Review
Shelly Plus 1 Review
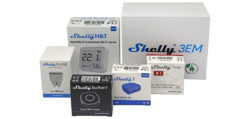
Shelly Review Information …
Setting up Shelly devices is a quick process. We’ve explained exactly how it works in this little Shelly devices teaching tutorial.

In detail, we would like to discuss the functions of the following Shelly devices:
– Shelly EM
– Shelly Plug S
– Shelly Button
– Shelly H&T
– Shelly Plus H&T
In addition, we go into some detail about the following Shelly devices:
– Shelly 1 Plus
– Shelly 1PM
Shelly EM …
This is not a switch, but a consumption meter.
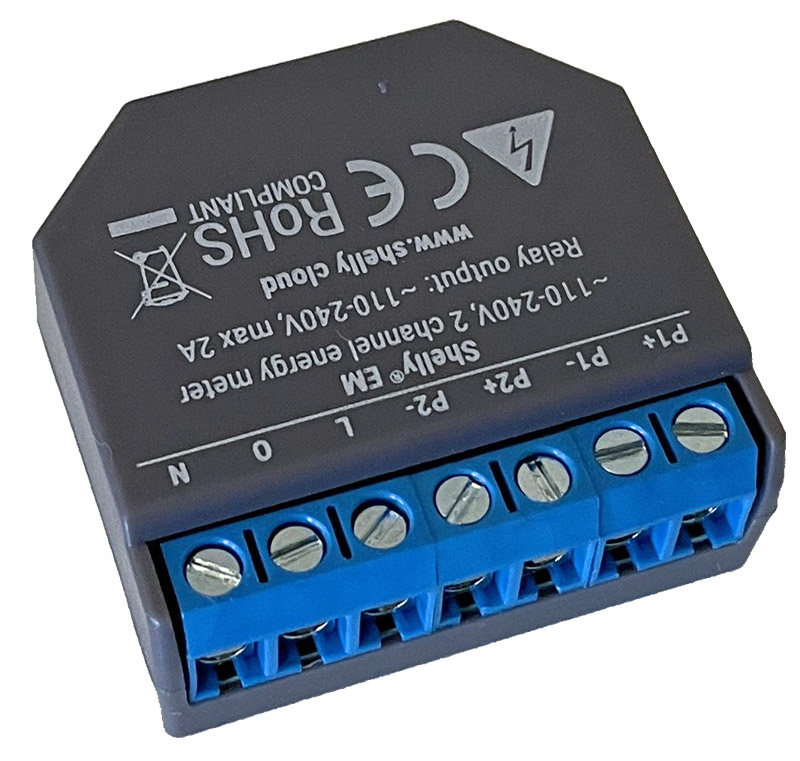
Nevertheless, a switching output is available, which can be used to control a contactor. An input to connect a physical pushbutton/switch directly is not available. The current measurement is carried out by means of 2 current transformer coils (optionally 50A or 120A), which are simply mounted over the lines to be measured. A disconnection of the lines is therefore not necessary.
To note: The EM and both lines to be measured must be on the same phase and it is essential that the current is switched off before the current transformer is connected.
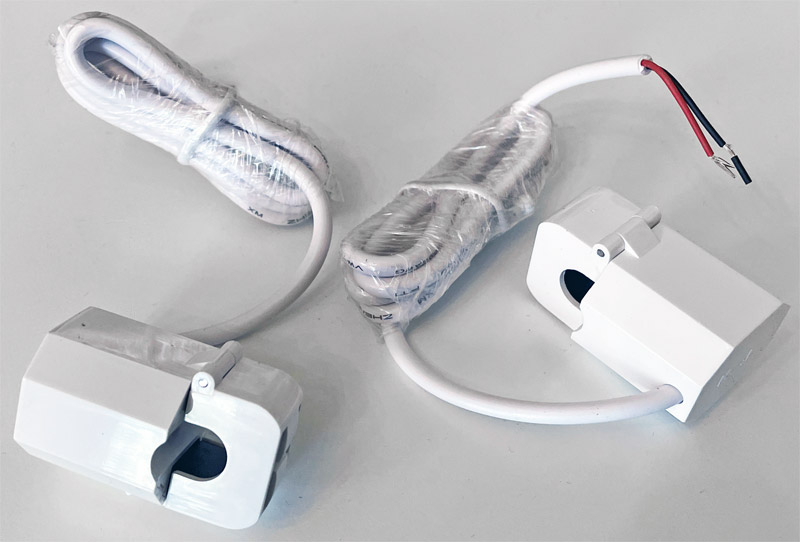
This is how it looks in a subdistribution, for example. One current transformer measures the consumption of the air conditioner and the second current transformer measures the consumption of the dishwasher.
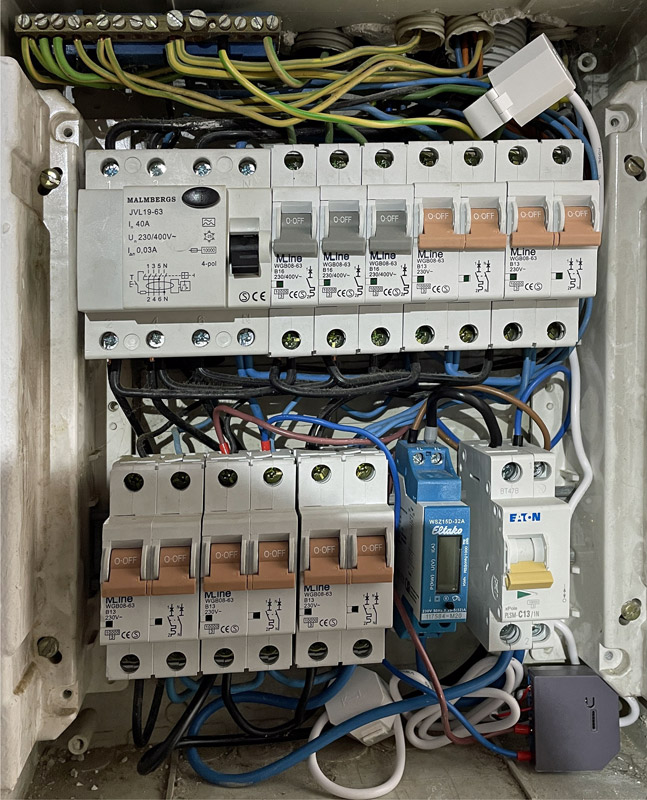
ATTENTION: Tinkering around in the fuse box is life-threatening and may of course only be done by a trained specialist!
And this is how it looks in the app or the cloud: In the overview you can see the rooms, depending on how you have assigned the devices.

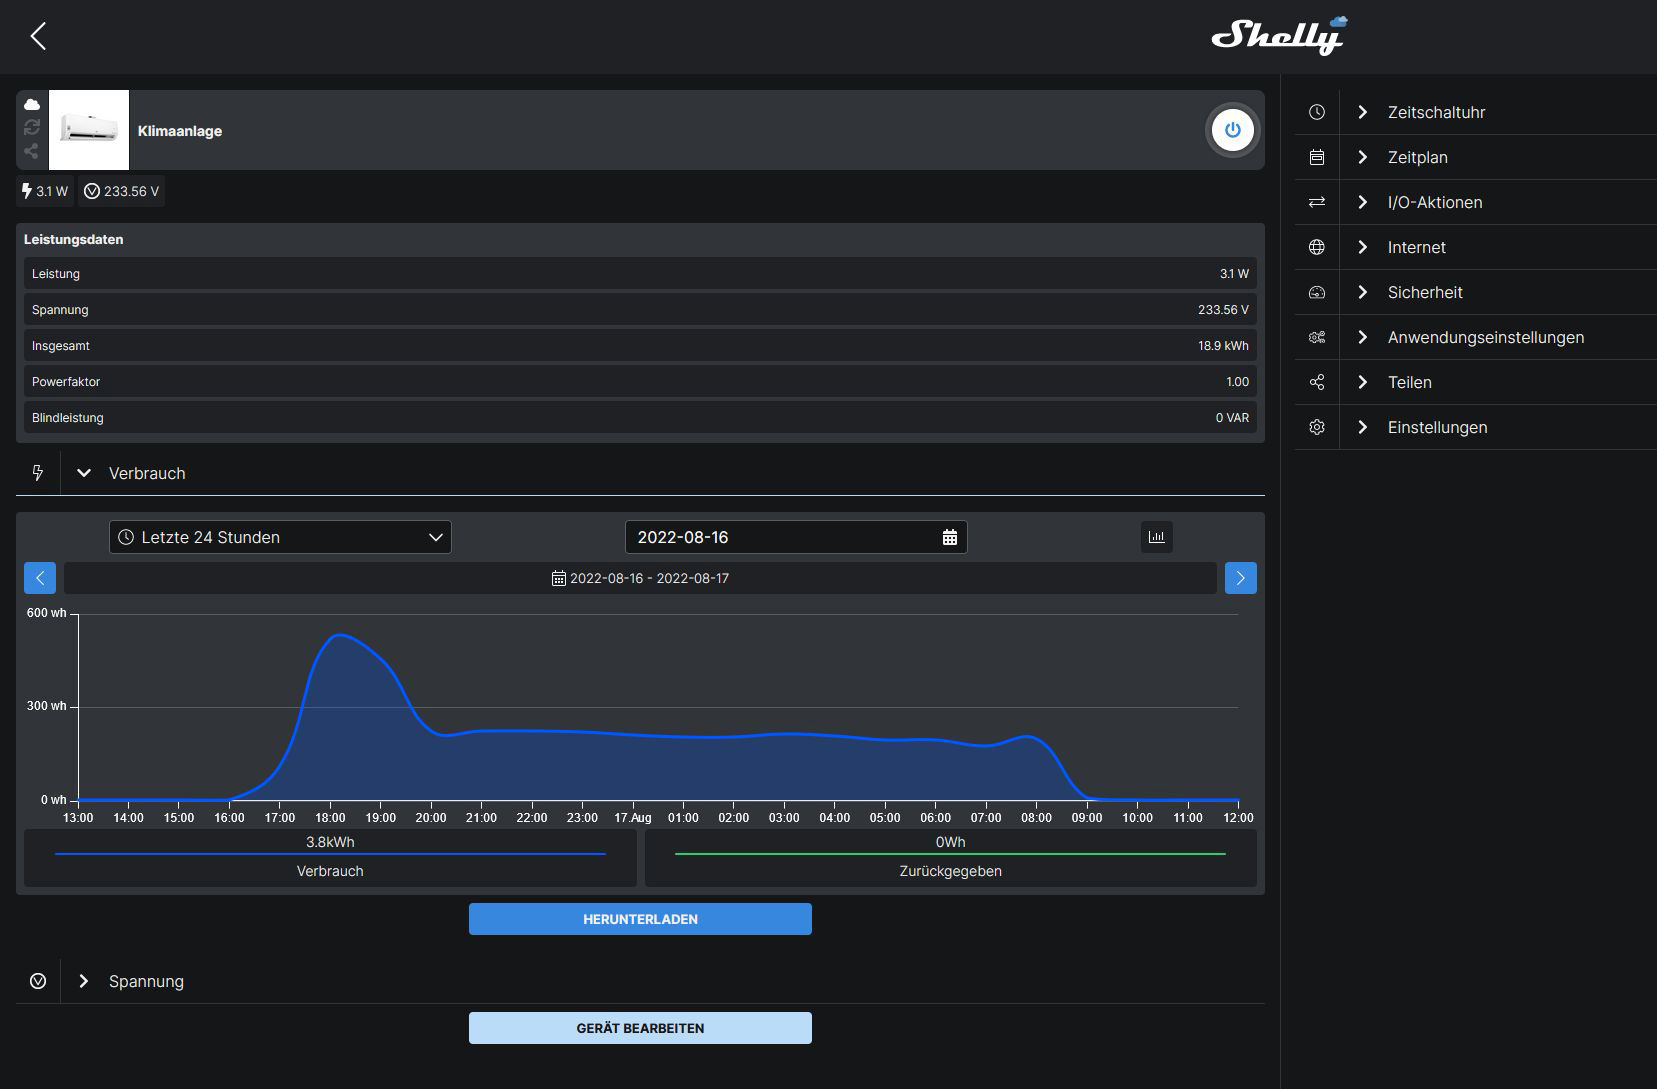
In the bedroom you can see 2 Shelly components. The upper device is the Shelly EM, which monitors the air conditioning. Below are the readings coming from the Shelly H&T (more on that later).

If you now click on air conditioning, the detailed display appears. Here you can see the current data, as well as the record of the past. For example, on 16.08. 3.8 kWh of electricity was consumed.
Operate Shelly with PV system …
.
However, the Shelly EM can not only measure consumption, but also measures in the other direction, that is, when you feed electricity into the grid. This is of course very interesting if you are running a PV system. And if you use the Shelly 3EM, you can even measure all 3 phases and also switch a contactor directly, so that you could for example switch a heating rod in the hot water tank or an electric heater as soon as more solar energy is produced than consumed. So you could build a solar management and use the surplus solar power sensibly.
Furthermore, you can see that the current power, the voltage and the power factor or the reactive power is displayed. If the power is displayed incorrectly (negative), the coils have probably been mounted upside down on the cable to be measured. If the power factor or reactive power is displayed incorrectly (negative), it may be that you are measuring on a different/wrong phase or there is a bug in the app/cloud. If you go directly to the device via IP, it is displayed correctly. But it is not too tragic, as long as the power is displayed correctly.
The recording and the graph is performed at intervals of 1h. The measurement of the EM itself is of course made constantly, but then converted to 1 hour in the cloud. A more accurate recording is unfortunately not possible with the shelly cloud, you would have to use e.g. openhab.
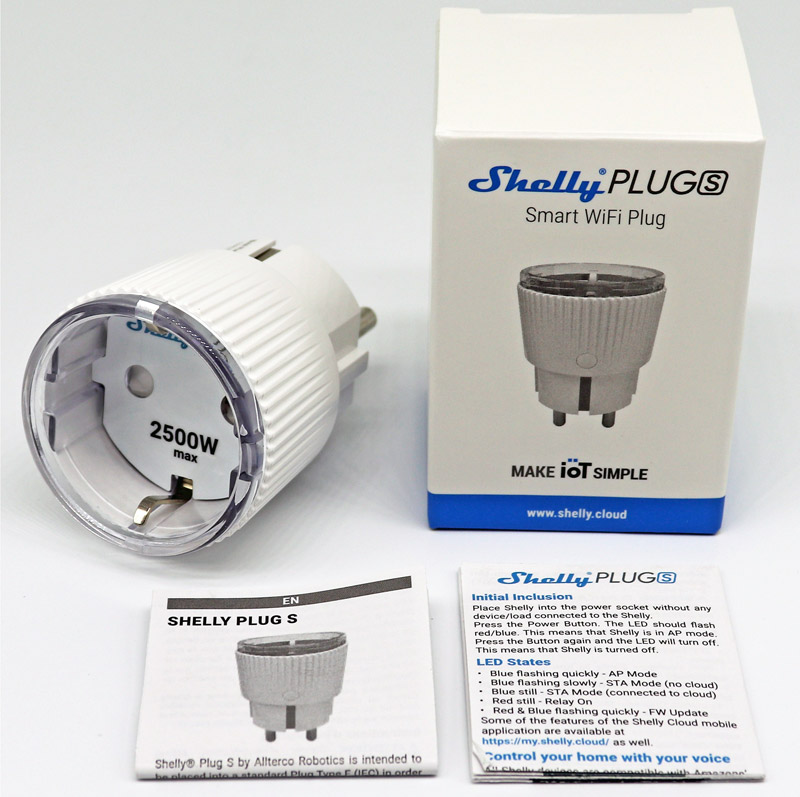
Shelly Plug S …
The Shelly Plug S is a simple plug and play solution to switch electrical appliances remotely and it can also measure the power consumption. On the side there is a small button, which can be configured as needed, e.g. to switch on/off. So you can switch the Plug S directly by button, by app, or by links / events of other devices.
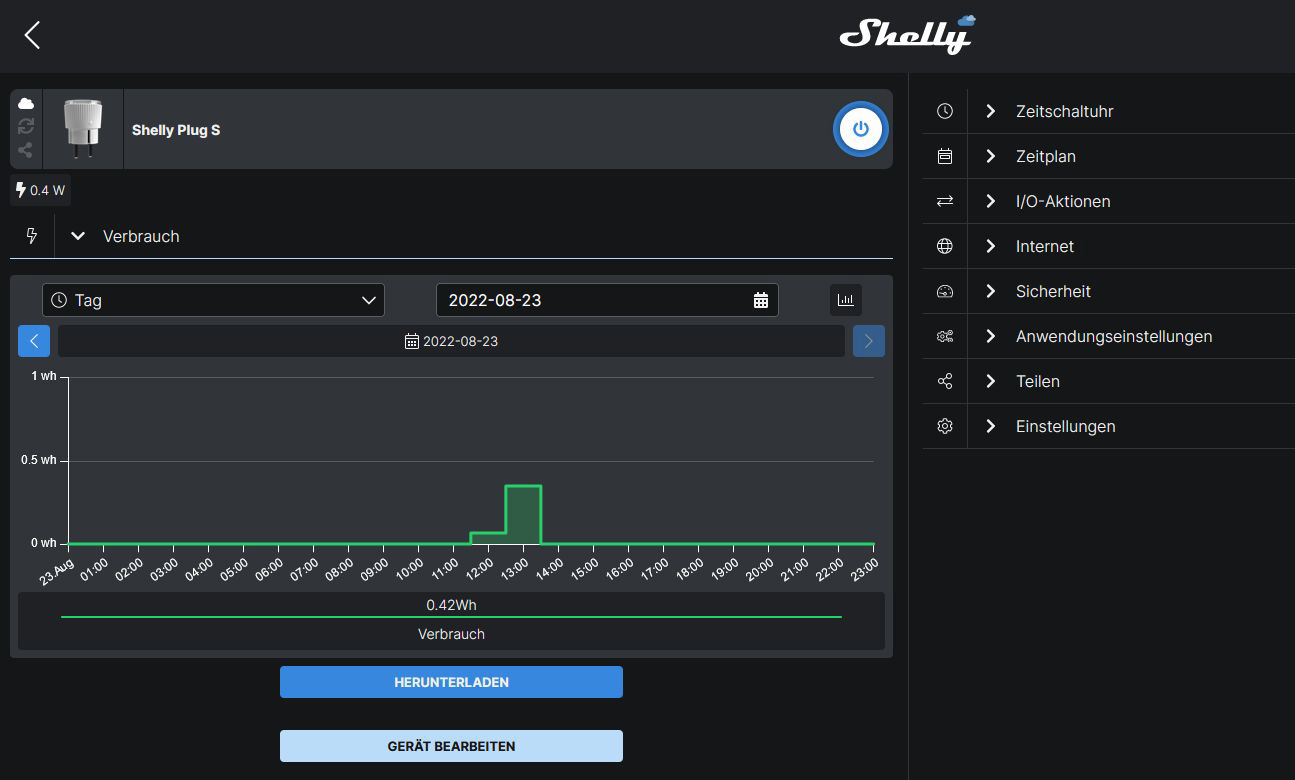
In the cloud overview, you can also create scenes and program certain automatic processes. For example, you can use the consumption measurement to detect when the washing machine is ready and have a notification/alarm sent to your cell phone.
In detail, the Shelly Plug S then looks like this in the Shelly App.
Shelly Button 1 …
The button is a small battery-powered device that can be used to remotely switch other devices or trigger other scenes.
It is charged via a micro-USB plug and can also remain permanently connected to the charger if required, which means that the commands are then implemented more quickly since it does not go into sleep mode.
To implement the button commands, you can either use the scene function, or simply send commands directly via http to the IP of other devices. On the part of Shelly there seems to be no wall mount here unfortunately, but thanks to 3D printer you can make something yourself if needed (see here).
Shelly H&T …
The Shelly H&T is a sensor that measures both temperature and humidity.
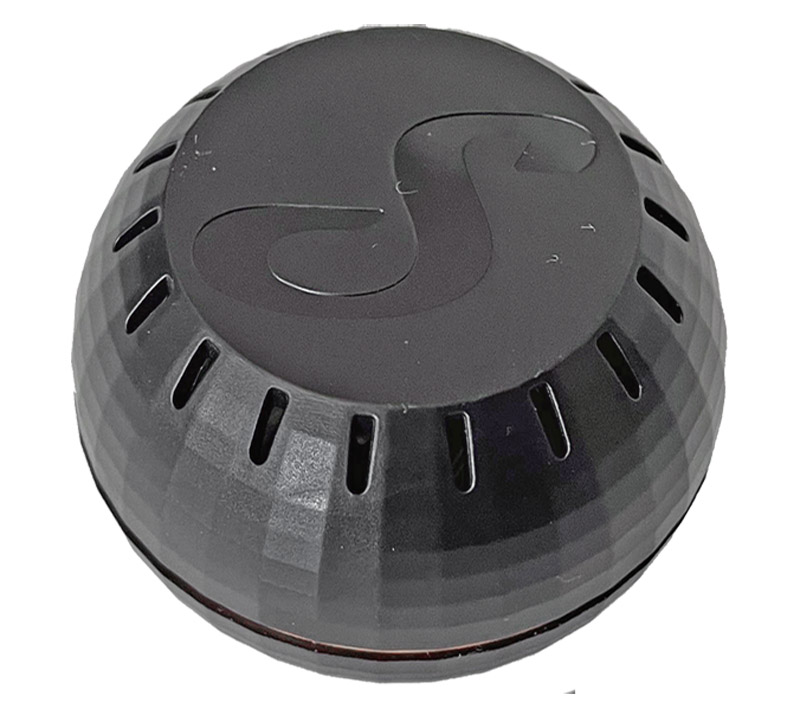
The Shelly H&T can be powered by a CR123A battery or by an optional USB adapter. With battery operation, the data is recorded, but only every 12 hours or whenever one of the measured values changes by a certain amount (e.g. when the temperature changes by 1°C). With current operation the data are sent every 10 minutes.
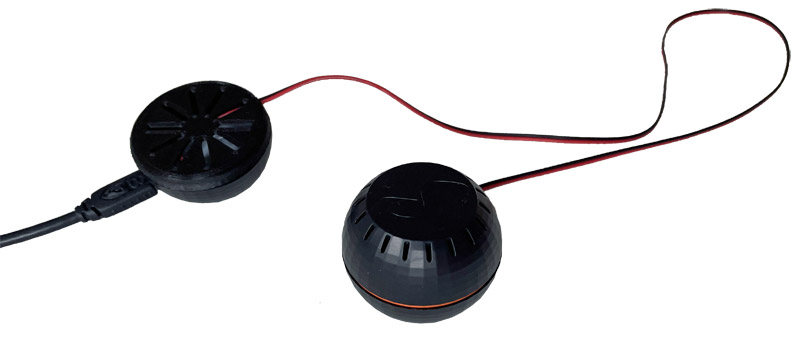
Since the voltage converter in the optional USB power adapter is supposed to influence the temperature value, we separated the two devices and connected them via cable. The voltage converter is now in the other case. The lid was 3D printed and the cable soldered on both sides. This has 2 advantages: No temperature influence on the H&T and since the thinner cable is very flexible, the H&T is more stable than when the thick USB cable is directly plugged in.
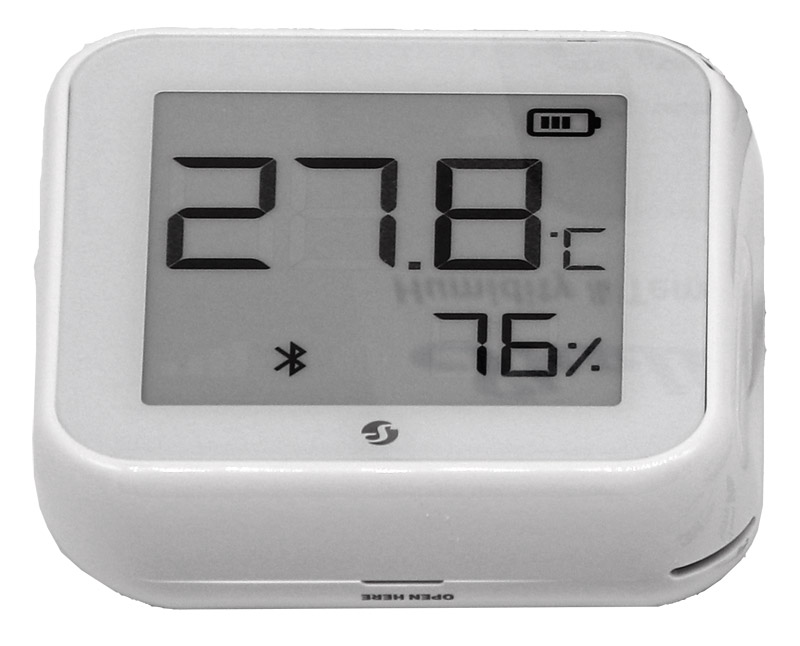
The Shelly Plus H&T, on the other hand, also features a large e-ink display with low power consumption.
Shelly 1 PM …
The Shelly 1 PM is a switch actuator, which is also intended for installation in a box. You can of course switch it via WLAN, but it also has an input for a physical button/switch. In addition to on/off switching, it can measure consumption and via an optional add-on you can connect either a maximum of 3x DS1802 temperature sensors or 1x DHT22 (temperature and humidity).
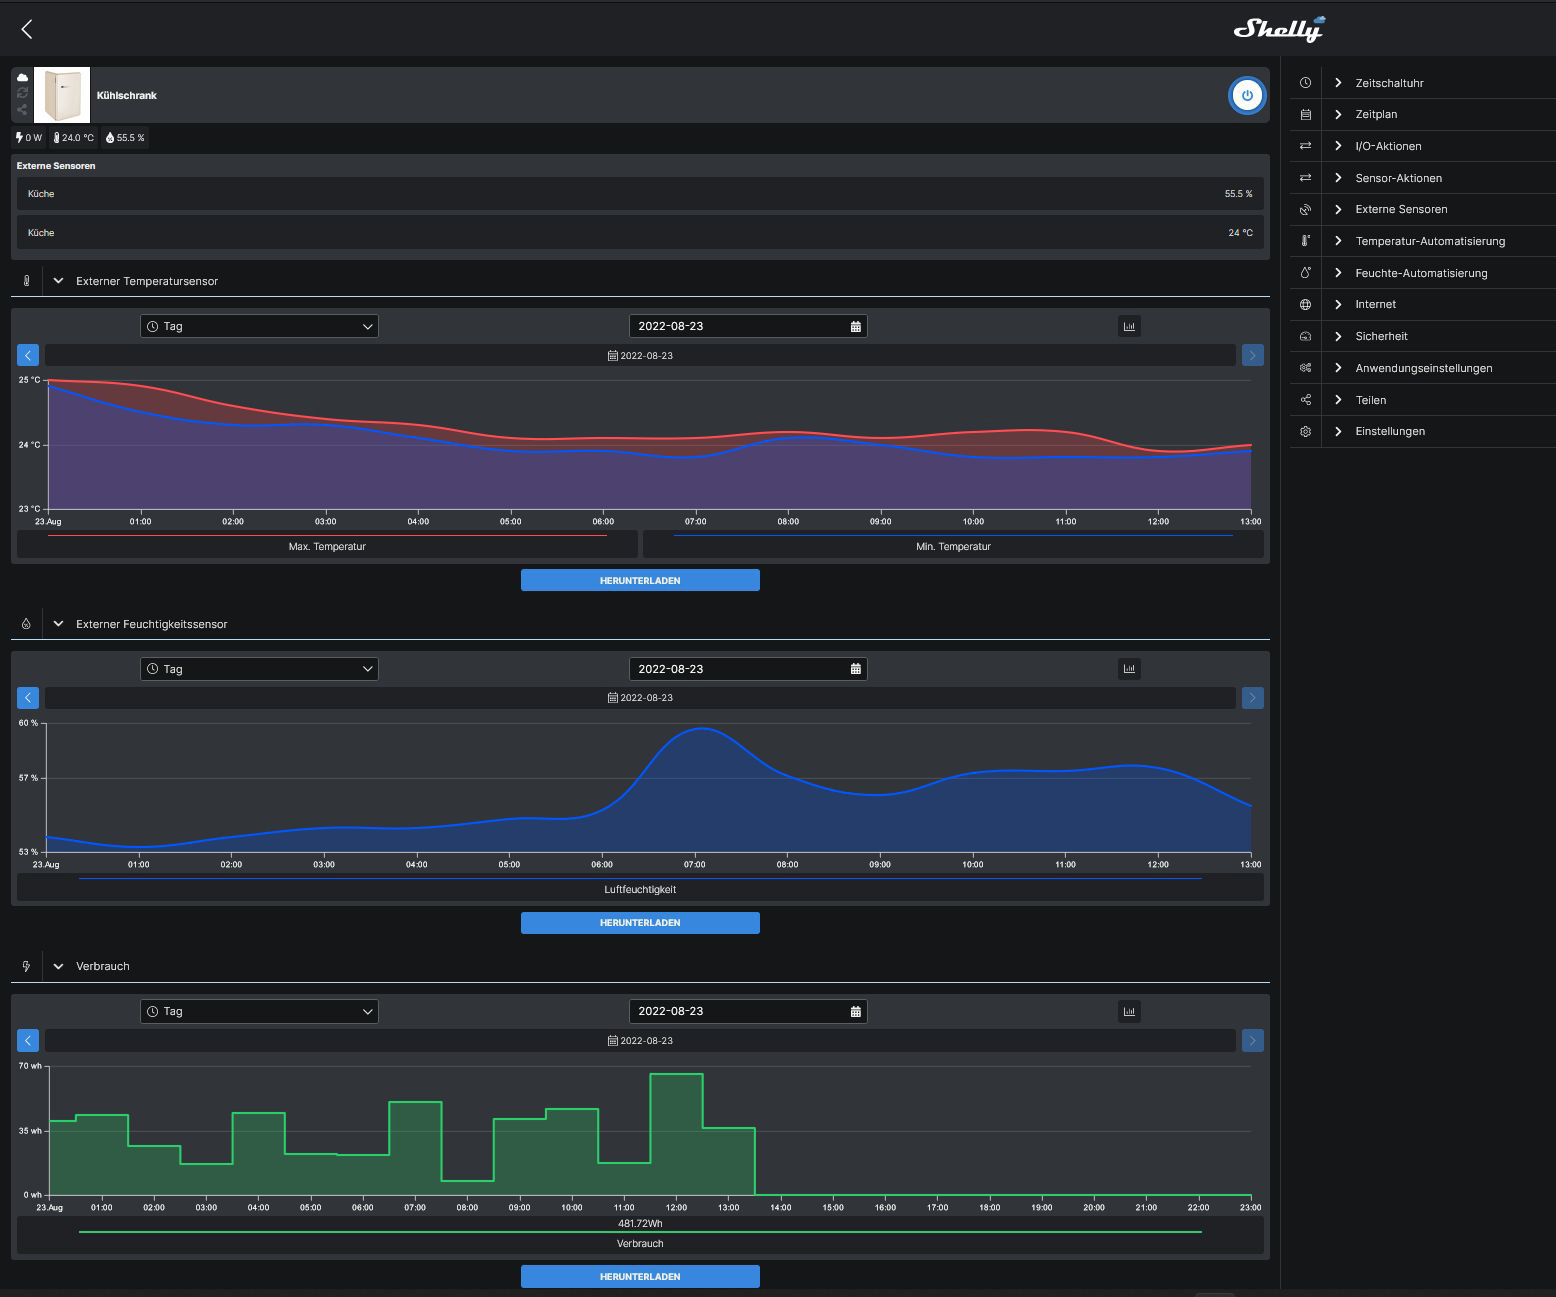
For example, in a setup in the kitchen, it looks like this in detail. The refrigerator is connected there. It was less about the possibility of switching, but more about the consumption measurement and the measurement of temperature and humidity. The display of the diagrams can be changed, whereby as already mentioned above it is only displayed hourly even if the measurement behind it is much more accurate.
Shelly 1 Plus …
The Shelly 1 Plus is a pure switch, without any measuring function. As with the Shelly 1PM, you can connect a pushbutton/switch directly here.
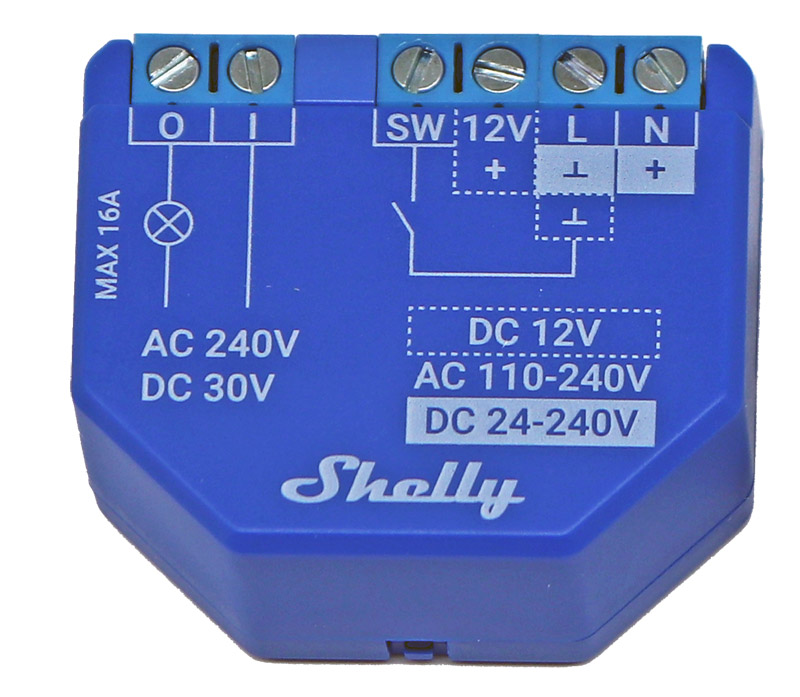
What is also quite interesting are the different possible operating voltages (230VAC, 24VDC, 12VDC) and the fact that here potential-free contacts are switched (dry contacts). The Shelly 1 Plus is the newer version of the Shelly 1. In addition, the Shelly 1 Plus can be controlled not only via WLAN, but also via Bluetooth. There are various improvements in detail (range, security, etc.), as generally with the Plus series. However, it should be noted that certain accessories, such as the temperature sensor addon, only fit the “old” standard series Shelly 1/1PM, and no longer fit the newer Plus models.
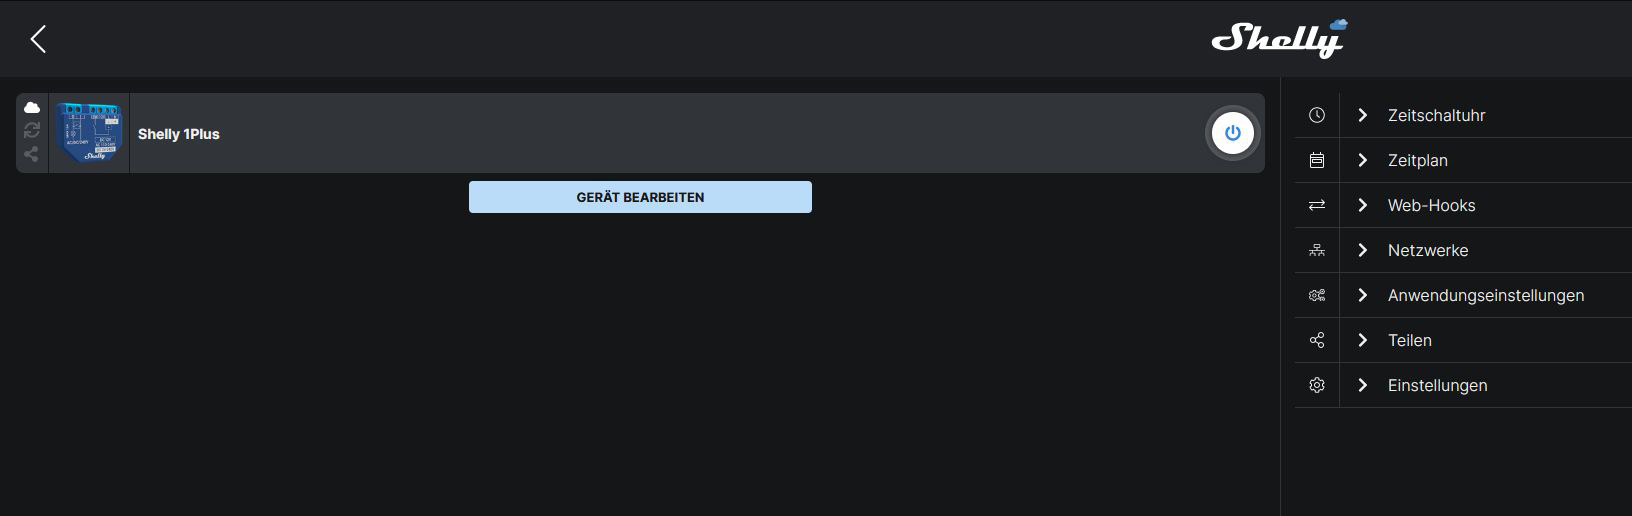
Since it only switches and does not measure anything, there is of course not too much to see in the app.
That was it already with our small excursion into the Shelly world, whereby we will certainly show like also with the Homematic components in the future still further Shelly tests and Shelly Tipps on Funkyhome.de.
Shelly Result and general impression …