
Layout, design and features …
Shelly EM
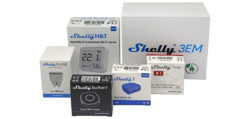
Shelly 3EM
Shelly Plug S
Shelly Button 1
Shelly H&T
Shelly Plus H&T
Shelly Plus 1
Shelly 1PM
Shelly Features
Shelly EM …
The Shelly EM is a WiFi switching actuator with 50A/120A current measurement function and a maximum switching capacity of 2 amps.
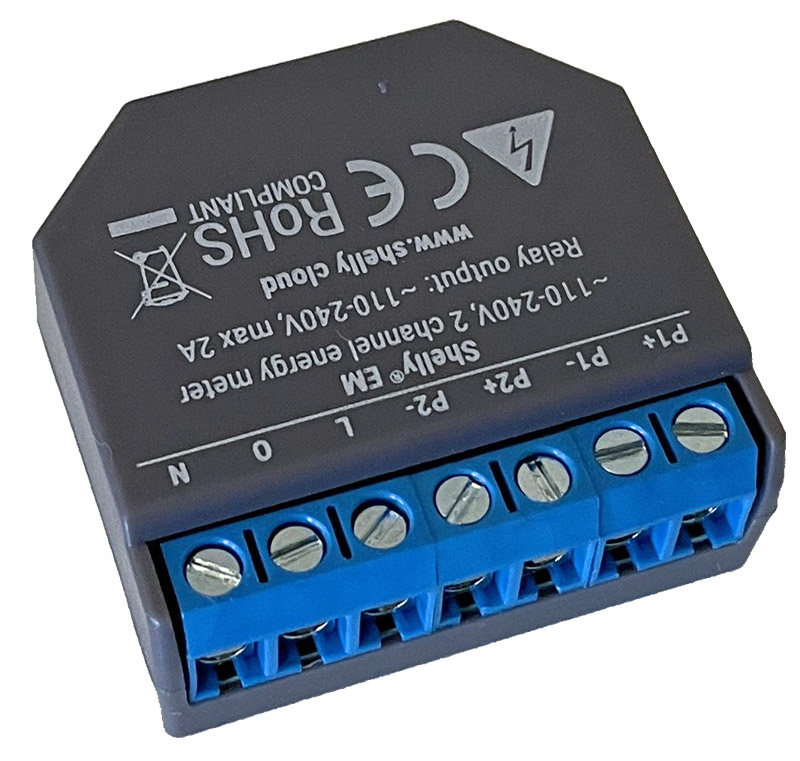
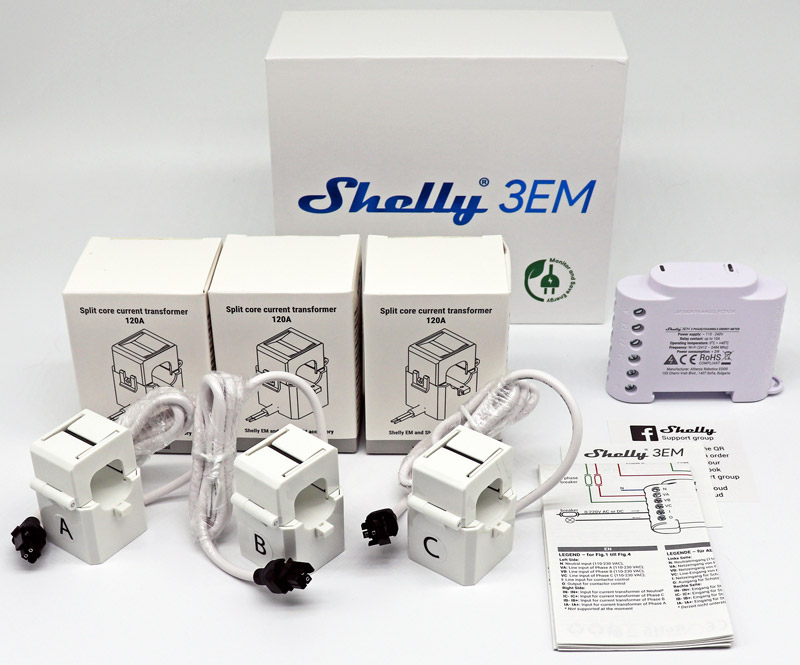
Shelly 3EM …
For those who want to monitor more than just one or two phases, the Shelly 3EM is a WiFi 3-phase energy and current meter with up to 120A.
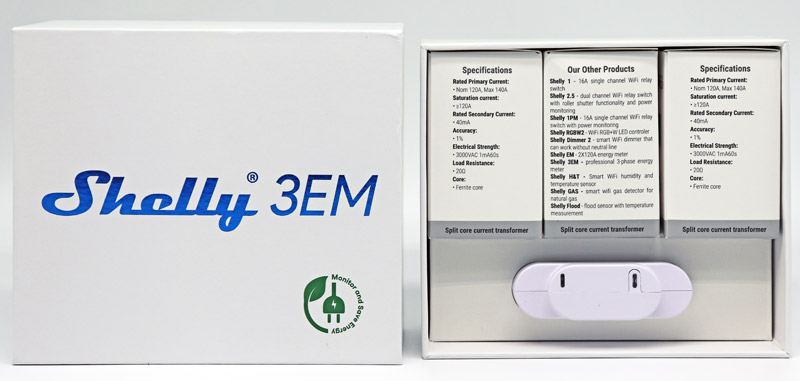
The phases are each interrogated with a current transformer and can thus measure the current consumption of the entire house. In addition, there is a contactor control up to 10A. So exactly the right thing for, for example, a combination with solar panels and power consumption-dependent use of the PV system.
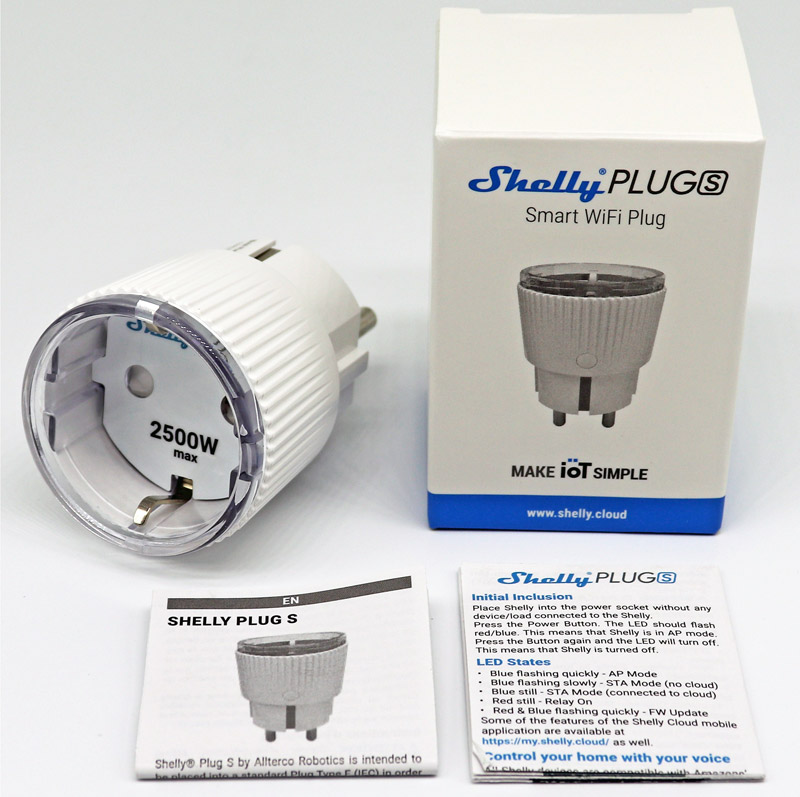
Shelly Plug S …
One of the most common Shelly components is the Shelly Plug S WiFi switching socket with integrated current measurement function. The maximum switching load is 12A (230V 50/60Hz).
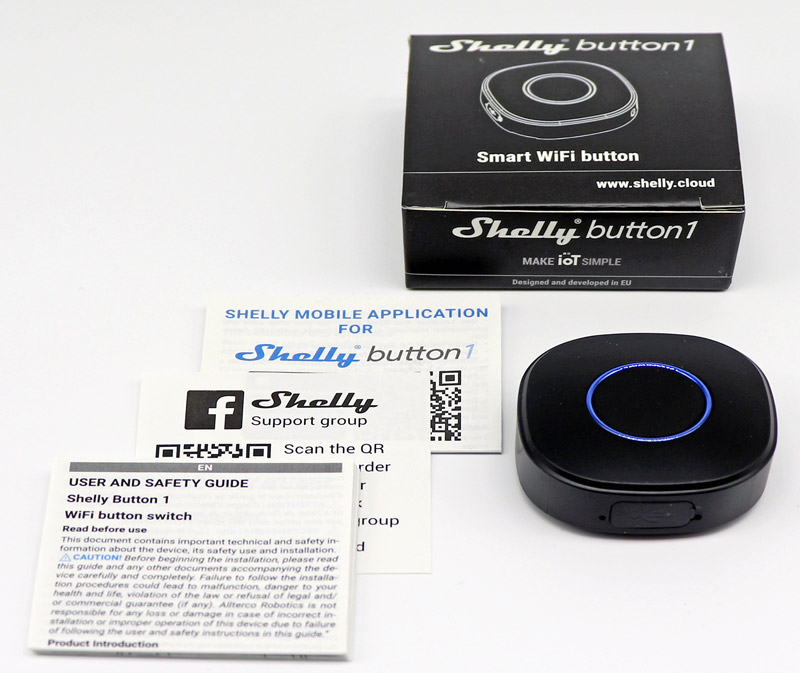
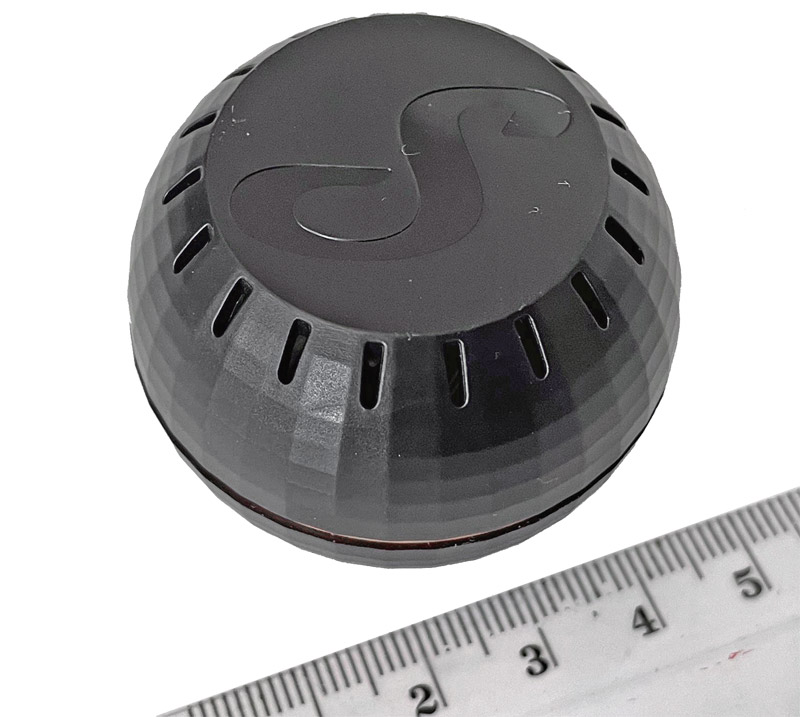
Shelly Button 1 …
With the Shelly Button 1 you get a battery powered WiFi button to control the Shelly switch actuators.
Shelly H&T …
The Shelly H&T is a battery operated temperature and humidity sensor.
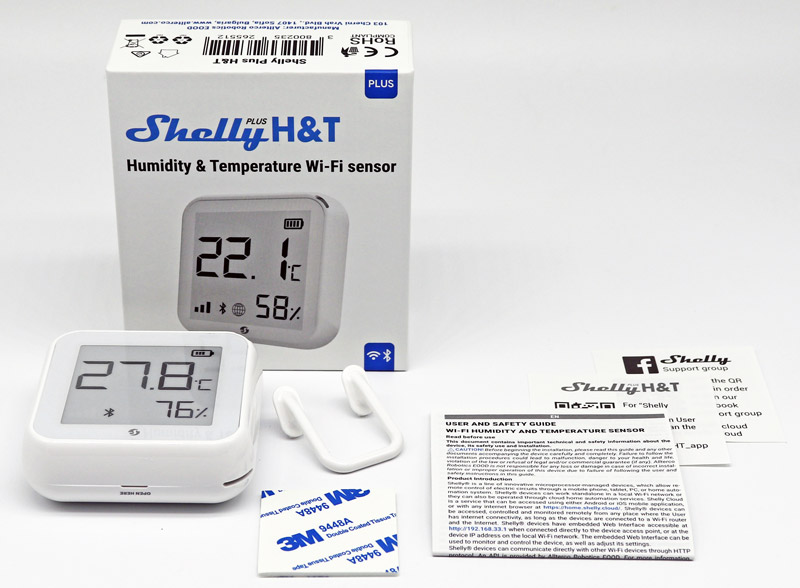
Shelly Plus H&T …
In addition, the Shelly Plus H&T has a large E-Ink display with low power consumption. By the way, the four 1.5 V AA batteries are not included, so it’s best to order them right away.
Shelly Plus 1 …
The Shelly Plus 1 is a 1-channel WLAN and Bluetooth switch actuator with a maximum switching load of up to 16A. The Shelly Plus 1 can be powered with 110-240 V AC or 12V DC, whereby the switch actuator can switch 12V DC or 24V up to 240V DC depending on the wiring according to the manufacturer.

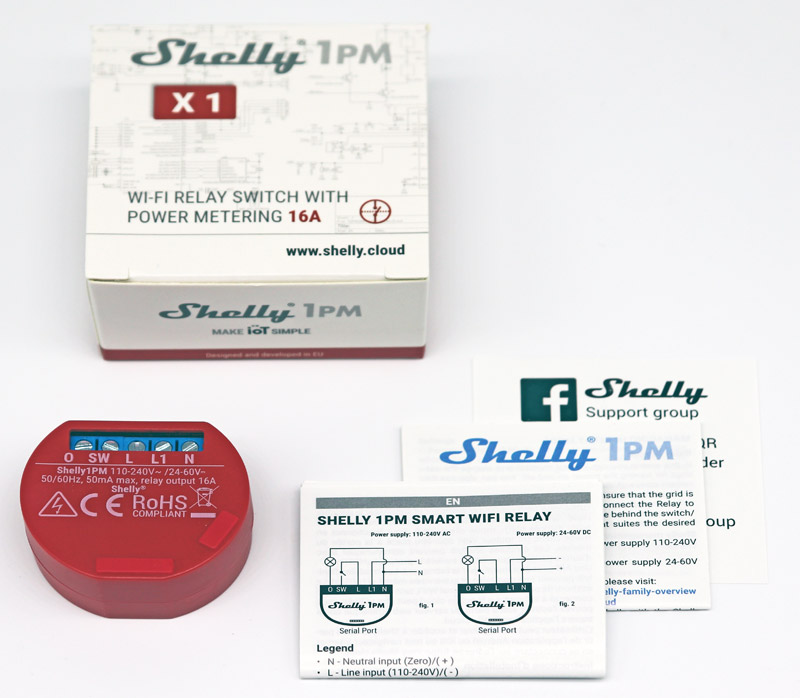
Shelly 1PM …
On the other hand, the Shelly 1PM WLAN switch actuator is equipped with a measuring function, which can be wonderfully accommodated in a deep flush-mounted box. The Shelly 1PM switches up to 16A and can measure up to 3500 watts of power.
Shelly Features Informationen …
There are basically several ways to operate or read out the individual Shelly devices:
– Via app.
– Via the Shelly cloud homepage.
– Directly in the network via IP address.
– With alternative Smarthome systems (MQTT broker or also in Homematic).
– Via integration in systems like Alexa, Google Home, Apple Home.
Attention: Some of the devices require knowledge in dealing with electric current. If you have no experience, it is better to use only the devices from the Plug and Play series and be sure to leave the connection to trained electricians!
A very positive aspect of the Shelly components is the fact that they can also be operated without cloud constraints (with limited functionality), or can be completely integrated into other systems. For example, you can build your own system on a Raspberry Pi using OPENHAB. Depending on your needs, you can also install an alternative firmware (Tasmota OTA).
We now have several different devices in use, which run without any problems with the original firmware and also in the Shelly Cloud.
Here we show in a separate step by step guide in German the installation of the Shelly devices.
This brings us to the practical testing of the Shelly components.
Shelly Practical testing …