
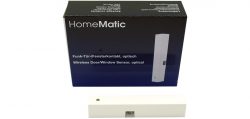
Layout, design and features …
Before we can use the Homematic Window Sensor kit, we have to solder and assemble the following components. As with the Homematic radiator thermostat kit this time only a few parts have to be put together and a few more components have to be soldered. How to do this is described in detail in the enclosed Homematic construction manual.
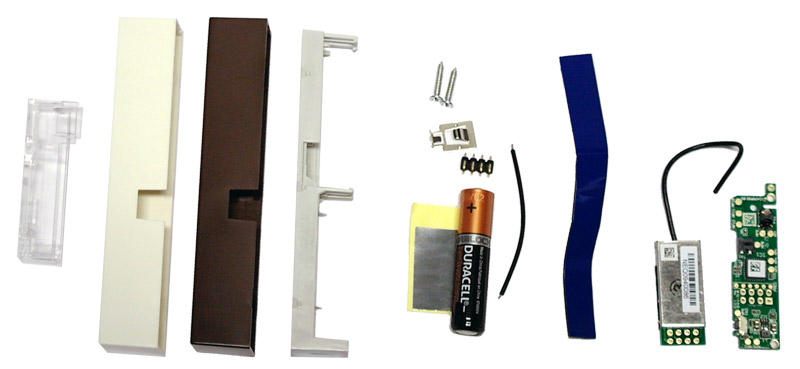
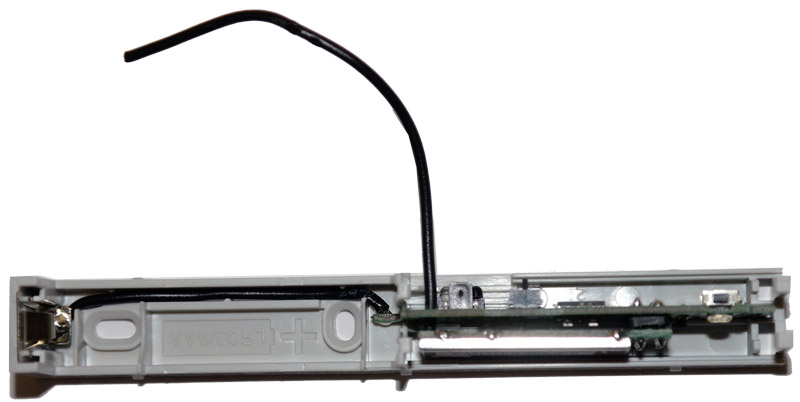
So it is absolutely no problem to solder this kit with a little bit of soldering knowledge and since it is a battery powered device, we have no safety concerns. Safety instructions can be found in the construction and operating instructions. This is how the kit looks like when it is soldered together and inserted into the lower half of the plastic.
All in all it takes about 30 minutes to build the first door-window sensor kite and after a few window sensor kits it is much faster.
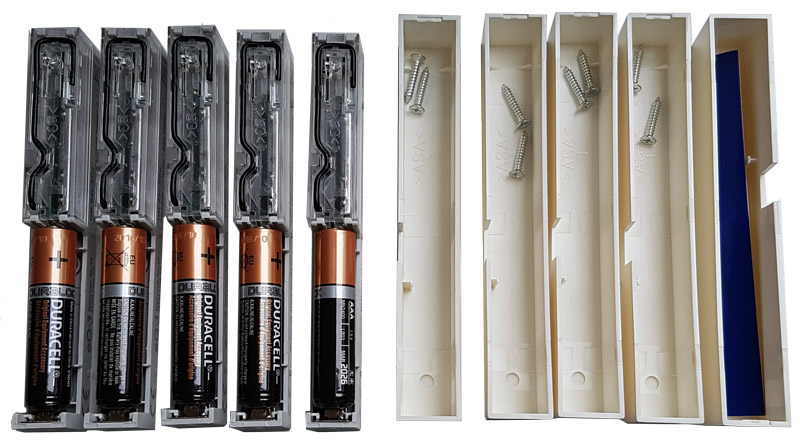
The 10 Euro surcharge for the assembled product can be saved and the money invested in other Homematic products.
If it is still too expensive for you, you can of course order a ready-to-use door-window sensor directly. After the assembly you only have to insert the battery and put on the brown or white cover.
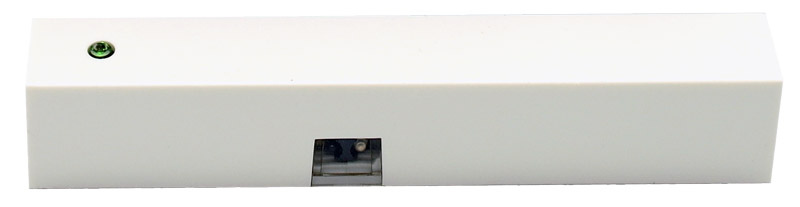
The window sensor mode of operation is very simple: The wireless door-window sensor uses a CNV 430 (TCND 5000) optical photoelectric reflex switch or coupler to determine whether there is a surface on the photo sensor that reflects the light. So if the window or door is close to the sensor, the door-window sensor transmits this to the CCU2/CCU3 control unit or directly to the Homematic radiator thermostat and you can thus determine whether the window or door is currently open or closed. In case of badly reflecting surfaces you can stick the enclosed reflector sticker to the window. But with us this was not necessary.
Before we can put the wireless window sensor into operation, we have to insert the included AAA battery, which lasts about 2 years, depending on the usage. There is a small hole in the lid, where the LED is visible, which also serves as a teach button. Furthermore there is even a sabotage sensor in the window sensor, which detects as soon as you take off the lid.
A short dry run after the teach-in (instructions will follow) shows us the Homematic CCU2 control unit whether the window or door is currently open or closed.
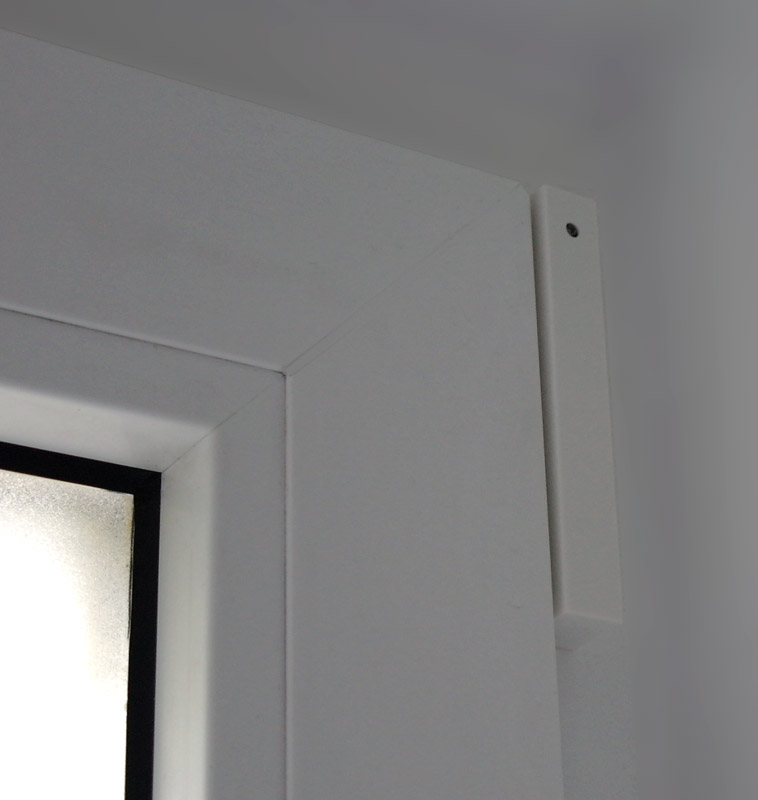
The installation of the Homematic Window Sensor is also very easy. You can even decide whether to mount the window sensor with the enclosed double-sided adhesive strip or by using the two cross screws. The window sensor is mounted in such a way that it reacts with every window opening. For a left-hinged window this means at the top right, as close as possible (approx. 3 mm), but not directly to the window. The small window with the light barrier points to the window.
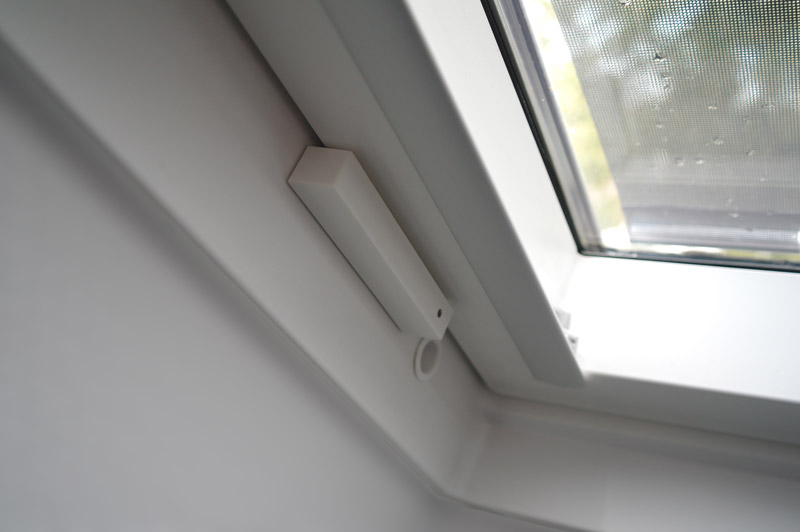
It is very advantageous that the Homematic Window Sensor can even be easily mounted on roof windows / Velux windows. Here you can see one of the Velux windows from the Velux Heat Protection Awning Review.
Let’s move on to the setup of the wireless door-window sensor and the eQ-3 wireless door-window sensor test in practice.
Homematic Wireless Door-Window Sensor Practical testing …