
Practical testing …
As we already mentioned in Homematic CCU2 Test, Homematic devices can be used as standalone devices. So it is not absolutely necessary to purchase a Homematic Control Unit, but it makes the setup and administration of Smarthome devices much easier. The Homematic devices can even be connected to each other without a central unit, but we still clearly recommend the use of a Homematic central unit.
Homematic Radiator Thermostat Initial Installation …
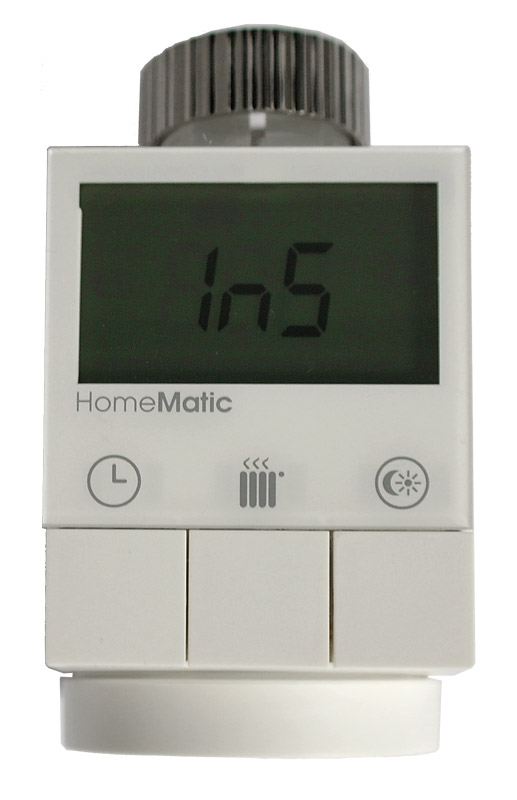
The initial setup of the Homematic Radiator Thermostat is very simple. As soon as the batteries are inserted, the display shows “Ins” and an engine symbol, which goes out as soon as the valve pin has moved to the starting position and the thermostat is completely open.
Now the heating controller can be mounted on the heating valve. Simply remove the old radiator thermostat from the heater and remove it from the heating valve. Now put on the Homematic radiator controller with or without adapter and screw it on using the large union nut. When this is done, briefly press the Boost button once. Now the Radiator Thermostat starts a so-called adaptation run to recognize the two end points of the valve and AdA appears in the display.
By the way, we don’t need to set the date and time, as we connect the Radiator Thermostat to the CCU2 right away and this data is then automatically transmitted via the central unit. If you have saved the money for the central unit and want to operate the Radiator thermostats individually, you can of course also enter this manually via the setting wheel and the boost button after inserting the batteries.
Homematic Radiator Thermostat functions …
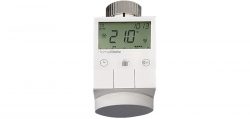
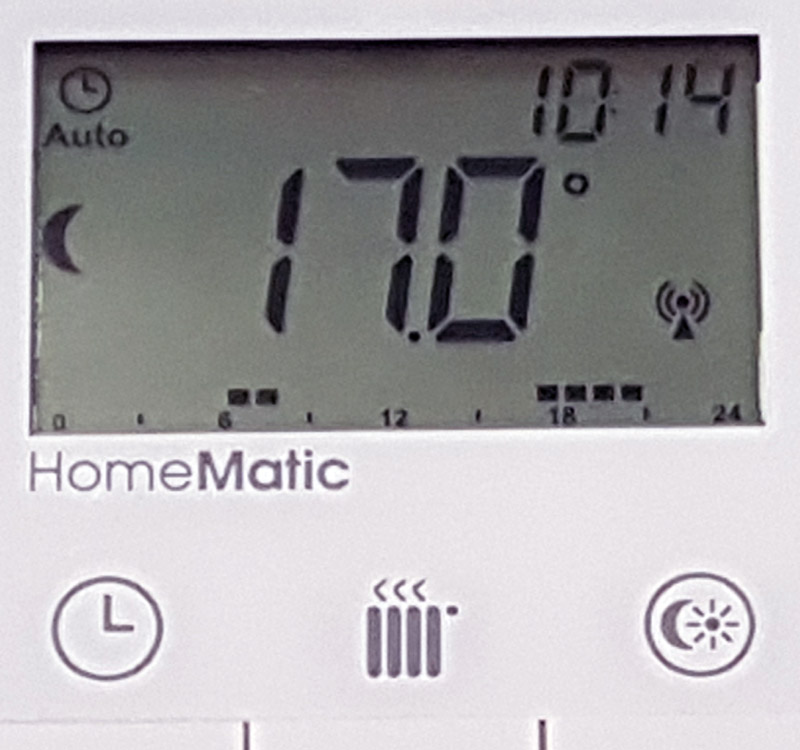
This is what the finished Homematic Radiator thermostat looks like after the first installation. With the left button you can change Auto/Manual/Urlaub, the middle button is for a short boost and confirms inputs via the dial and the right button switches between the Comfort/Eco mode and changes the respective preset temperatures of 21°C or 17°C with a long press.
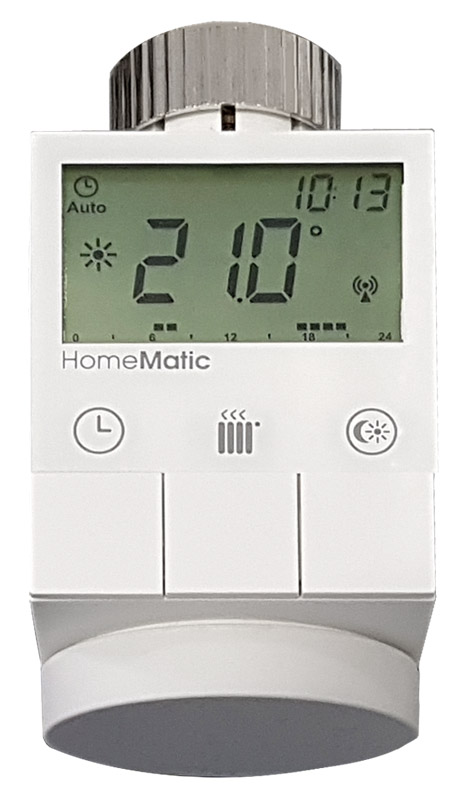
The small black blocks on the display show when the heating phases are switched and a short press on the Comfort/Eco button shows the different target temperatures. In the upper left corner you can see the mode (Auto/Manual/Holiday) and in the upper right corner the time. An actual temperature display would be desirable, but unfortunately it does not exist.
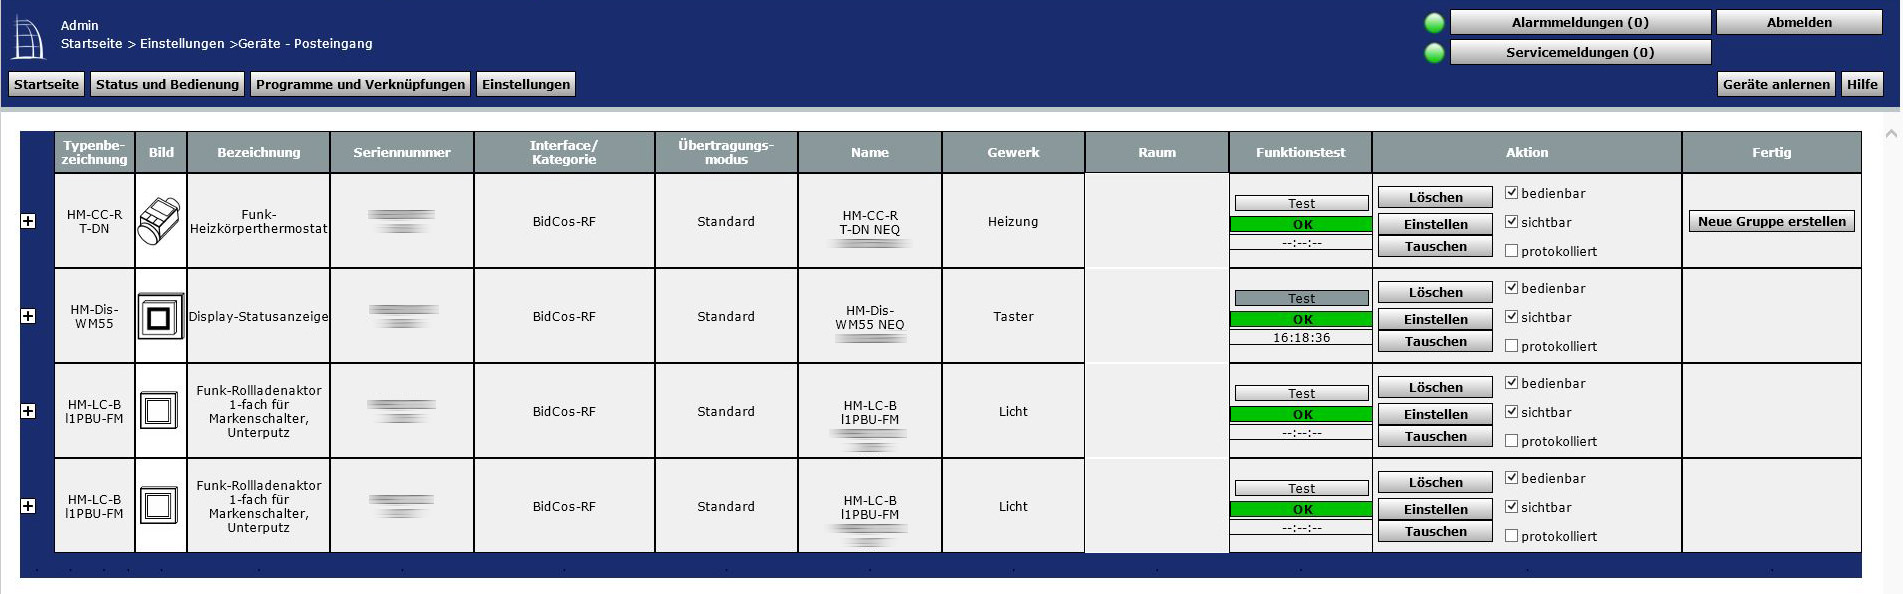
Radiator Thermostat teaching to the Homematic CCU2 …
The teaching of radiator thermostats to the CCU2 control panel is relatively simple. How this works is explained in this little Homematic Thermostat teaching Tutorial.
Now we can enter temperature profiles for each day of the week or summarized. These sections are already preset and can be adapted to the heating behaviour of the room as required. For underfloor heating or older cast iron radiators, you should not overestimate the time, as the room temperature is not reached immediately and the radiators will continue to heat longer. There are other interesting possibilities, such as descaling, where the radiator valve is completely opened and closed once to avoid deposits. In addition, there is also a detection if there is a temperature drop – e.g. through an open window – and the heating should be lowered.
These are great features that can already be used for comfortable heating with simultaneous energy savings!
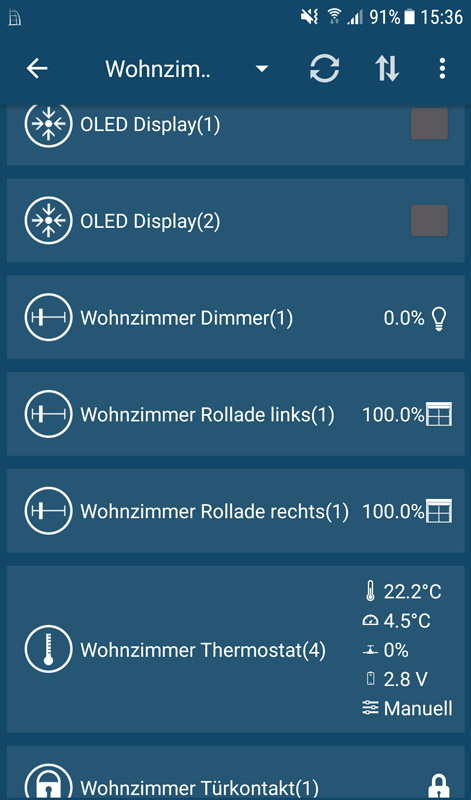
Create thermostat program and connect it with window contact …
But there’s more! In combination with a window contact you can even make a direct connection from the window contact to the radiator thermostat. Furthermore, you don’t always want to go to every radiator thermostat to adjust it. How to connect a window contact with the thermostat and how to create programs for the thermostat is explained in this little Homematic Thermostat programs Tutorial.

As you can see, the variety is almost limitless, but you can add something to it, because you can also do it with an app!
Homematic Radiator Operate thermostat via an app …
Another possibility – as already described in Homematic CCU2 Test – is to operate the Homematic devices via third-party programs or apps. The HomeDroid app is initially free of charge in the Google Play Store and must then be unlocked for a few cents with a HomeDroid Unlocker after a few accesses. You can then query the respective thermostat and even operate it.
How you can secure your network despite XML-API and how you can set up secure remote access via VPN will be shown in one of the upcoming tutorials on Funkyhome.
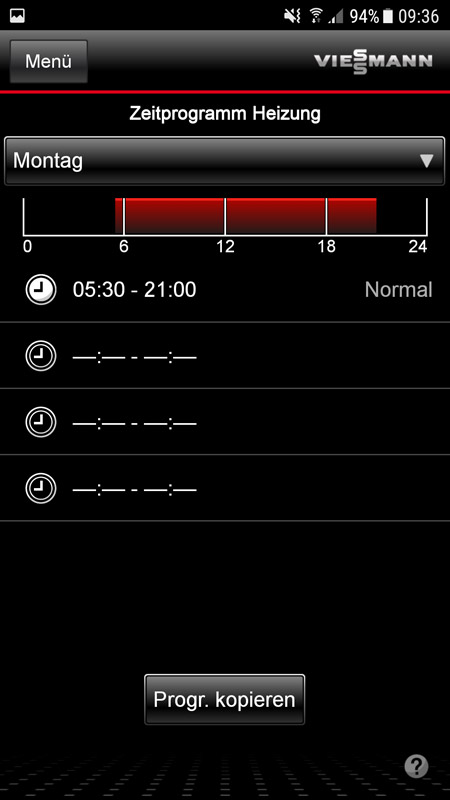
And those who now adjust their heating to their heating behaviour can save heating costs again and increase comfort at the same time. For those who have a relatively new heating system that can also be operated via an app, this is a good idea.
As you can see very clearly from the Viessmann Vitotrol Plus App, there is the option of adjusting the heating to the respective heating output at the desired times. However, with the Viessmann Vitotrol App you are currently “forced” to store your heating data on a server via the Internet, so you cannot currently use the Vitoconnect from Viessmann without an Internet connection. But with clever programming of the router, there are also solutions for data protection.
Step by step we will also give some tips and tricks for smart heating in your own house or apartment in various Homematic Tutorials. Now we come to the conclusion of the Homematic Radiator Thermostat.
Homematic Radiator Thermostat Result and general impression …