
Layout, design and features …
Before we can use the Homematic thermostat kit on the heater, we need to assemble the following components.
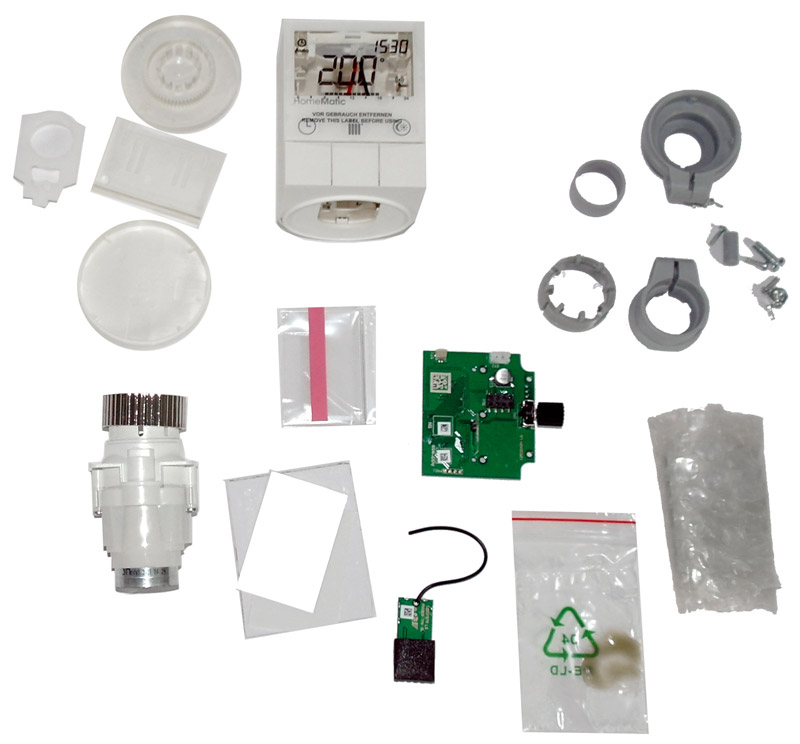
The most difficult part is certainly the individual parts of the display. Unfortunately, the manual is not supplied in colour and the description can cause confusion during the first assembly despite the pictures. In addition, the manual does not describe that the LCD panel is provided with a protective film that should be removed before assembly.
When the display, the diffuser foil, the light distribution plate, the reflector foil, the holding frame and the conductive rubber have been inserted into the thermostat housing, the finished gear unit is screwed down with 5x 2.0 x 5 mm TORX screws. Now the radio module is plugged on, the antenna is installed and the battery compartment is screwed tight. Now put on the handwheel and let it snap into place and the Radiator Thermostat kit is already assembled.
Also with this kit no soldering iron is needed.
All in all you need about 20-30 minutes to build the first thermostat and after a few thermostats you get along with about 5 minutes.
The 10 Euro surcharge for the finished product can be saved and the money invested in window contacts, which in combination with the Radiator thermostat make sense. But more about that later.
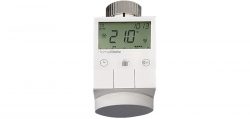
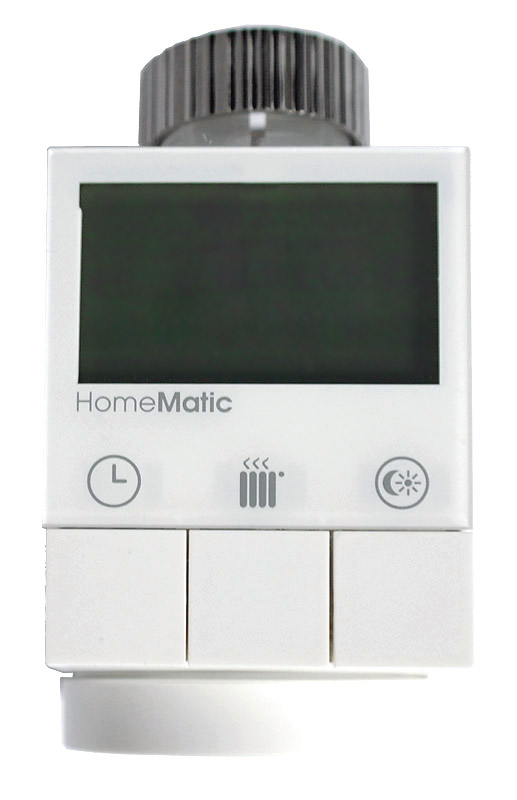
This is what the finished Homematic Radiator thermostat looks like.
Now we come to the installation of the Radiator Thermostat and the eQ-3 Radiator Thermostat Test in practice.
Homematic Radiator Thermostat Practical testing …