
- Berner GA101 Accumulator Garage Door Drive Installation Guide
- Step by step installation guide
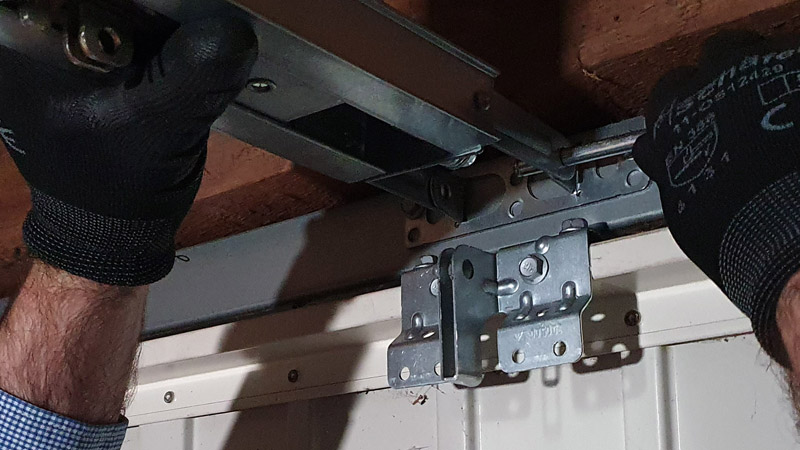
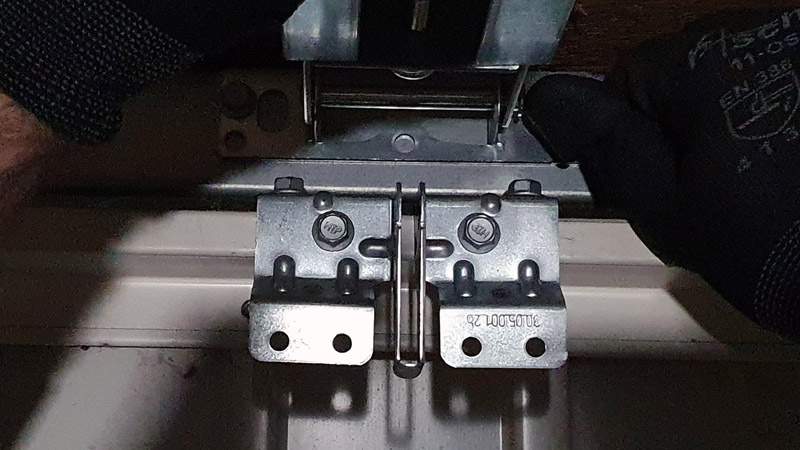
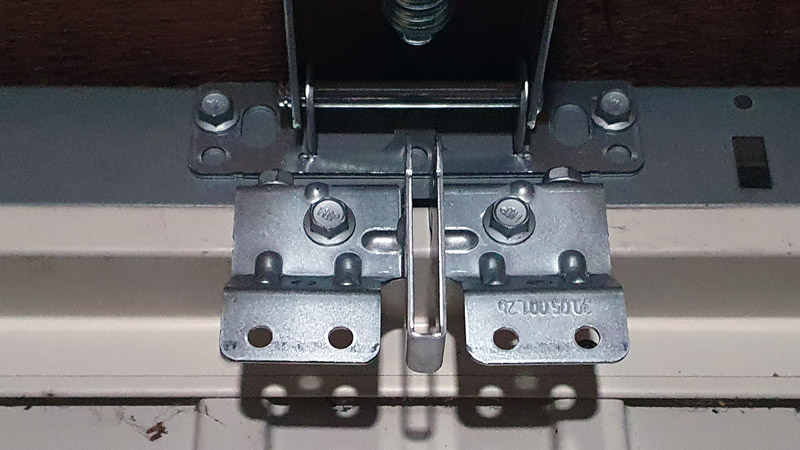
- Door lock disassembly instruction
- Driving angle assembly instruction
- Guide rail construction manual
- Guide rail assembly instruction
- Emergency release assembly instructions
- Door end positions assembly instructions
- Engine assembly instructions
- Initial startup instructions
Guide rail installation instructions …
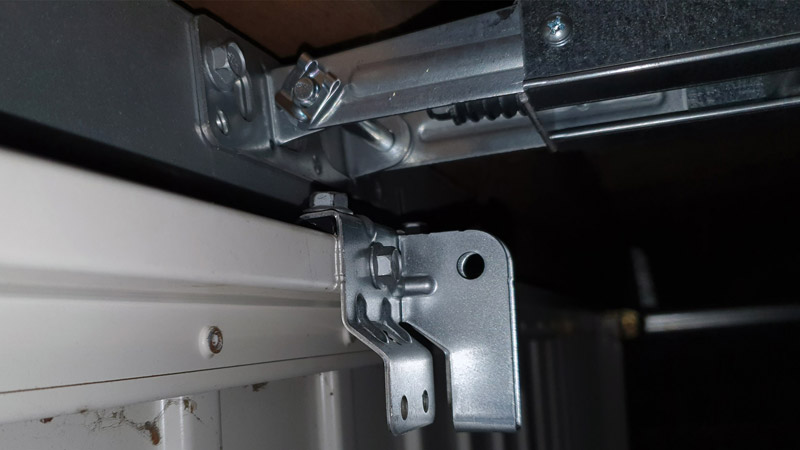
Then we are also ready and can now fix the guide rail on one side best on a ladder, support or similar, at least if you can not anyway put it down on the ground. And on the other side, we can then hook it into the lintel joint and then lock it with the pin.
Simply push the pin in completely.
This is how it looks finished.
Or rather not quite yet, because of course we also have to secure the pin. And for this we have enclosed clamps.
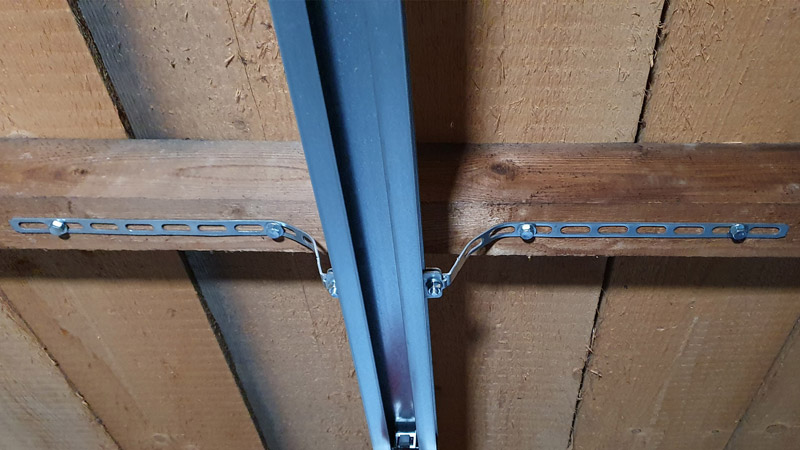
Now we can already deal with the other side, namely where the motor will be mounted later. Here, the company Berner encloses this small clamp, which is pushed onto the guide rail.
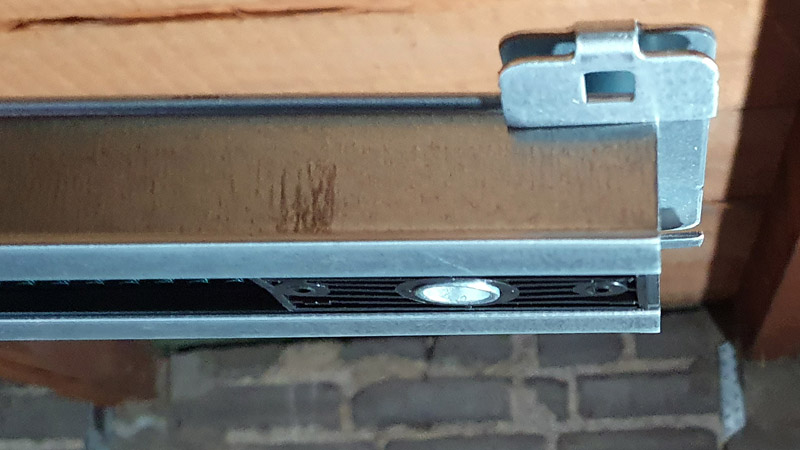
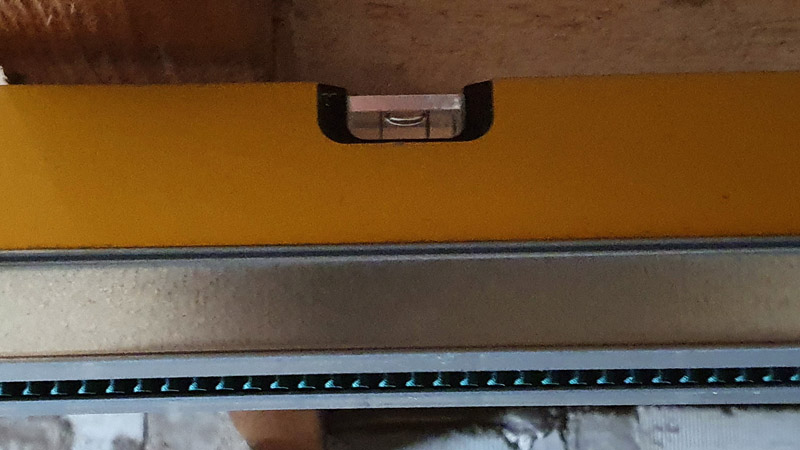
It is best to place a spirit level on the guide rail.
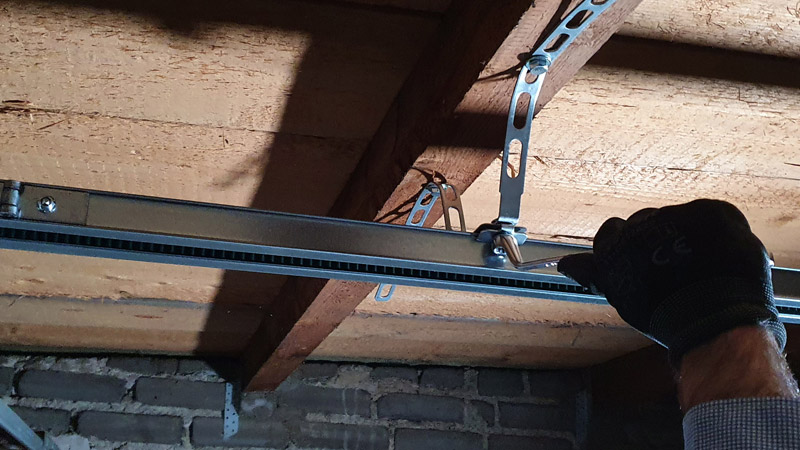
Now screw the mounting strap to the guide rail clamp.
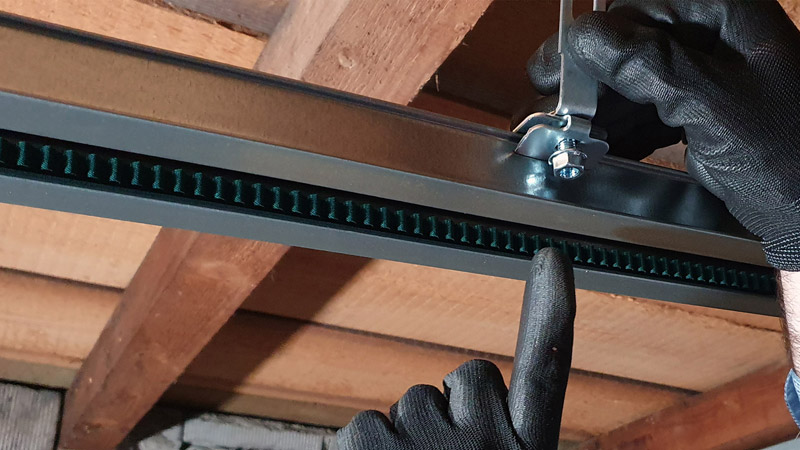
In this case, the clamp should be a maximum of 60 cm from the end of the guide rail, and the distance to the ceiling should be a maximum of 250 mm, i.e. 25 cm.
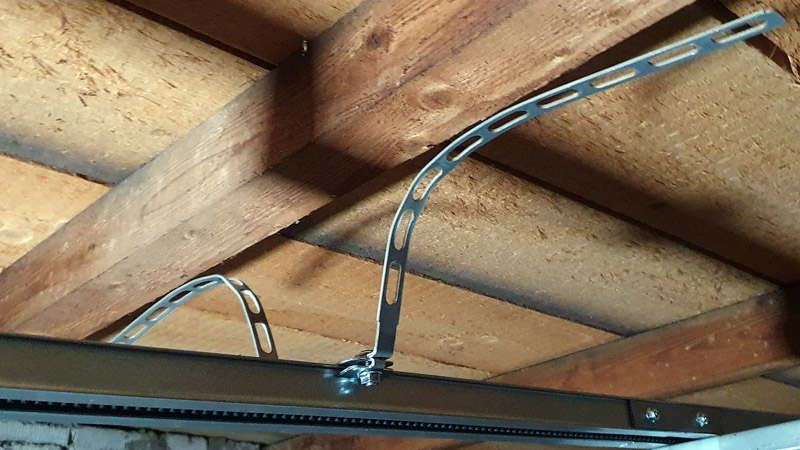
Now the perforated tape can be fixed to the ceiling. So either with dowels directly into the concrete ceiling or as here into the wooden construction.
Last but not least, the mounting tape can of course be adjusted a bit, as it still looks a bit deformed.
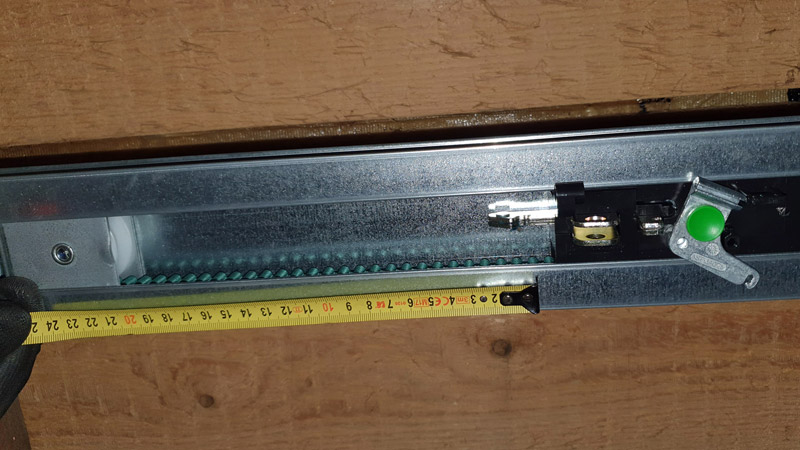
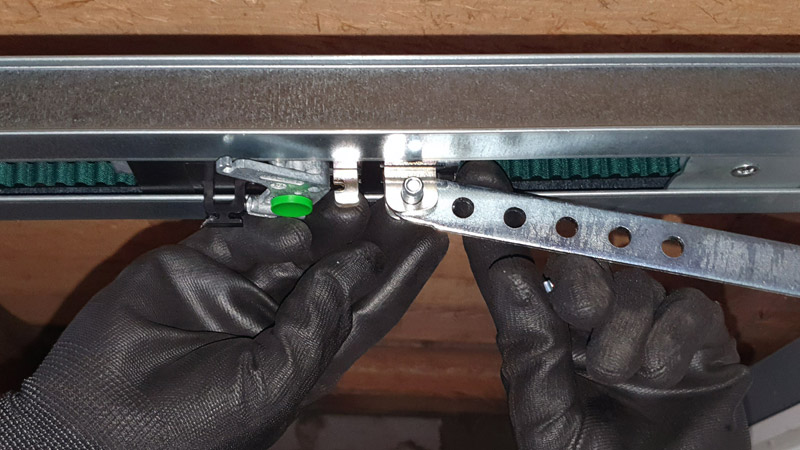
Before mounting the carriage in the guide rail, it is absolutely necessary to move the guide carriage in the engaged state approx. 20 cm from the Zu end position in the direction of the Open gate end position.
Now we can insert the driver into the driver angle and fix it with the bolt, …
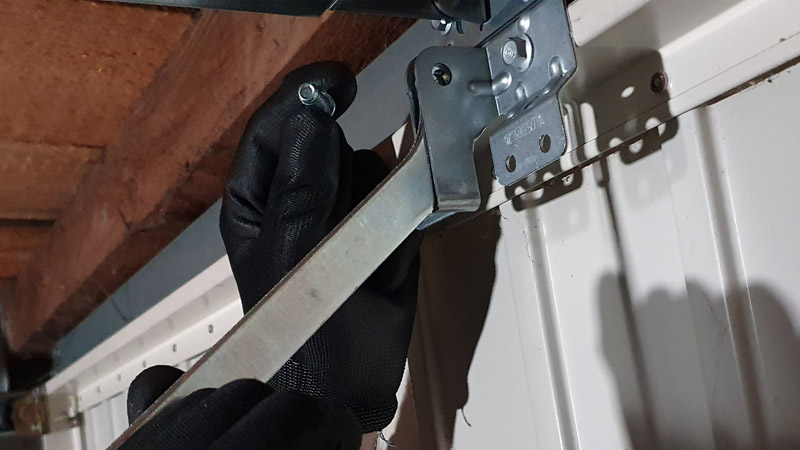
… by the way, it is important that the bolt and inserted the same way around.
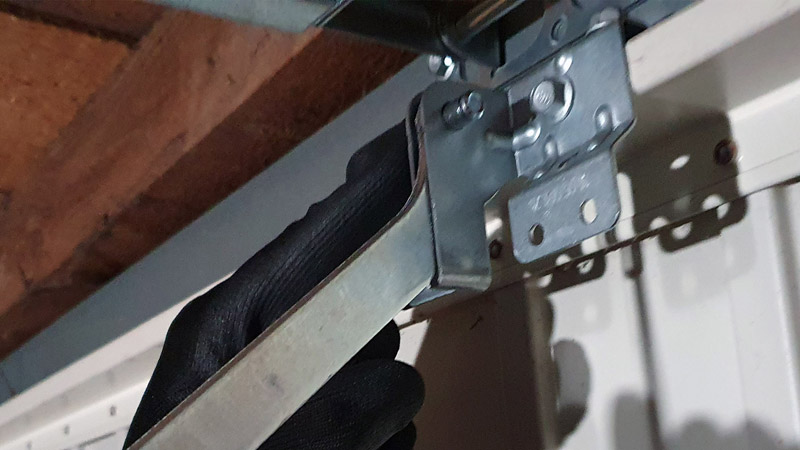
Then the pin lock is put on again and the driver is in the driver angle.
The whole thing is again locked with the bolt on the other side.
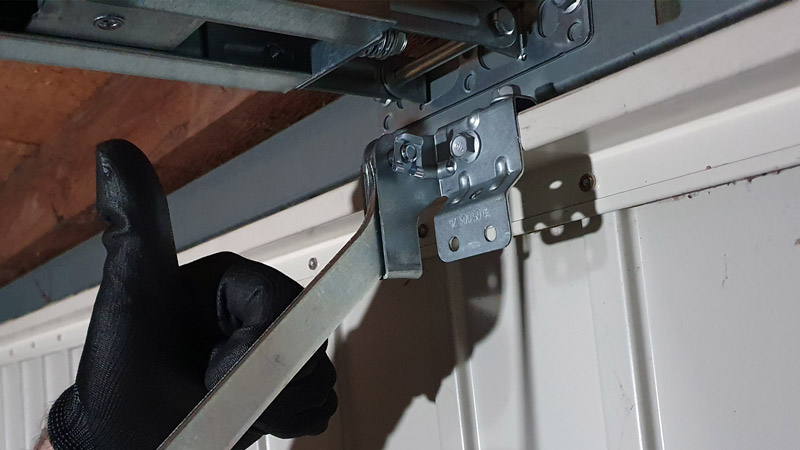
And last but not least, provide with the fuse. How far the driver is mounted depends on the type of garage door, or the distance from the ceiling.

Continuing with the assembly of the emergency release …
Garage door drive emergency release …