
Practical testing …
We connected the Homematic CCU2 central unit to an AVM Fritzbox 7490 via a LAN cable for test purposes. Even the use of a 50 meter long Cat 6 LAN cable did not cause any problems.
Connect to CCU2 via LAN …
The connection with the Homematic CCU2 central unit is very simple: You call up the IP address of the CCU2 central unit in your Internet browser (IE, Firefox, Chrome, Opera, Safari, etc.). If you don’t know the CCU2 IP address, you can try the CCU2 Standard IP https://192.168.1.225 or directly the name https://homematic-ccu2 . But it’s best to just check the router menu to see which IP address the CCU2 has been assigned via DHCP and let it be set permanently in the router.
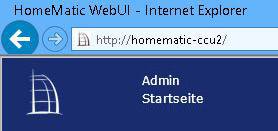
By the way, you should write https:// in front of the IP address, because otherwise you will end up in the search with most browsers and enter this IP e.g. in the Google search.
Alternative connect CCU2 without LAN via USB …
If you do not want to use an Internet connection or LAN connection, the CCU2 can also be connected directly to the PC via the USB cable provided. The CCU2 is then automatically displayed as a drive in the Explorer and contains the CCU2 software as Setup.exe as well as drivers and manuals as PDF files. Once this CCU2 software has been installed, the CCU2 itself can connect to the IP https://10.101.82.51 via the Internet browser using a USB connection.
However, we recommend using the CCU2 in your home network via the network cable.
CCU2 Initial setup …
The next step is the installation of the CCU2 central unit.
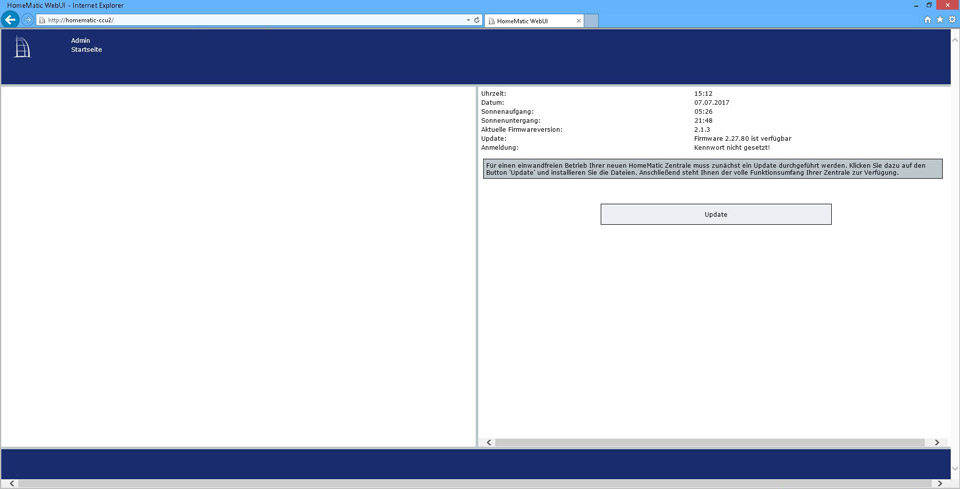
First you should update the CCU2 firmware as recommended on the CCU2 input page. If the time and date are not correct, the data has probably not yet been transmitted via the network or Internet access. Of course, we also have to assign a password and create the desired users with their respective rights, but we can do that after the update.
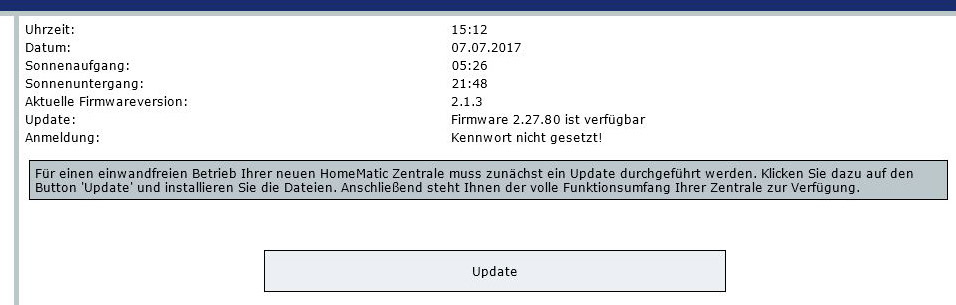
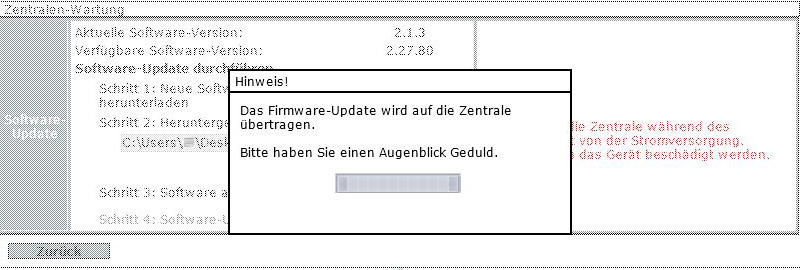
CCU2 Firmware Update …
The firmware update of the CCU2 central was cleverly solved. How this works is explained in this short Homematic CCU2 Firmware Update Tutorial.
Homematic CCU2 Functions …
The CCU2 central offers so many functions, which we don’t want to mention in the test in detail, but at least roughly.
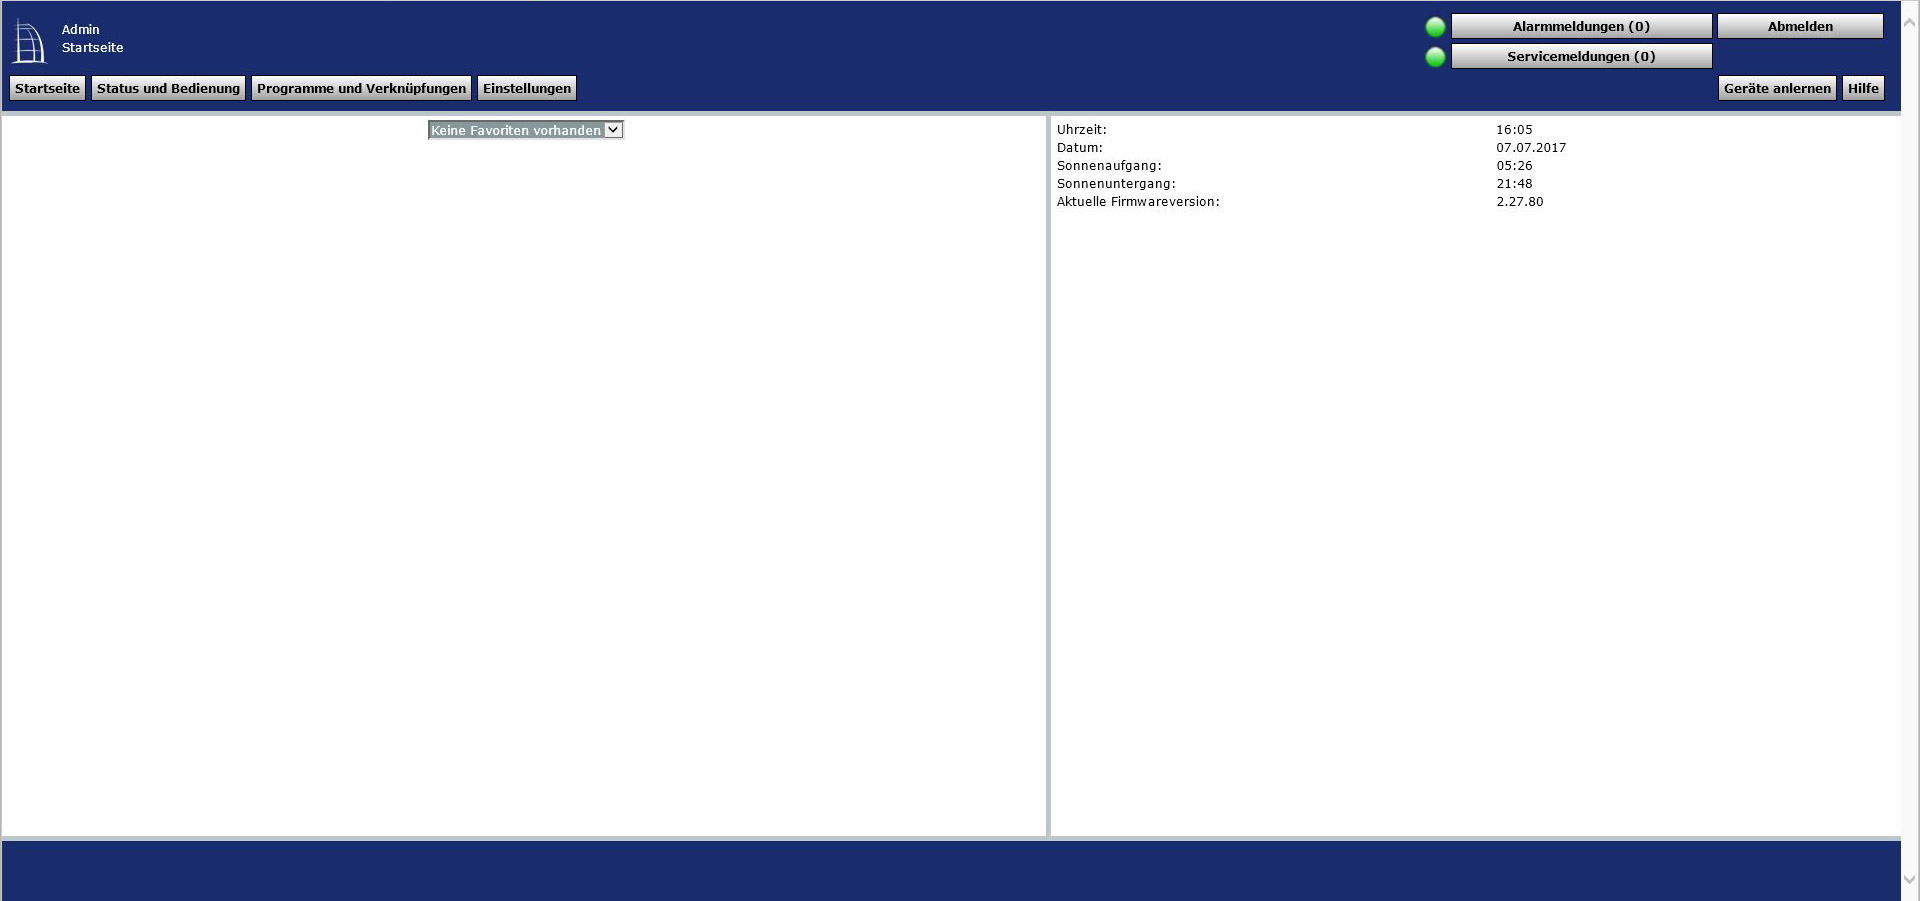
Basically, eQ-3 has subdivided the CCU2 into start page, status and operation, programs and shortcuts and settings. After logging in, you can see this start page, which can still be customized using your own favorites. In the top right corner you will also find help and alarm and service messages such as that a device could not be reached by radio.
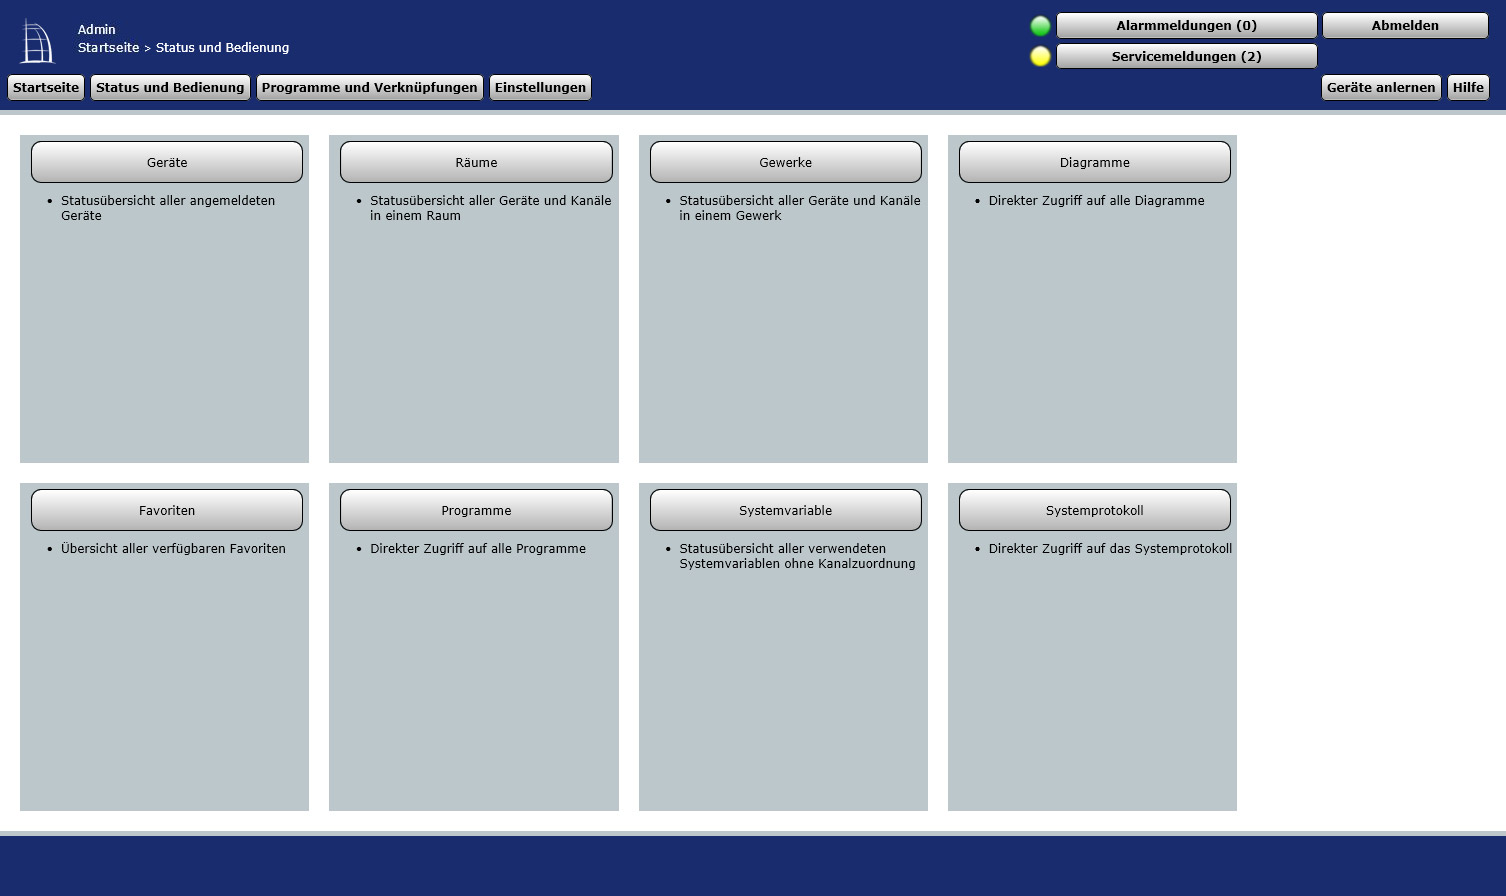
Under Status and Operation we find a subdivision into the respective devices, rooms, trades, diagrams, favorites, programs, system variables and system log. All items are intended for viewing the respective functions.
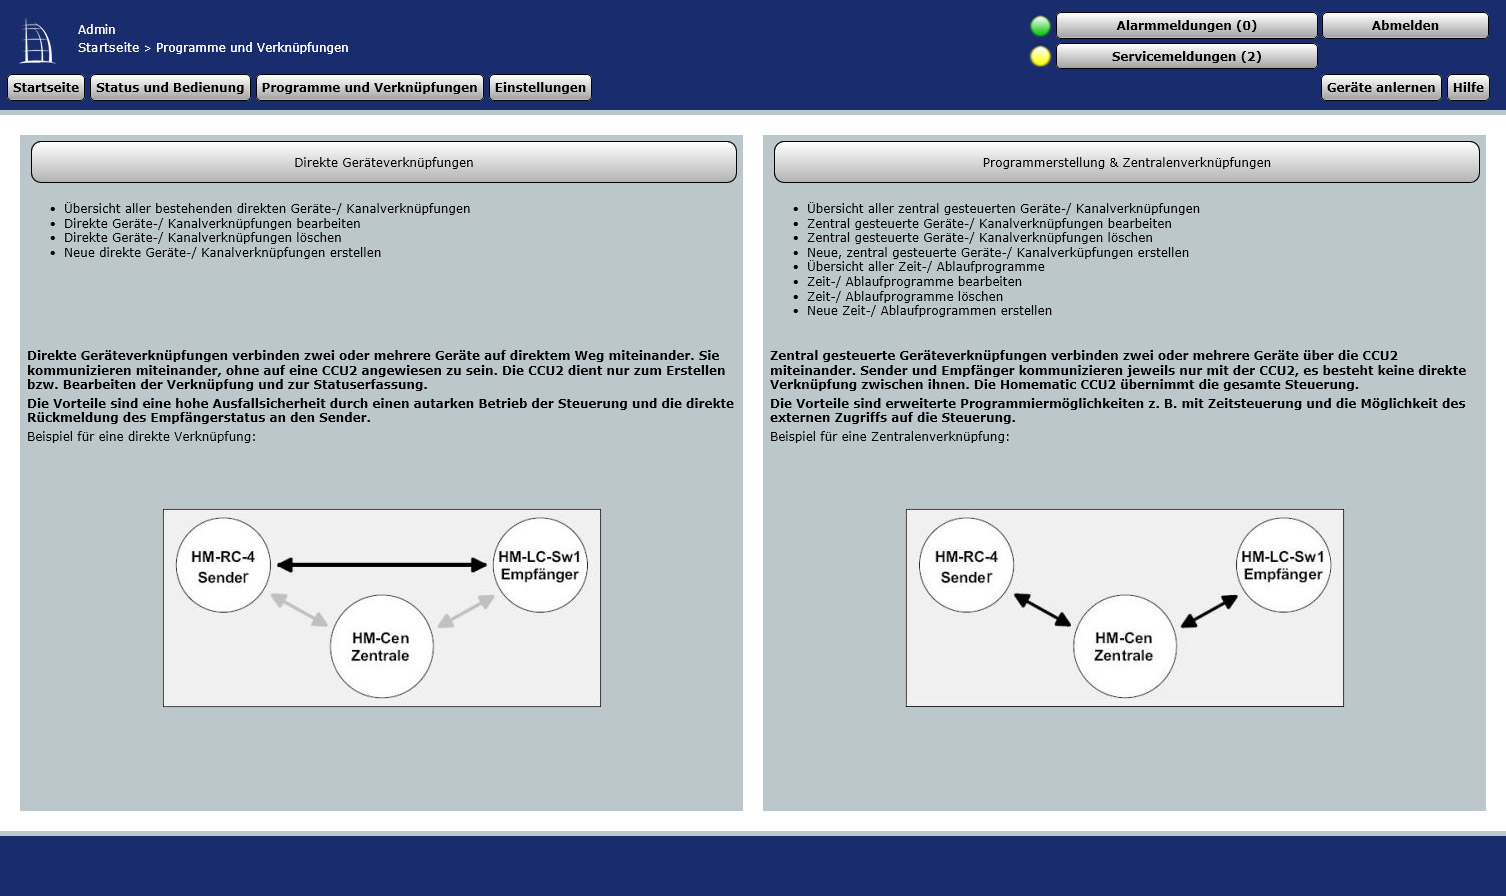
As mentioned above, HomeMatic components do not necessarily require the devices to be learnt via a central unit, but can also be linked directly to one another. Under Programs and links you can choose between direct device links or central links as well as the corresponding programming. Direct device linking can have great advantages, even for central control centre use, because the components can communicate directly and quickly with each other without any detours. Of course, there are many more possibilities when linking via the central unit. From time controls to the use of system variables and mail dispatch via additional software, everything is possible.
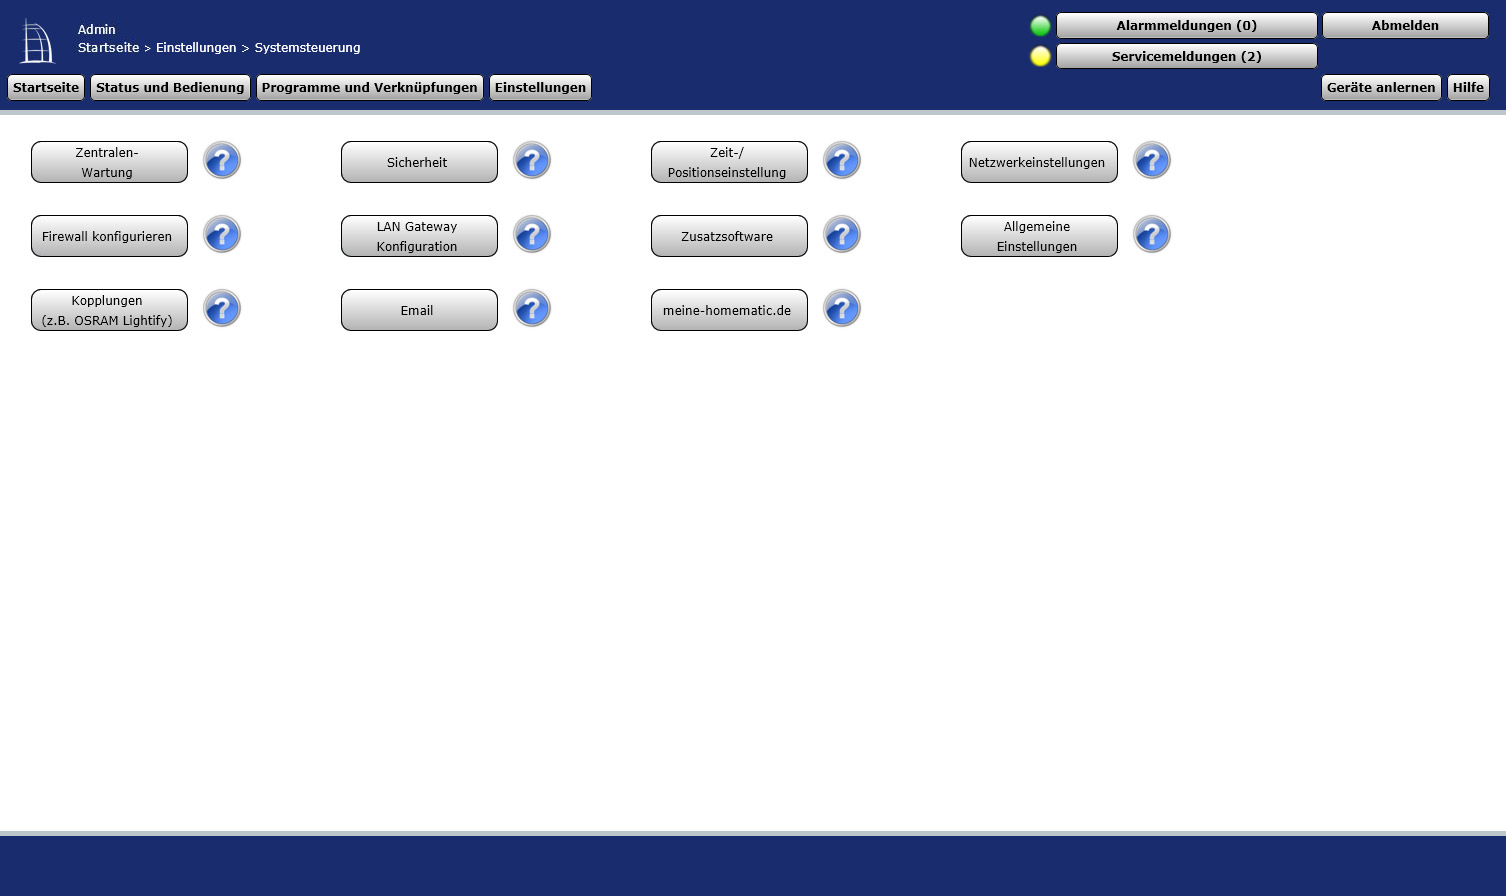
The setting options are even more extensive: Via the tab Settings we can configure the devices we have learned before, create rooms and assign the respective devices, revise trades (this is how we call the type of devices such as push buttons, heater, light, etc.) of the respective devices, create and edit diagrams for example for temperature monitoring on the MicroSD card, create and edit groups, update the firmware of individual devices, create and edit users, create system variables, define favorites and make settings for the CCU2 control panel.
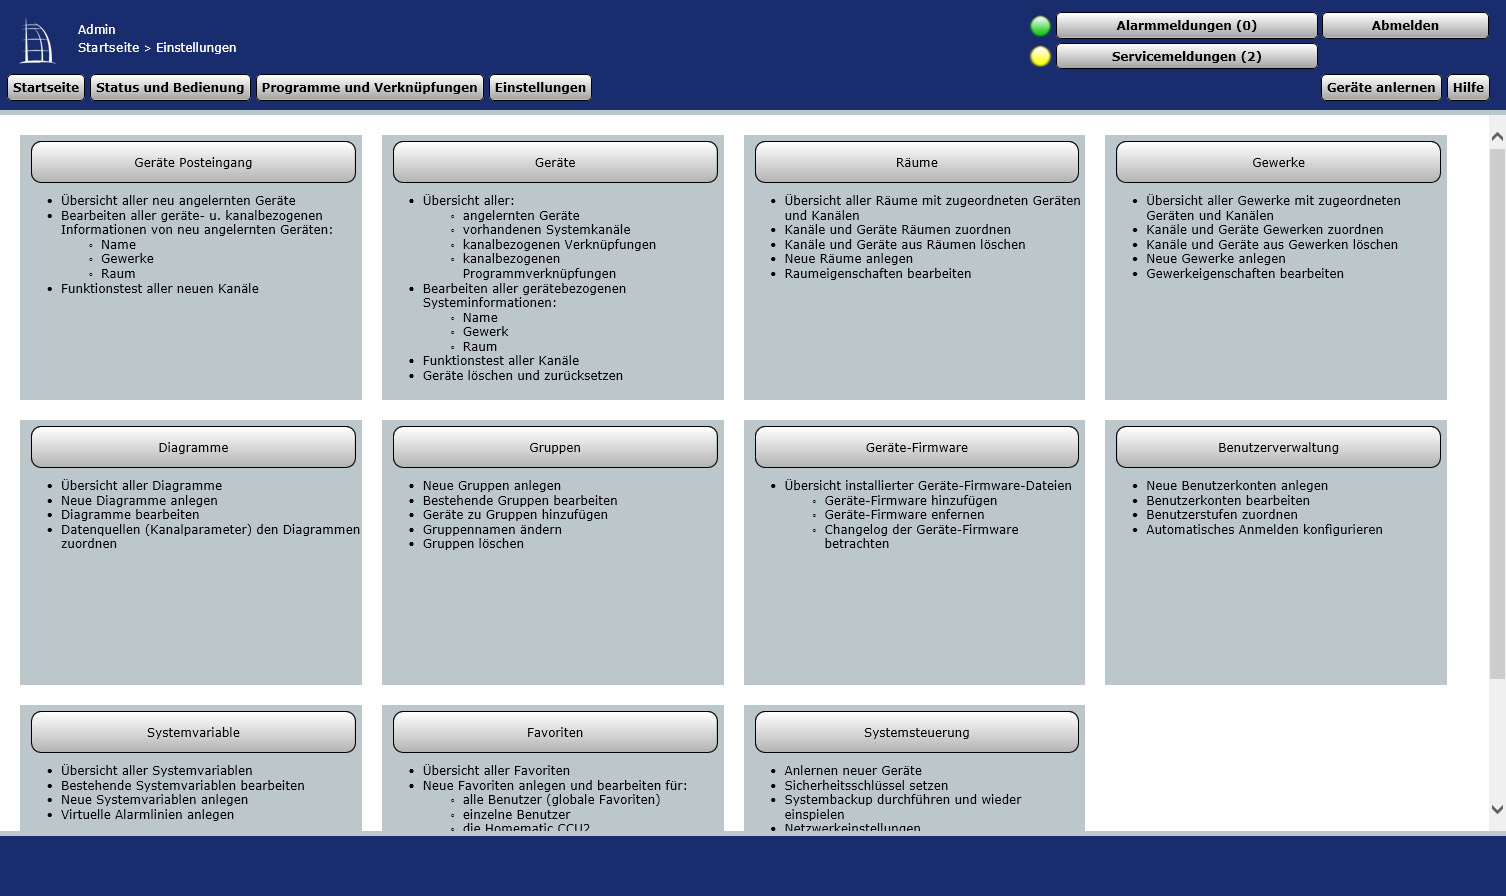
Each menu item is provided with additional menus, but don’t worry, it sounds more difficult than it actually is.
Learn devices to the Homematic CCU2 …
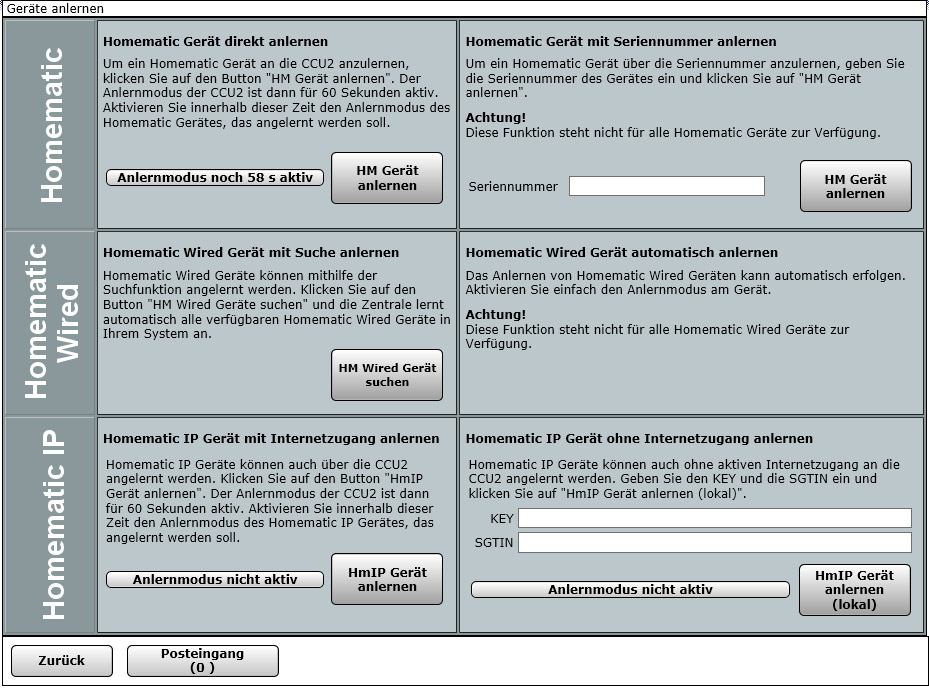
Another important point, however, is the actual learning of the devices. To do this, select Learn Devices in the upper right corner and start the Learn Mode with the Learn HM Devices button. Now the control panel waits 60 seconds for new devices, which you want to connect to the control panel by pressing the Config button on the respective device (e.g. light switch, thermostat, shutter actuator, etc.).
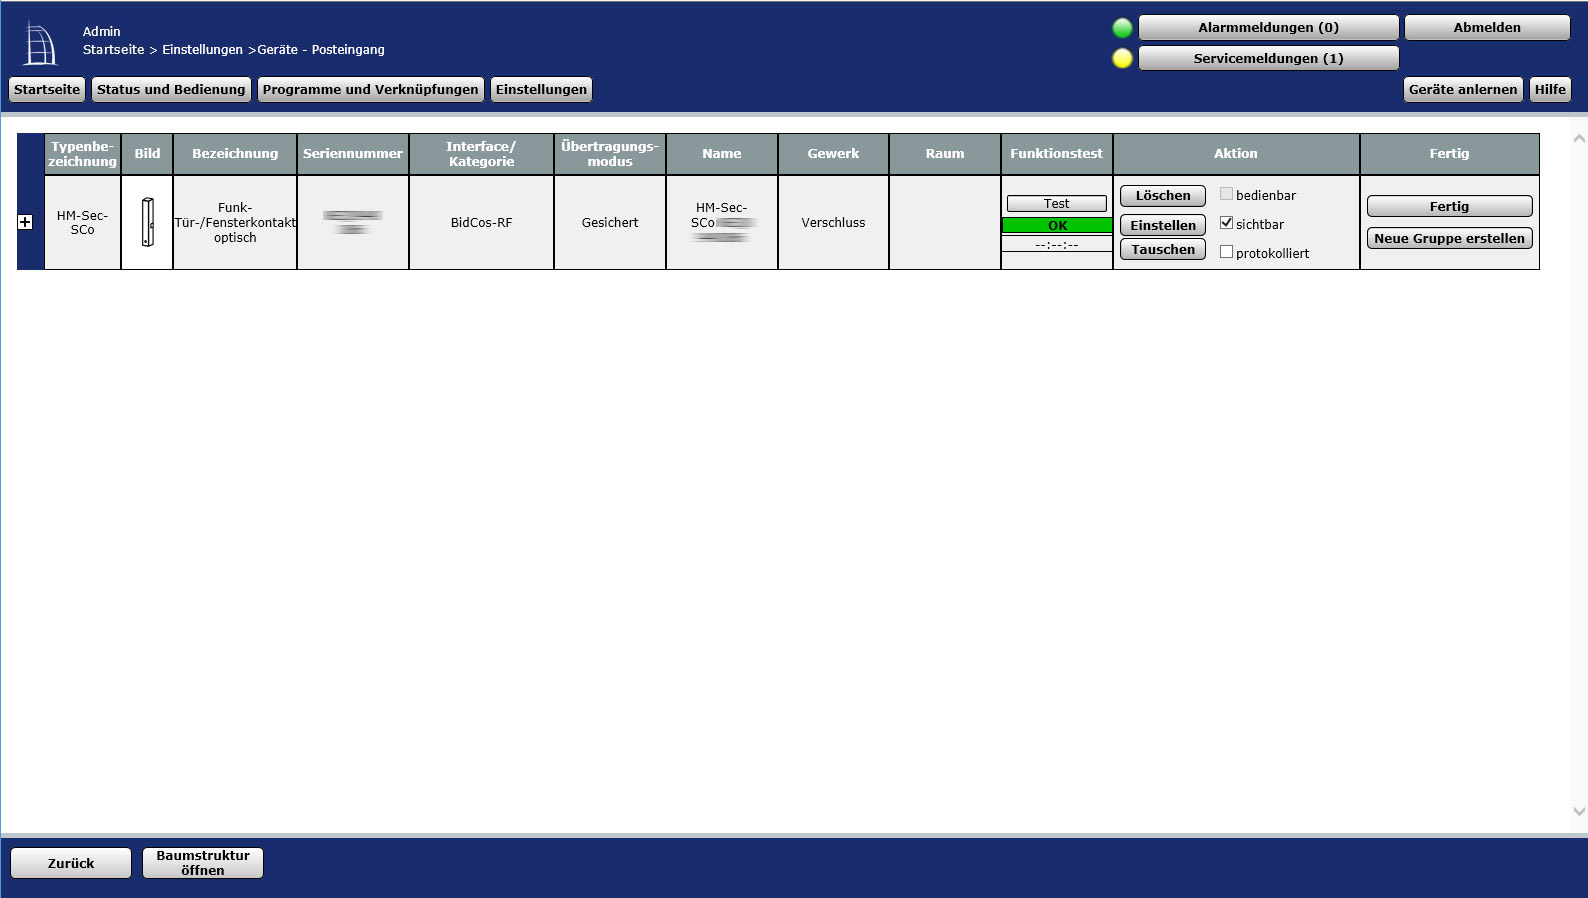
Now you check out the inbox, where you can find the devices you have learnt. So don’t be surprised if the device doesn’t appear in the CCU2 yet, it has to be confirmed first! This can now be done with all devices you have learnt and then you can rename them with the previously mentioned points, assign them, program dependencies and adapt them. By the way, here you can see an optical Homematic HM-Sec-SCo window contact, which we will test later in detail.
With this diversity, we hardly have any open wishes that couldn’t be solved somehow. Be it with integrated means of CCU2 or with additional software that we installed on CCU2.
Homematic CCU2 Power consumption …
Also, the power consumption of the CCU2 is pleasantly low with just 1-3 watts depending on the load, so that the electricity costs per year are negligibly low. A Raspberry Pi 3 with Jessi or similar would have a similarly low power consumption with significantly higher performance.
With this you can calculate the electricity consumption and the electricity costs per year:

Interactive power consumption calculator
Operate Homematic CCU2 over an App …
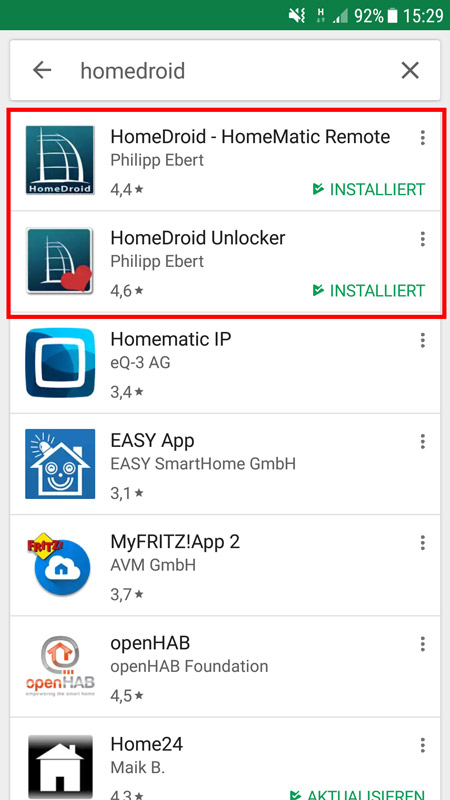
Another possibility is the operation of the Homematic devices via third-party programs or apps. Partly at the expense of security, since, for example, you can access the Homematic CCU2 control panel using XML-API without logging in. A Homematic App that we particularly like, although it has exactly this security problem, is the Android-based TinyMatic (previusly HomeDroid App). The TinyMatic app is initially free of charge in the Google Play Store and must then be unlocked for a few cents with a TinyMatic Unlocker after a few accesses. At the bottom you can see another Homematic App. Home24 is a great app, which is also based on the XML-API interface, but still very recommendable. Just try Home24 and TinyMatic to see what suits you best. Of course there are not only Android apps, but also inexpensive and free Homematic apps for Apple iOS.
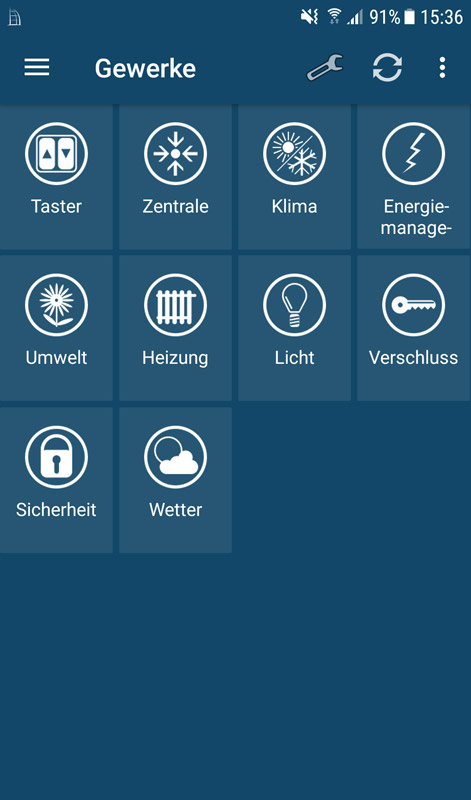
Here you can see the cross-systems about the Android TinyMatic App on a Samsung Galaxy S7.
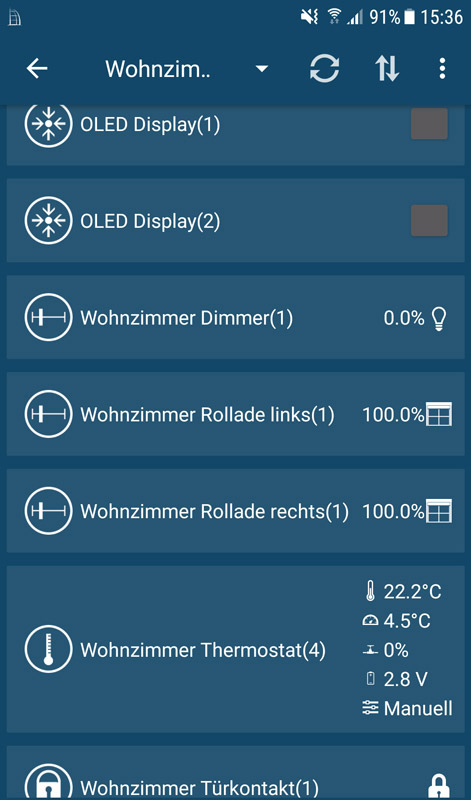
And this is how the individual rooms with the different Homematic devices look like in the TinyMatic app on the smartphone.
How you can secure your network despite XML-API and how you can set up secure remote access via VPN will be shown in one of the upcoming tutorials on Funkyhome.
Of course, we can’t go into all the details of such an extensive central here, because that would go far beyond the scope of the CCU2 review.
But we will do this in various CCU2 tutorials anyway or maybe after all our Homematic component tests we will already be able to buy the Homematic CCU3 central 😉 Now we come to the conclusion of the Homematic CCU2 Central.
Homematic CCU2 Central Result and general impression …