
Layout, design and features …
The small, white CCU2 is made of plastic and contains a large board with the Freescale i.MX280 454 MHz processor, 256 MB DDR2 SDRAM and 256 MB NAND Flash as well as an 868 MHz TRX868-SL radio module with antenna. In the kit the case covers are only loosely assembled, so we start with the CCU2 assembly.
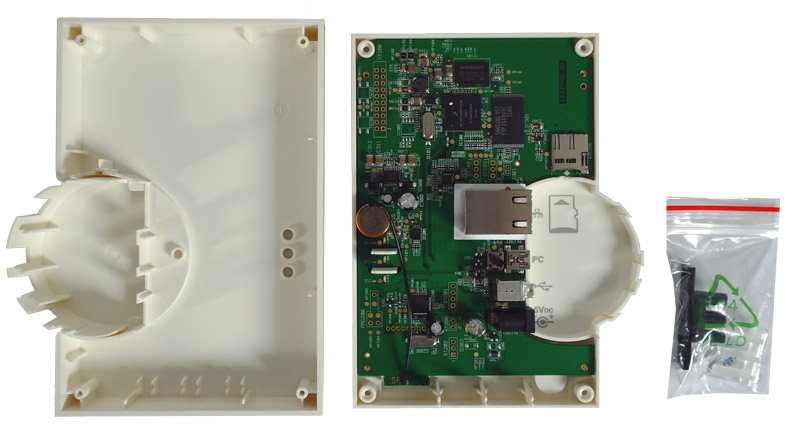
With the eQ3 CCU2 kit we only have to install the antenna correctly on the side, mount the board using 4 TORX screws with a T6 TORX screwdriver, place the LED “light guide” frame with light guide, plug both housing shells together and screw them together.
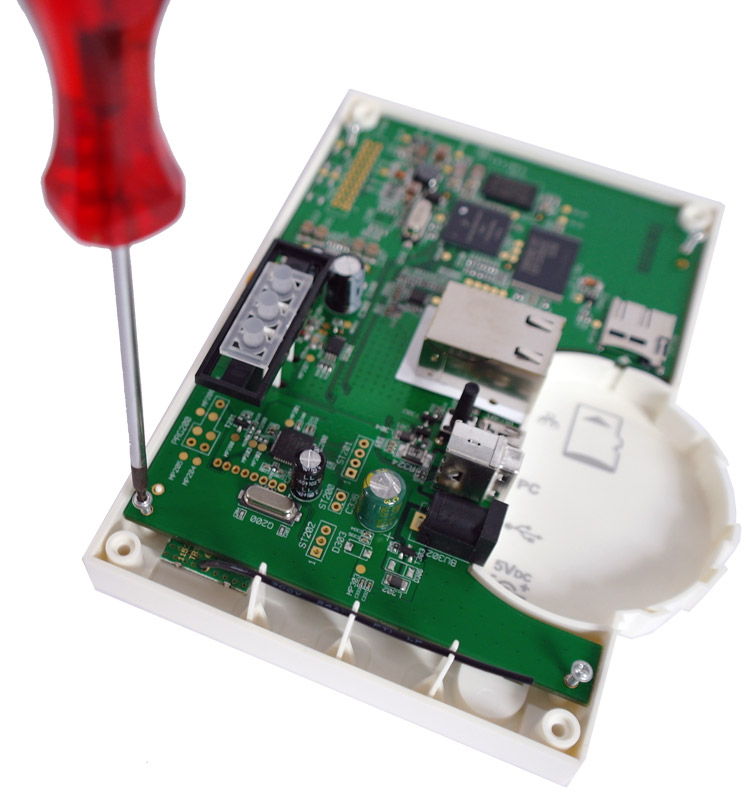
That’s it! Who had already heated up the soldering iron, can now switch it off again 😉
Rarely you could save 20 Euro !
This is the finished Homematic CCU2 central unit, which can now be connected to the Fritzbox or another home router with a LAN cable for testing purposes. If you want, you can already use a Micro SD card, where you can store measurement data for diagrams. Then connect the power supply and the CCU2 should appear in your home network.
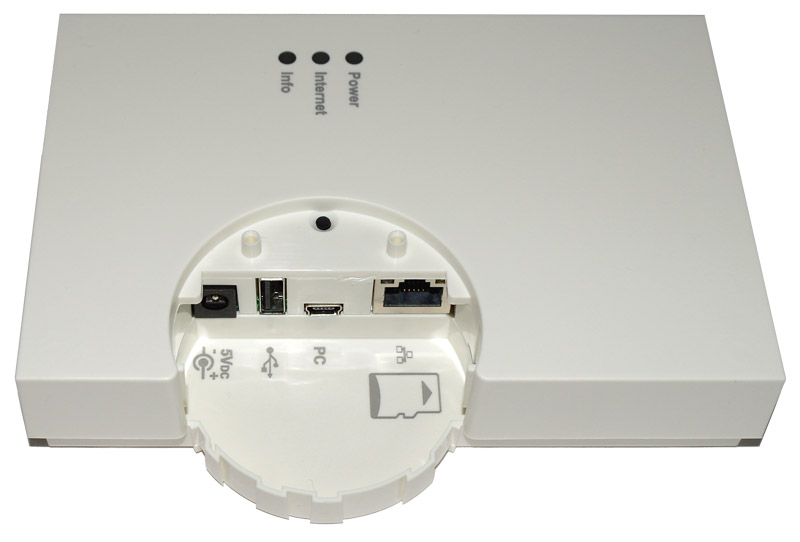
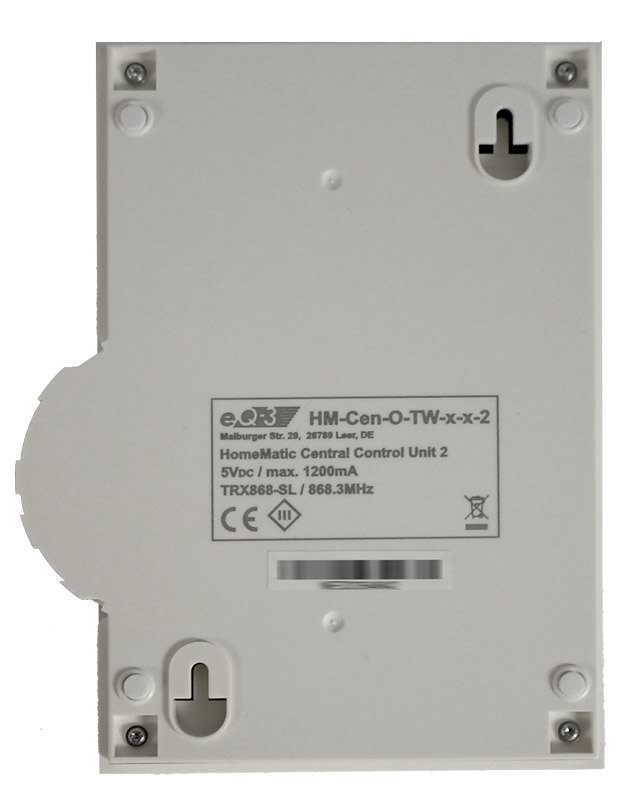
If that works, you can mount the CCU2 on the wall right away. Simply mark the holes with the supplied drilling template, drill, insert the dowels, let the screws look approx. 1.5mm out of the dowels and hang in the CCU2. The rear side offers two diagonally mounted retaining eyes for this purpose. One notices that the company eQ-3 has thought along and wants to give us as little work as possible.
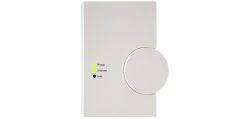
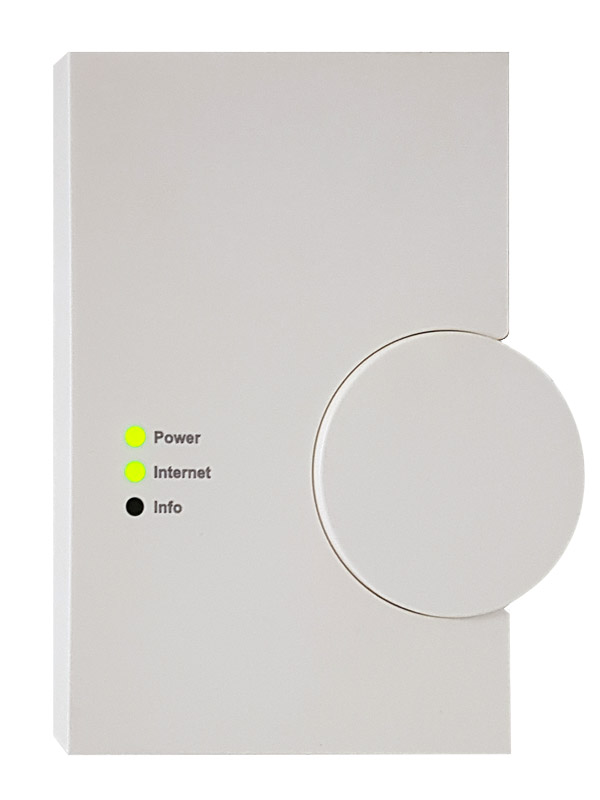
This is what the HomeMatic CCU2 looks like in operation: The Power LED and the Internet LED are green and the Info LED is (usually) off, at least as long as there are no messages.
Now we come to the setup of the CCU2 control center and the eQ-3 CCU2 test in action.
Homematic CCU2 Central Practical testing …