
Programming and assembly …
So, now we’re ready to install the ESP board, but before that we’ll install the software …
Install software …
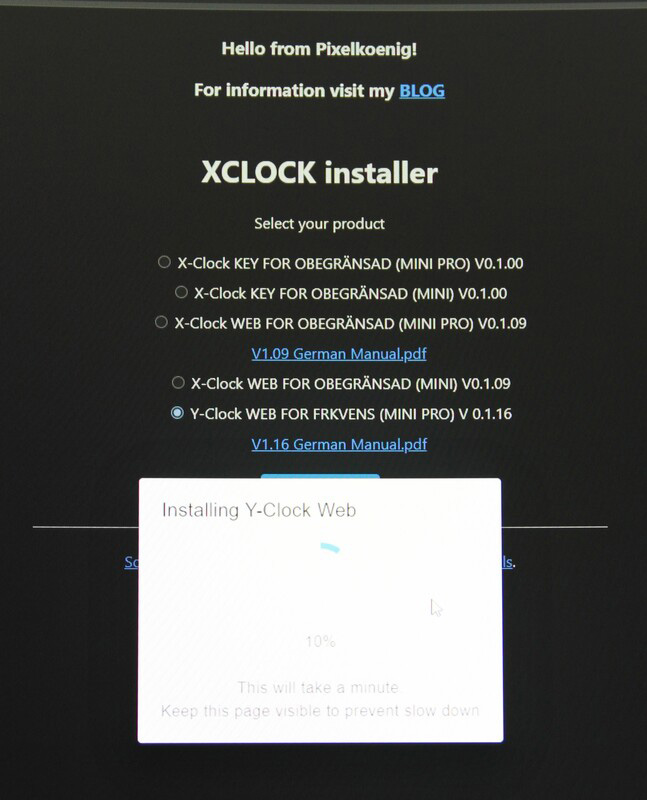
The Y-Clock firmware download and firmware installation is very easy directly via the website o-clock.eu and using the Edge or Chrome browser. We would also like to take this opportunity to thank blog.digital-image.de for the Y-Clock mod.
Installation …
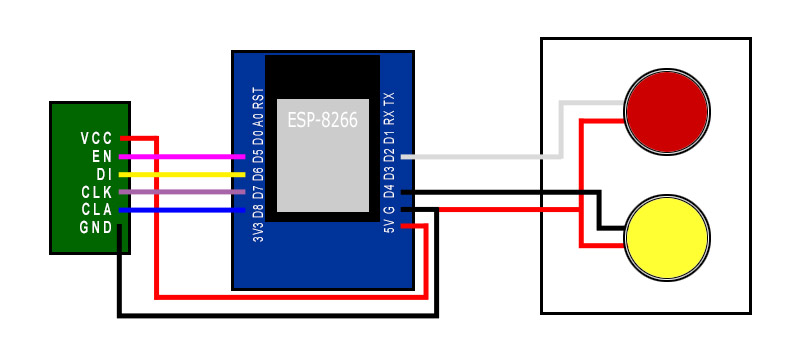
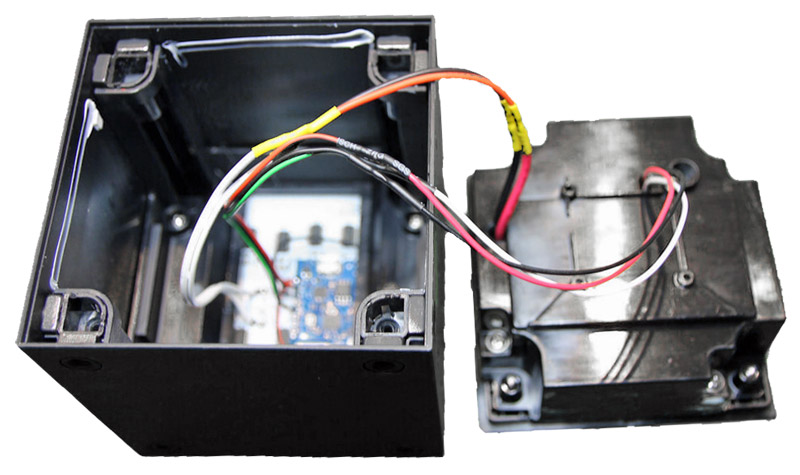
Now that we have installed the software, it’s time to install it. The circuit diagram is very simple, we have not installed the LDR, because in my opinion this is not necessary if you operate it at the lowest brightness level, but more on that later.
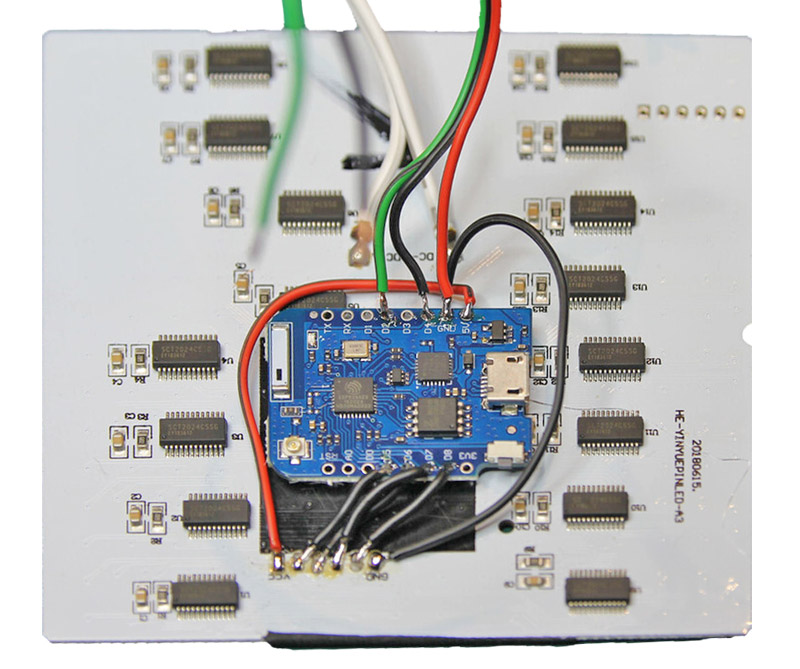
We fixed the ESP board to the LED panel using hot glue and then soldered the cables.
Assembly …
Now you can start reassembling in the reverse order of disassembly. Once you have replaced the internal parts, you can also solder the cables for the buttons and the power supply. It is much easier here if you use sufficiently long cables or have extended the existing cables.
A first test can be started.
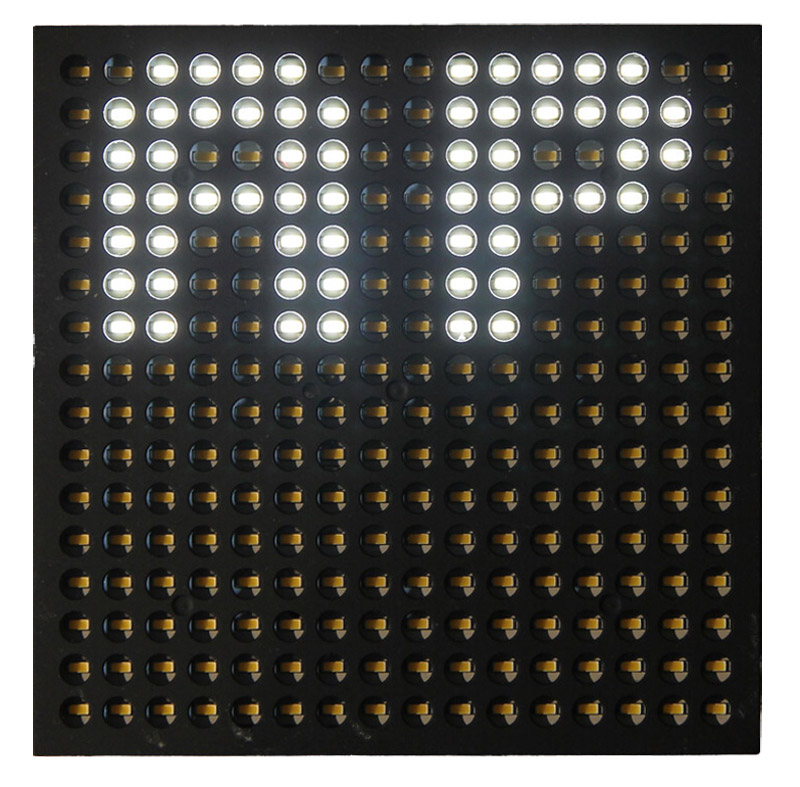
The display already shows something, so we can now finish assembling it.
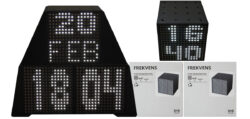
IKEA Frequency Configuration …