
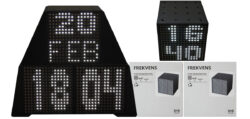
Disassembly …
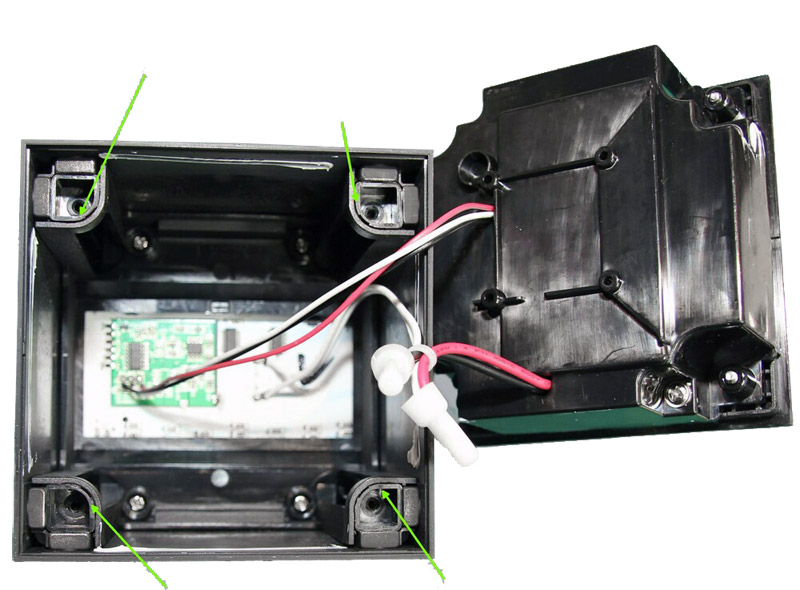
The first step is to open the appliance. To do this, loosen the 4 Phillips screws and then pull out the rear panel.
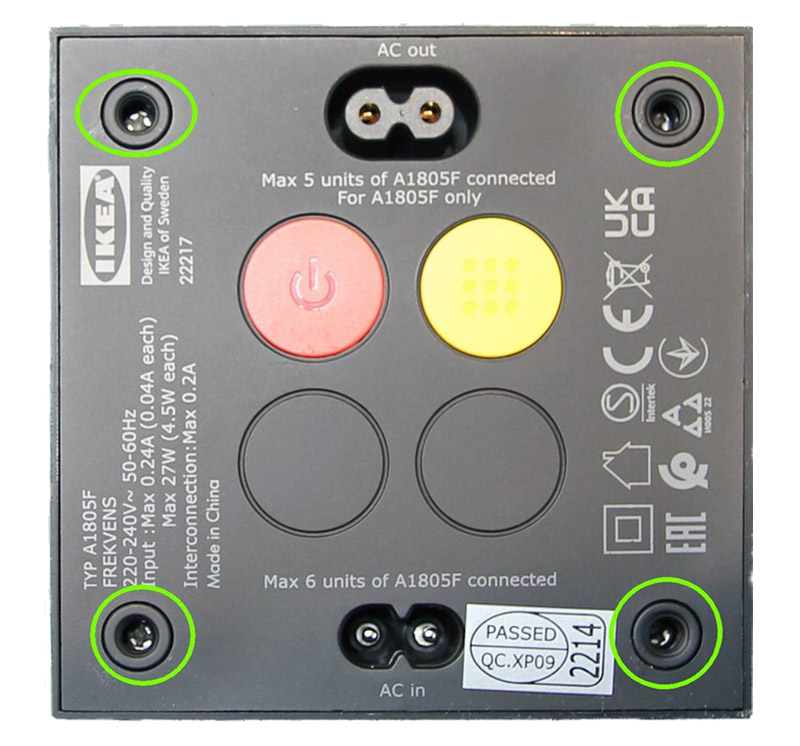
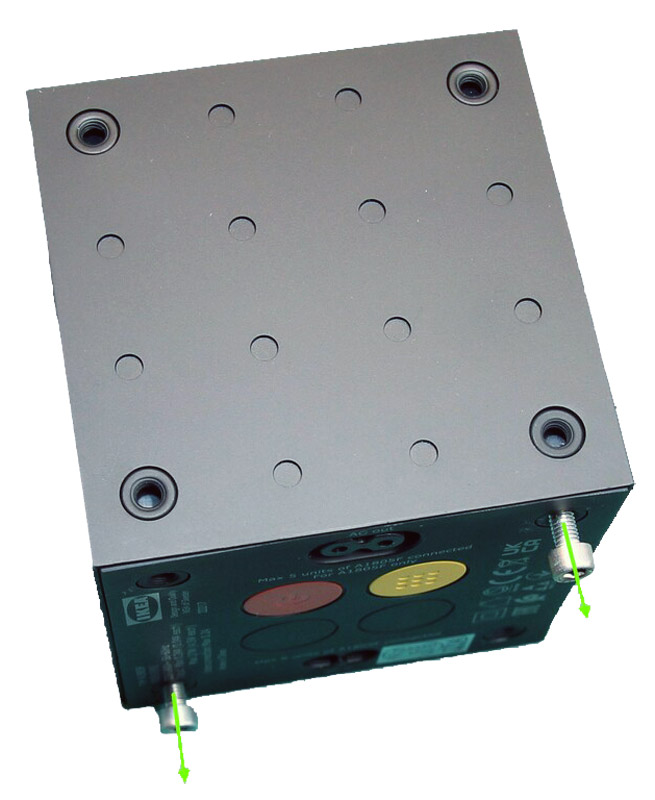
You can use a few M5 screws to pull it out.
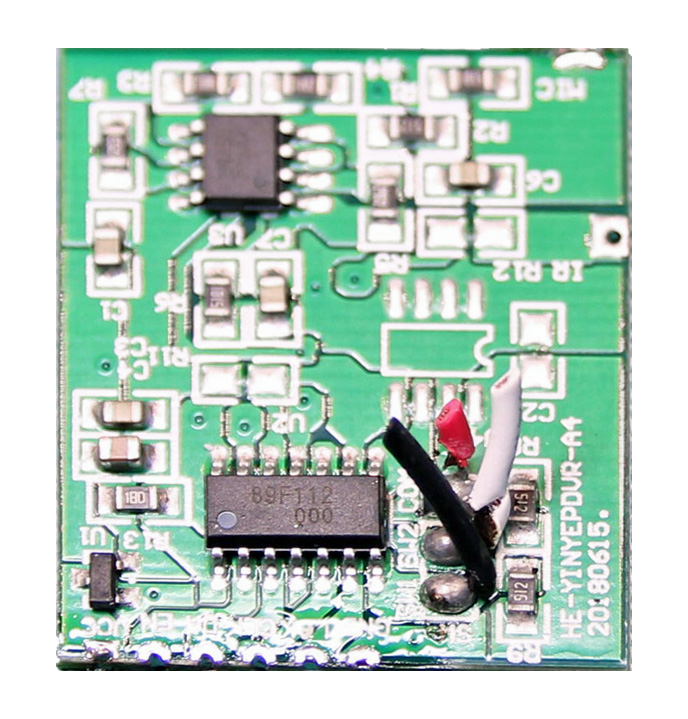
When dismantling, you should be careful not to tear off any of the cables at an unwanted point. The 3-wire cable of the buttons can then be cut or desoldered directly near the green circuit board.
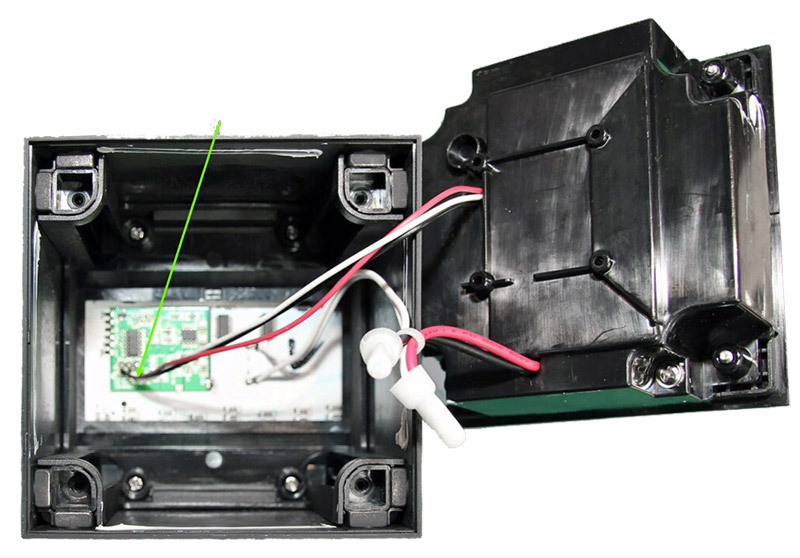
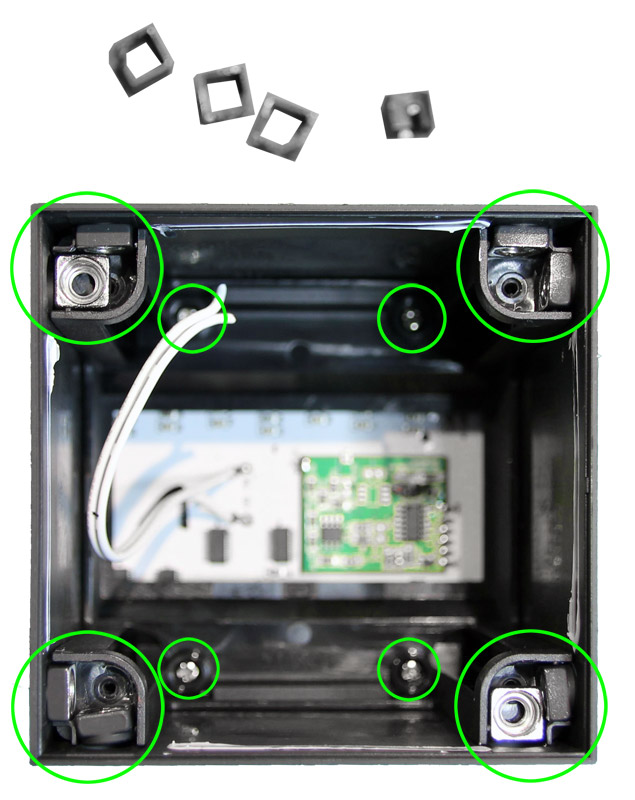
The other two cables (power supply) can be left as they are. However, it is easier to cut these too, extend them and solder them back together later. We now want to remove the LED panel first. To do this, we have to work our way down step by step. Therefore, we now remove these plastic clips from the 4 corners.
Remove the 4-cornered nuts and then unscrew the 4 lower screws.
Now we can pull out the inner plastic frame.
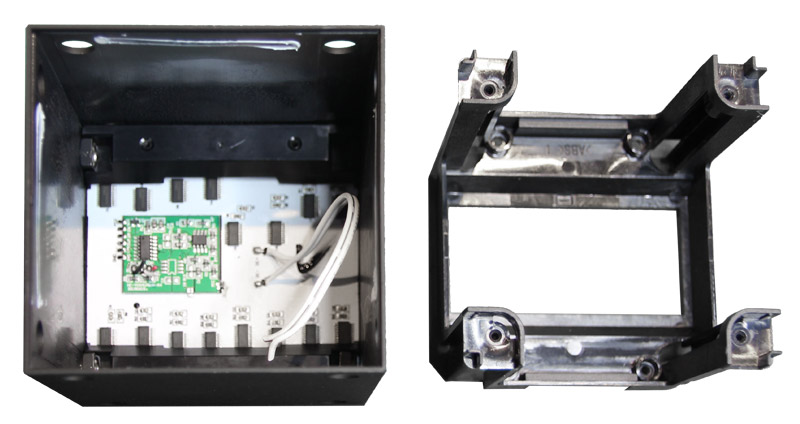
Then remove the 4-cornered nuts again and then remove the plastic strips.
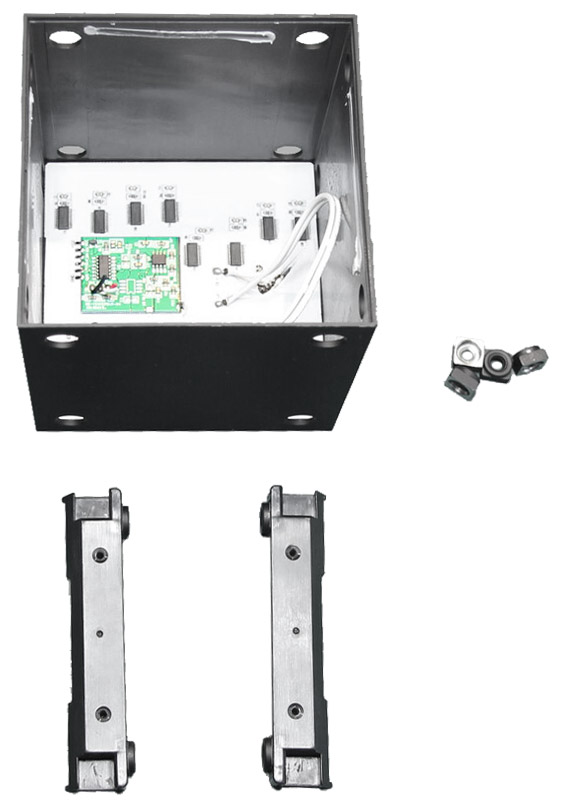
Now we can finally remove the LED panel together with the circuit board and the diffuser. You could just leave the diffuser in, but the light image is simply much clearer without the diffuser. That’s why we removed it and no longer installed it, but that’s for everyone to decide. However, leaving the diffuser has the disadvantage that the LEDs appear somewhat yellowish when viewed from the side.
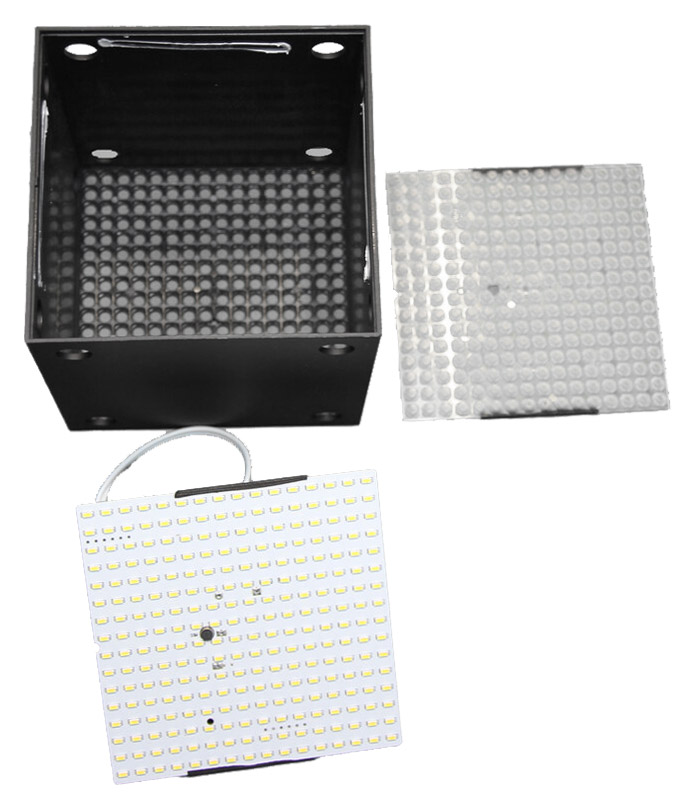
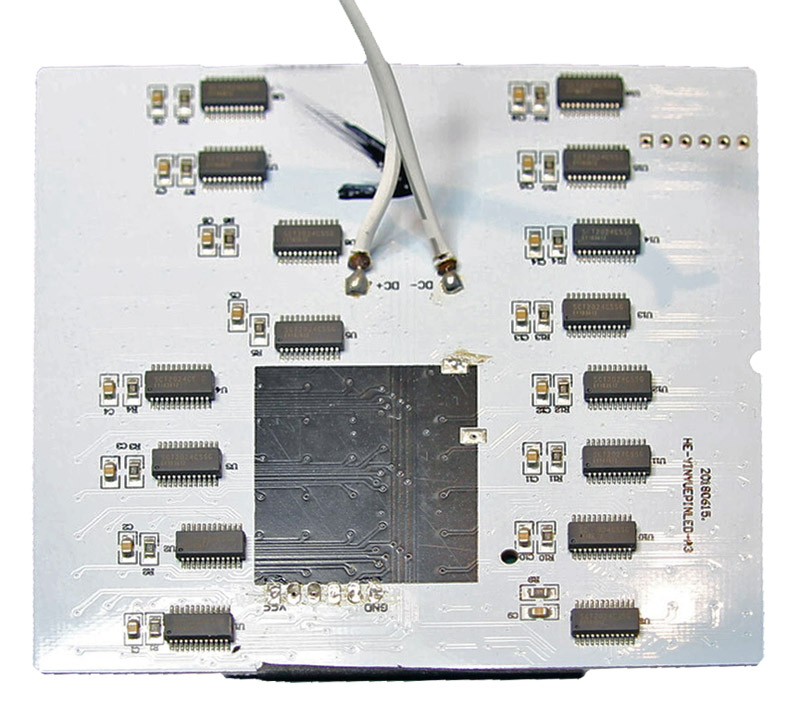
The green control board can be clearly seen on the LED panel.
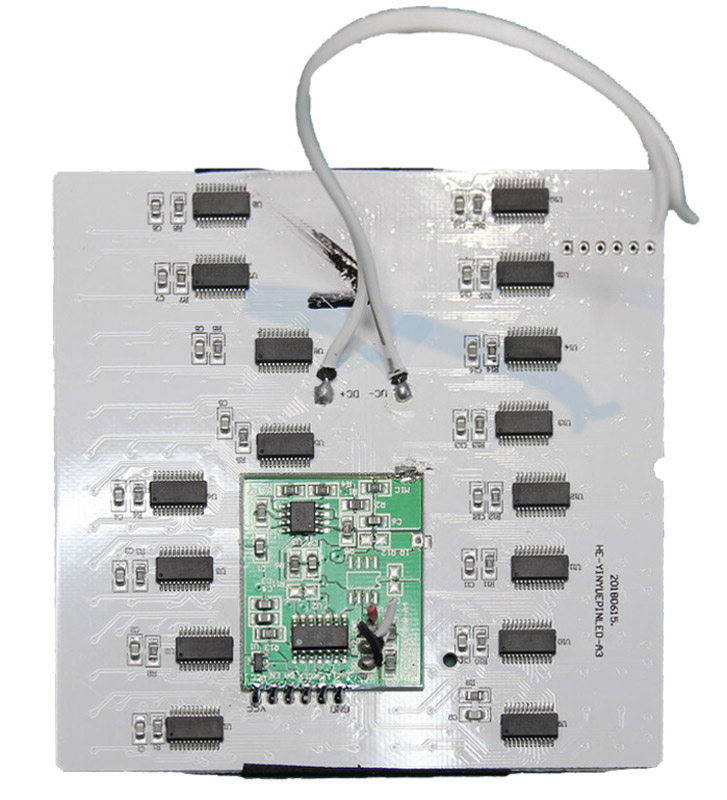
We have to remove these completely, i.e. unsolder them without further ado.
But beware, although this seems rather simple, you have to be careful not to tear off the solder pads from the LED panel. That’s what happened here, but we were lucky and were able to expose enough copper using a fiberglass brush.
IKEA Frekvens programming and assembly …