

Practical testing …
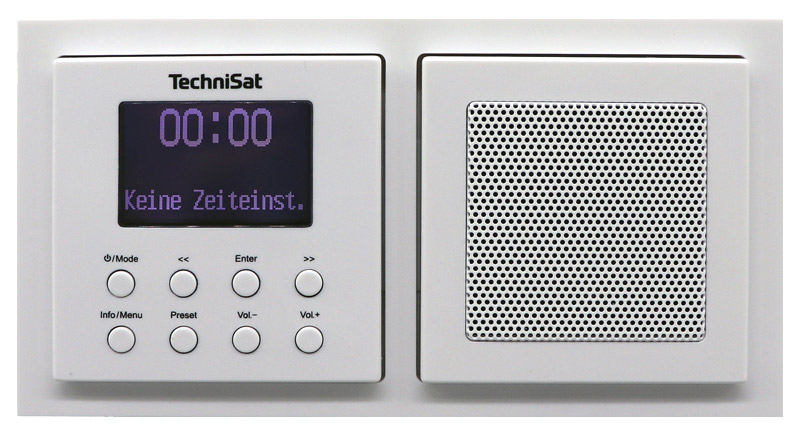
After the assembly has been successfully completed, the radio can finally be enjoyed. As soon as you press the power/mode button briefly, the DAB+ radio switches on. You have to hold down the power button a bit longer to switch off the TechniSat DigitRadio, but you should not press it too long to switch it on. This takes some getting used to at first, but as we all know, you get used to almost everything. Initially, no time is displayed yet, but do not worry, the time is set automatically right away 😀
DAB+ Tuner …
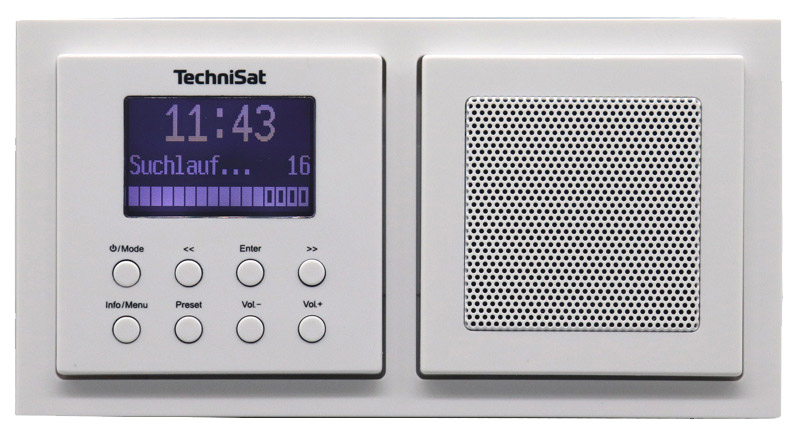
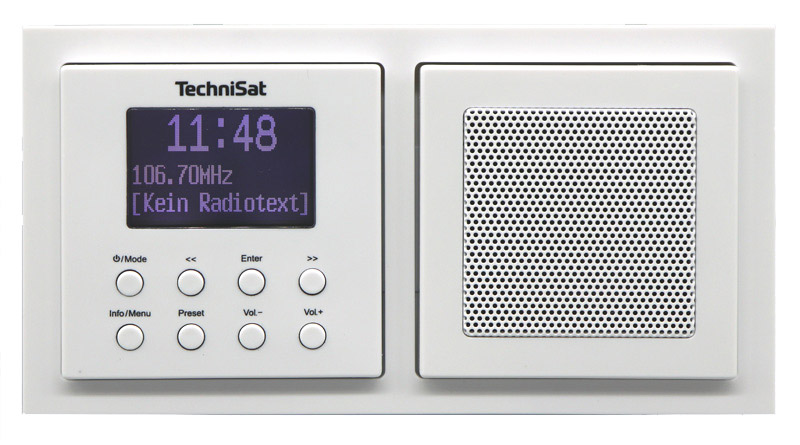
After switching on for the first time, a DAB station search is performed automatically. Depending on the region, about 30 stations should be found, for example in NRW.
What to do when radio signal is poor? …
Tip: If the TechniSat DigitRadio UP 1 finds only a few stations or the signal is poor, it might help to lay the throw antenna differently. We have test the throw antenna to an approximately 5cm small ring behind the speaker in the UP box placed and achieved slightly better signal than in laid out form. However, we achieved even better signal by connecting the ground cable (PE protective conductor) to the antenna terminal provided for this purpose!
After the first station search, the time is displayed correctly. If not, you can alternatively set the date and time manually via the menu. The menu can be accessed by pressing and holding the Info/Menu key. To set the time manually, hold down the Info/Menu key and select the Time entry with >> and confirm with Enter. The entire menu navigation is very intuitive and does not really require any further instructions. TechniSat nevertheless includes a DigitRadio manual and also offers it for download on the TechniSat website.
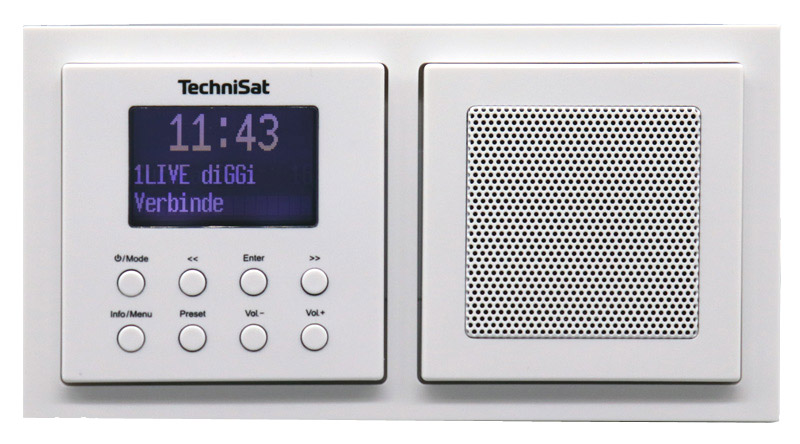
Within a few seconds, the selected DAB station is connected. In our example, we started with 1LIVE diGGi.
If there is sound interference with the radio signal, you should first use the Info/Menu button to check how high the number of signal errors is. If the signal errors are extremely high, you should align the antenna differently or use the ground cable if necessary, as previously described under bad radio signal.
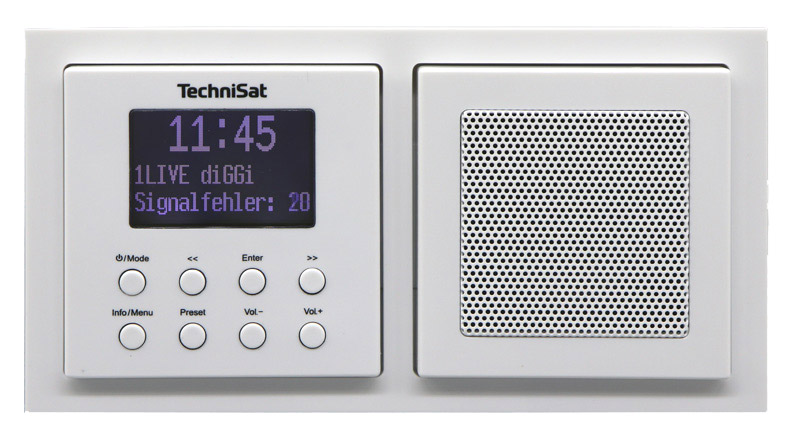
With the Info/Menu button, you can also select if you want to see information and playlist, the title, artist, station name, homepage, signal strength, genre, DAB+ info text, DAB frequency, signal error, DAB data rate, time or date on the display.
To save the station in the station list, you select the desired station, hold down the preset button and select one of the 10 memory locations with the >> button. This is not quite as intuitive as one is used to from a car radio, for example, where you store the station by pressing the respective station key for a long time. This would require another row of buttons. Nevertheless, it manages to store the station without any problems and then recall it with a short press on the preset button.
Difference between DAB and DAB+ radio …
At this point, we would like to briefly compare DAB and DAB+, because the small plus sign is very important) and is not just an optional marking for the alarm function. Because the original DAB without plus sign behind it stands for a MPEG1 data compression, more exactly MPEG-1 Layer-2 and the newer DAB+ uses the clearly better MPEG4 data compression MPEG-4 HE-AAC. In addition, it offers more space for stations and their additional information through more efficient data transmission.
FM Tuner …
But FM is also still available in Germany! With the power/mode button above, one selects between DAB+, FM and Bluetooth. Under FM, by the way, you can also as previously described up to 10 stations in the transmitter memory and retrieve even after a power failure. However, only a few stations were received with the throw antenna at various locations in our test anyway, and with the ground cable as an antenna, the number was increased to eight stations. We are used to better performance from TechniSat devices here.
Bluetooth …
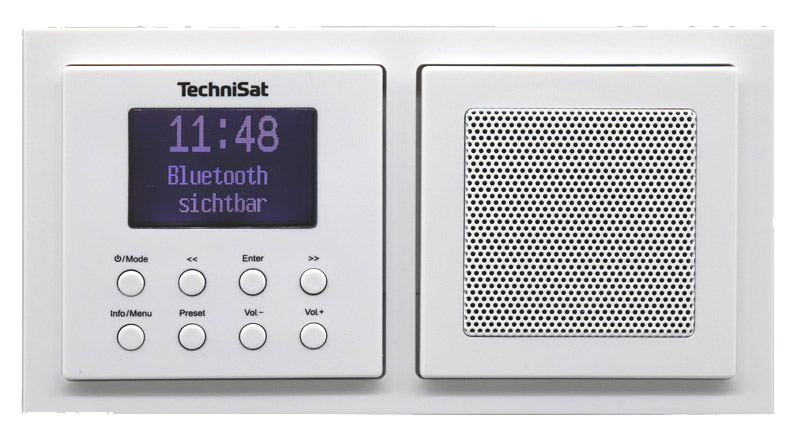
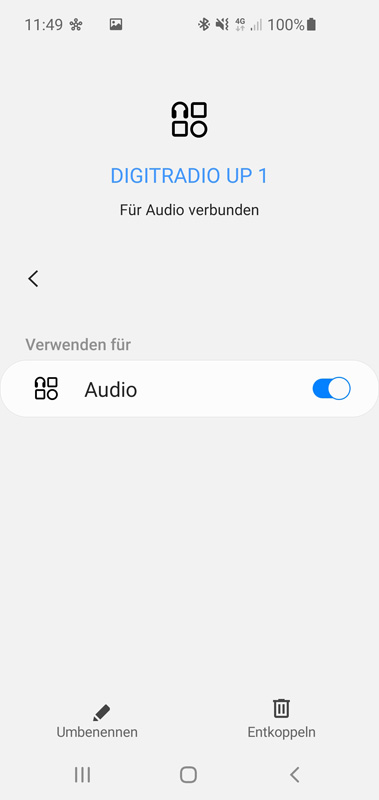
The Bluetooth connection also works absolutely smoothly. Simply select Bluetooth with the Power/Mode button so that the TechniSat DigitRadio UP 1 becomes visible.
Now search for new devices with your smartphone or tablet and click DIGITRADIO UP 1 to pair. A code is (unfortunately) not required. Likewise, you cannot unpair a paired device via the radio. Thanks to Bluetooth AVRCP support (AVRCP stands for Audio Video Remote Control Profile), you can now use the << and >> buttons on the digital radio to select the previous or next music track on the smartphone or tablet without having to operate the smartphone/tablet. Using the Enter key, you can pause playback and the volume keys can also change the volume of the mobile device, depending on the smartphone/tablet setting. Unfortunately, DAB streaming to the smartphone or tablet is not possible, as the DigitRadio UP 1 can only receive signals.
Possible applications …
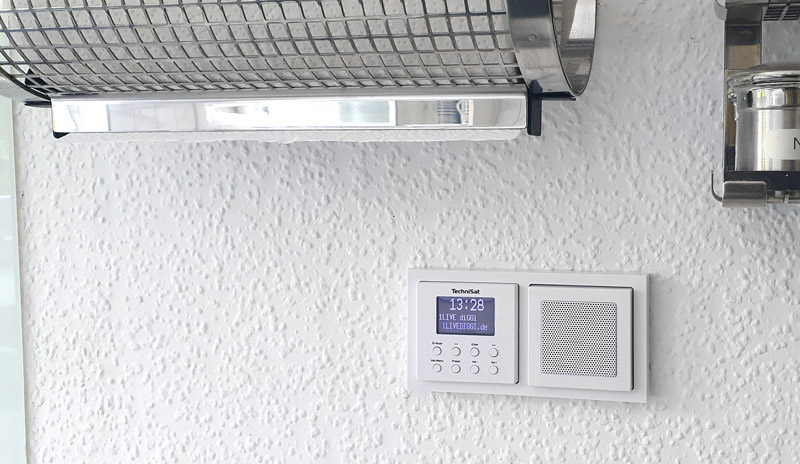
These are all very practical functions, for example, to find use in the study, guest toilet, living room, basement or as in the following example as a flush-mounted kitchen radio.
In addition to the DAB+ radio, FM radio and Bluetooth functionality, the TechniSat DigitRadio UP 1 even offers a sleep timer and extensive alarm functions with two alarm times and differentiation between weekend and weekday alarm. Thus, the TechniSat DigitRadio UP 1 is even great as a flush-mounted alarm clock in the bedroom!
Power consumption …
Of course, we from Funkyhome.de do not miss the opportunity to look behind the scenes and have looked at the technical design, which, by the way, consists of individual modules and is cleanly processed. In addition, we checked the TechniSat DigitRadio UP 1 power consumption. Devices that run day and night and do not have a real on/off switch can sometimes become power guzzlers, but fortunately not this TechniSat DAB radio!
| TechniSat DigitRadio UP 1 Power consumption | ||
| Usage | Min | Max |
| Standby | 0.5 Watt (LCD dark) | 1.2 Watt (LCD bright) |
| DAB+ | 2.3 Watt (silent) | 4.3 Watt (loud) |
| FM | 2.3 Watt (silent) | 4.2 Watt (loud) |
| Bluetooth | 1.6 Watt (silent) | 3.6 Watt (loud) |
Volume and sound …
The minimum DigitRadio UP 1 volume with DAB+ use was 42.9 dB and the maximum DigitRadio UP 1 volume was 85.2 dB using a dB meter from a distance of 100cm. According to our subjective impression, the sound is comparable to a common, small roaring cube, pardon, Bluetooth speaker and can still be adjusted to personal taste thanks to the integrated equalizer and DRC volume adjustment.
Now we come to our TechniSat DigitRadio UP 1 test result on Funkyhome.
TechniSat DigitRadio UP 1 Result and general impression …