

DigitRadio Layout, design and features …
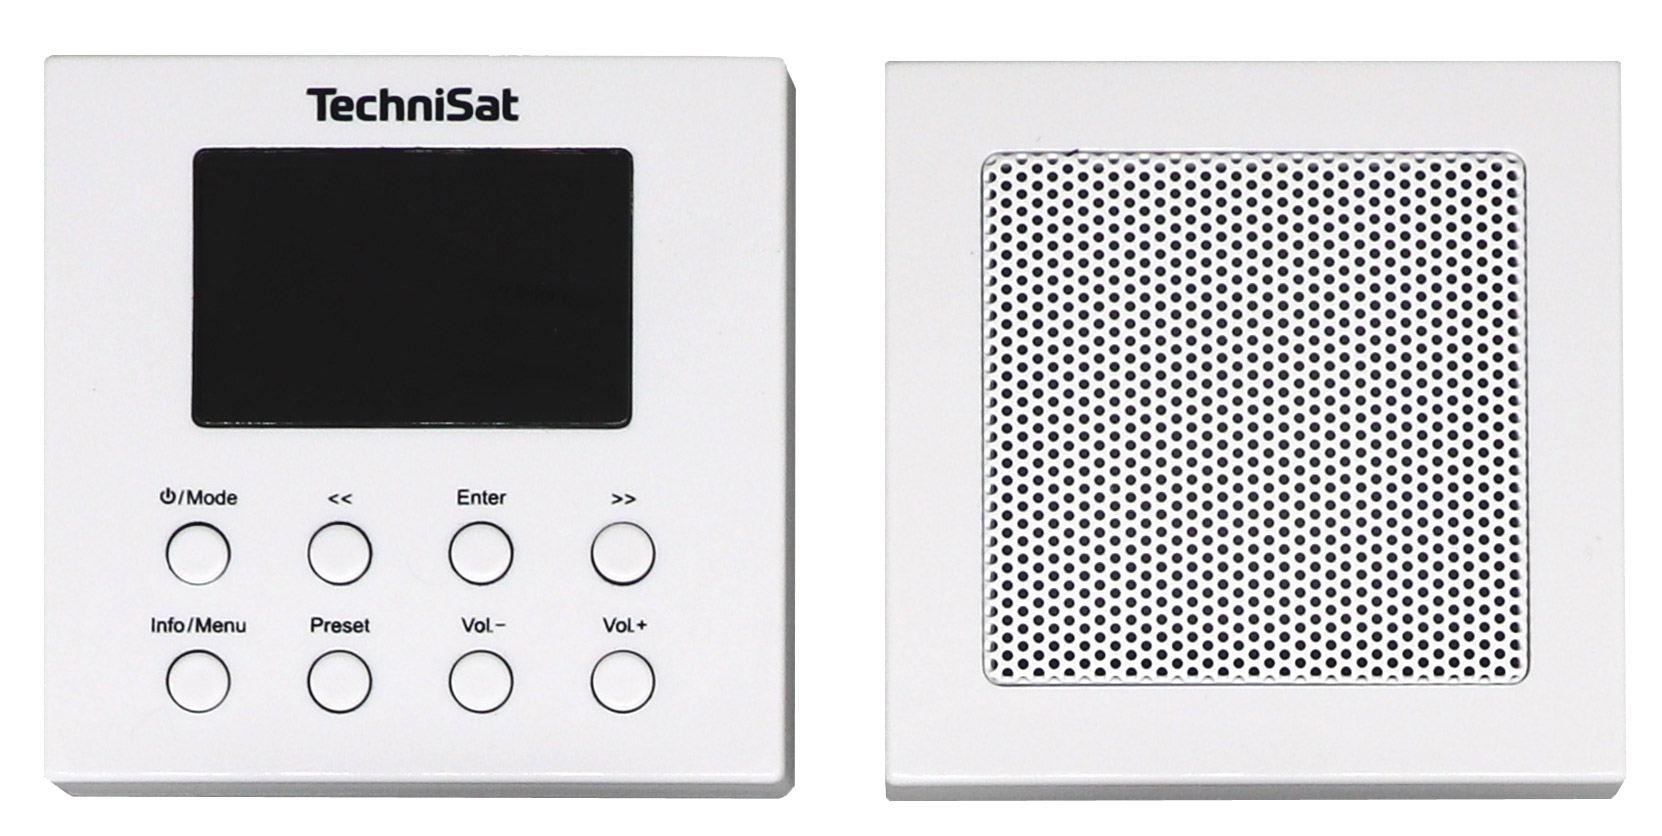
Now we come to the construction of the TechniSat DigitRadio UP 1 DAB radio with FM radio and Bluetooth function. On the left side of the picture, you can see the attachable radio control unit with the eight buttons for operation. On the top left you see the power button combined with the mode button, next to it the back, enter and forward button, in the lower row the combined info and menu button, next to it the preset button and the volume buttons. To the right of the radio control unit, you can see the speaker cover, which is simply plugged on.
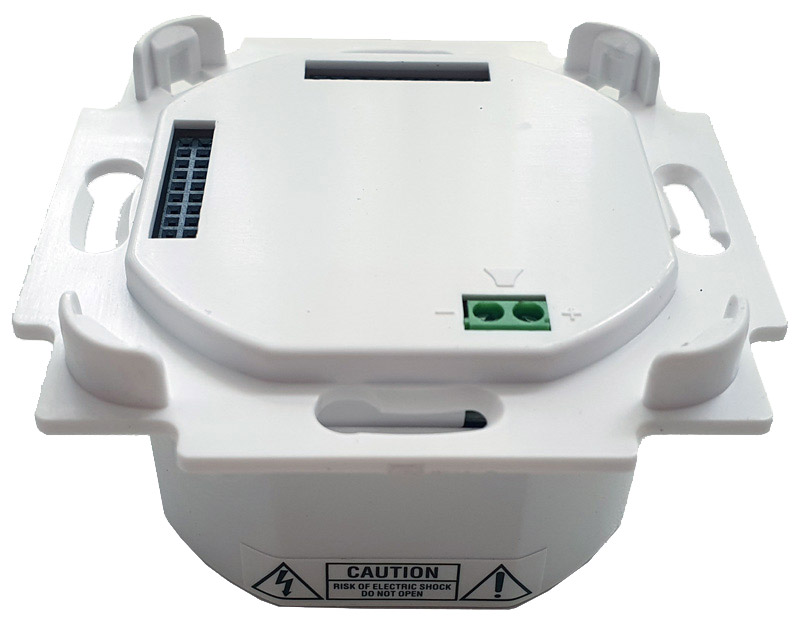
The flush-mounted part of the radio has the 2-pole speaker terminal on one side, which is designed as a screw terminal for a small slotted screwdriver. Thus, the radio is designed for mono operation only, so a second speaker could be operated mono at most while maintaining the maximum load. However, the front bezel is only compatible with a few switch programs anyway, so you’d have to get creative if you wanted to expand to a 3-gang bezel. Frames and bezels for common switch manufacturers such as Busch-Jaeger, Gira, Merten, Berker, Jung, düwi and Kopp are unfortunately not offered by TechniSat. Also, the color, for example, does not quite match Gira pure white. However, it is advantageous that TechniSat allows both horizontal mounting and vertical mounting through the two plug-in contact blocks. Simply align the radio unit so that the plug contacts point upwards.
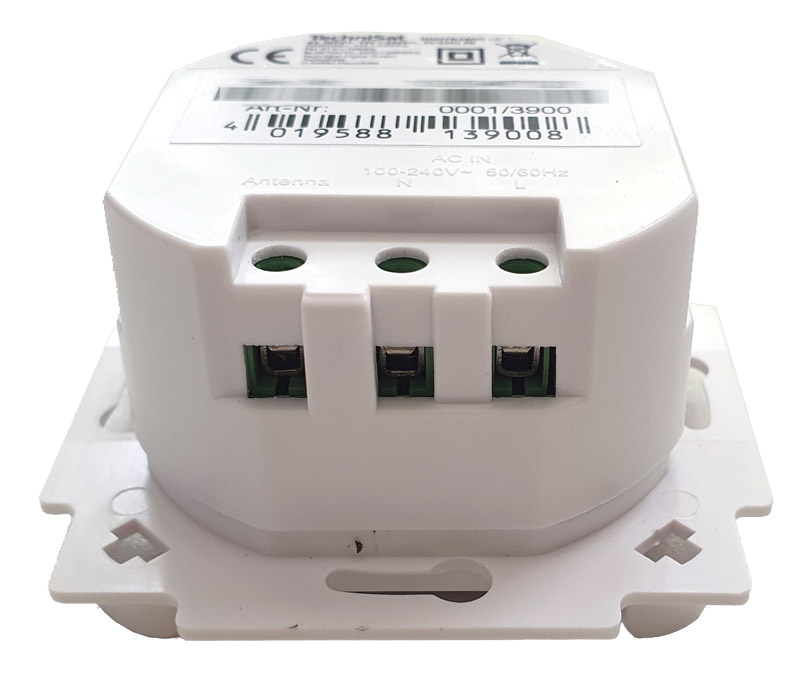
Of course, the radio unit must still be supplied with power by the specialist. For this purpose, it has three screw terminals for the antenna, neutral conductor (N is blue or gray in old buildings) and phase (L is black or brown). If you accidentally connect the protective conductor to the antenna terminal, you should check your glasses again, but fortunately you don’t have to worry about that. On the contrary, according to the enclosed TechniSat manual, it is even intended that in case of poor reception of the TechniSat DigitRadio UP 1, instead of the supplied throw antenna, the protective conductor (ground PE is marked green/yellow) can be used as an antenna. However, the electrician will certainly not confuse anything and measure the colour of the power lines during installation anyway.
Before we get to the actual practical testing, we would like to briefly discuss the installation in the flush-mounted box.
Of course, the radio may only be installed by electricians or specialists!
However, it could well happen that the electrician gives up on the installation in a flat flush-mounted box and suggests the installation of the TechniSat DigitRadio UP 1 in a deep flush-mounted junction box. Because the installation in a shallow switch box can be quite problematic if several lines are already carried out in the switch box, since the DigitRadio is already quite deep without cables and with connection lines, carried out lines to other sockets and then possibly still stow the supplied throw antenna behind it designs itself already without Wago terminals as problematic.
Tip: If the possibility exists or the DigitRadio is to be installed anyway during a renovation, two deep flush-mounted sockets are absolutely recommended!
Now we come to the TechniSat DigitRadio UP 1 Practical testing …