

Practical testing …
Shelly Setup
Shelly Door Window 2 Test
Shelly Motion 2 Test
Shelly Flood Test
Shelly Setup …
The setup of the devices is done via the app and is actually quite simple via Add device. Step by step, you continue with the assignment/naming of the devices and the settings. How to set up and learn Shelly devices, we have explained here in the Shelly installation guide.
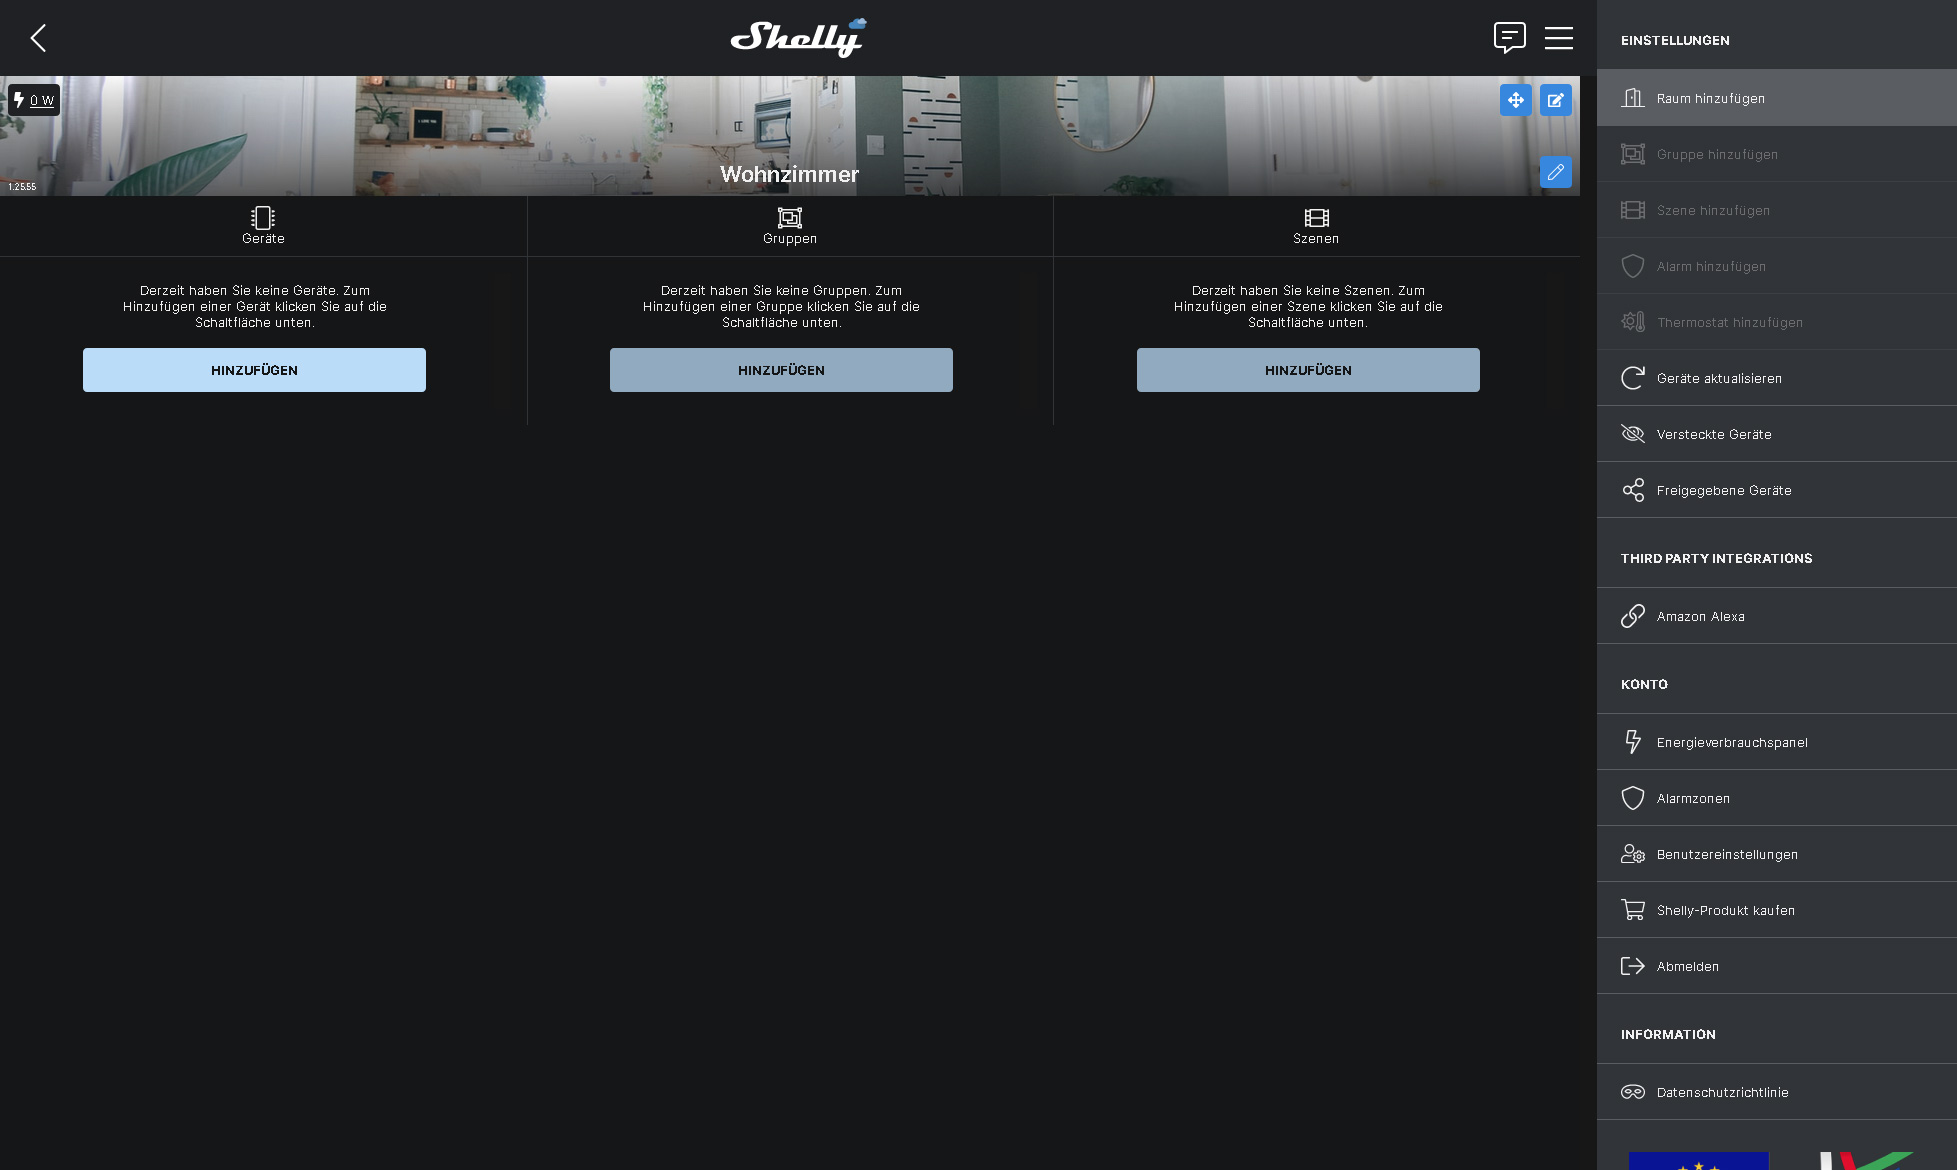
On the whole, learning and setting up the Shelly devices works quite well if you follow the instructions in the app exactly. Only the Motion 2 had slight problems this time, and we had to perform the setup process several times. It finally worked when the Motion 2 created an AP and you can access it manually via the IP directly from the WLAN.
What can the devices do?
Let’s start with the Shelly Door Window 2 Sensor …
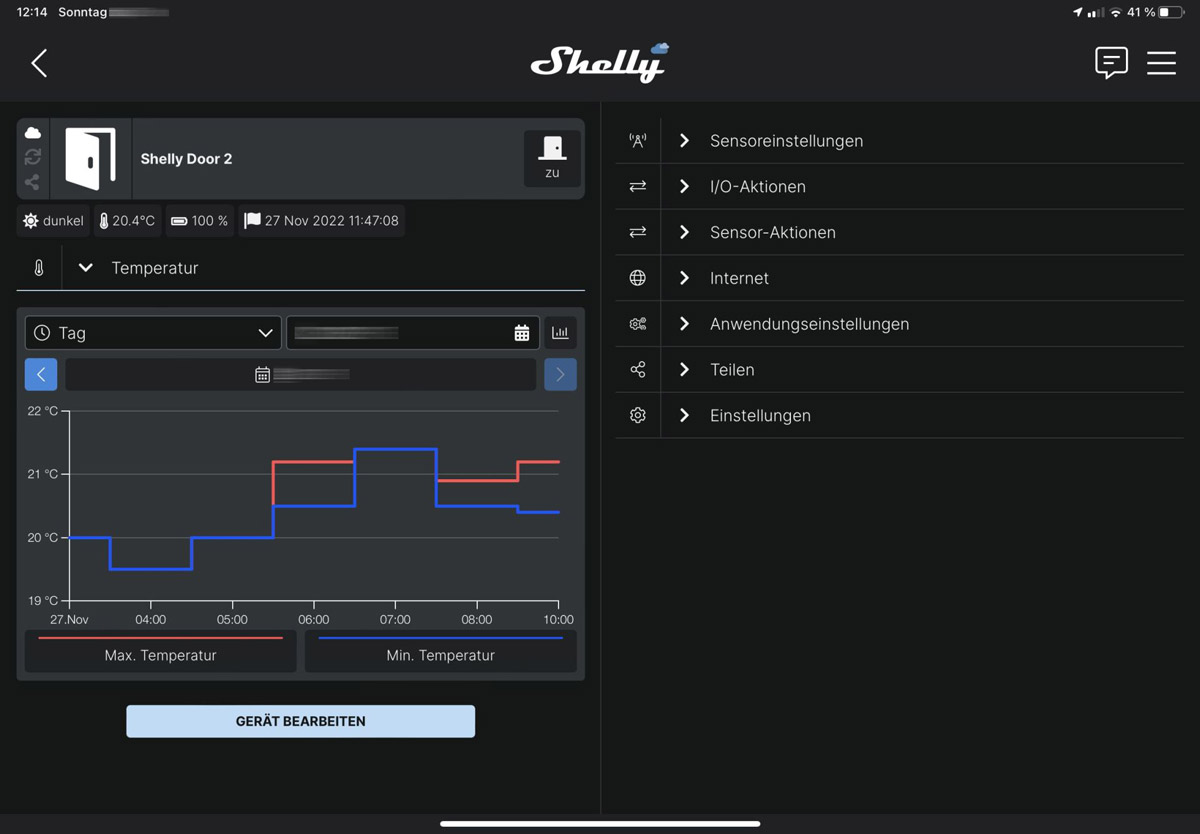
Shelly Door Window 2 Sensor Test …
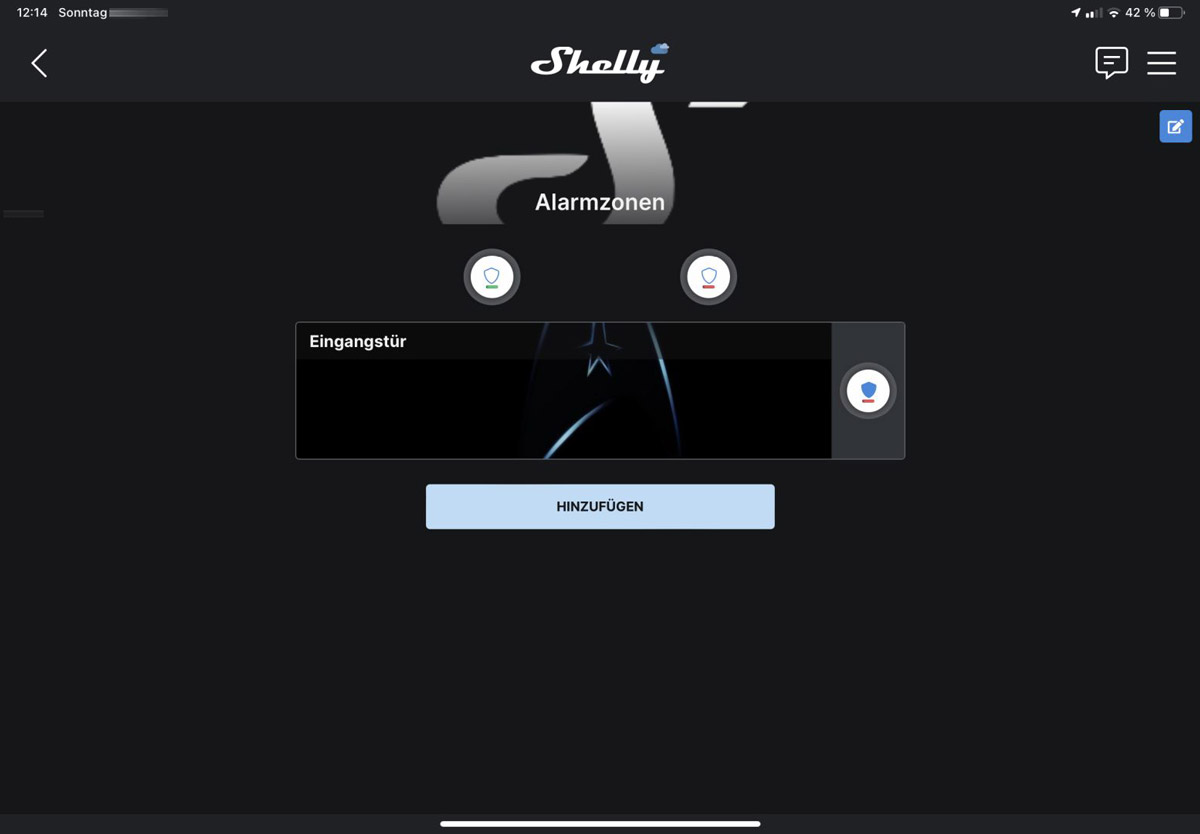
Vibration detection is used to trigger an alarm if, for example, someone disassembles the sensor. Finally, this device can also be included in the defined alarm zones and, if necessary, an alarm can be triggered when the door is opened or closed.
By the way, in the overview of the Shelly app you can see if the alarm is armed, which is very convenient.
And of course, the Shelly Door Window 2 sensor can be used not only for alarms, but also as usual for the scenes or direct control of other components via IP. So as an alternative to the motion detector, you could, for example, automatically turn on the light.
Thanks to the many integrated sensors, this device can be used in many ways, especially in combination with the other Shelly components. For example, you can use it to build a control for electric (garage) doors.
Of course, the state of the two CR123A batteries is visible in the app and you can be informed by mail with a Shelly scene as soon as the batteries fall below a certain capacity.
This brings us to the Shelly Motion 2 practical testing …
Shelly Motion 2 Test …
We have been using the Shelly Motion 2 for a few weeks and so far it works without any problems. Only the initial setup did not work right away this time.
There is even an additional button to define quick actions. With this, you do not go the way via the scenes, but you address the desired device to be switched directly via IP. The temperature curve is recorded if the cloud function is activated.
Furthermore, you can define alarm zones to trigger an alarm when motion is detected. If desired, you will then receive a notification via e-mail and/or a notification via the app.
There is also a setting to detect tampering (i.e. movements) on the device itself.
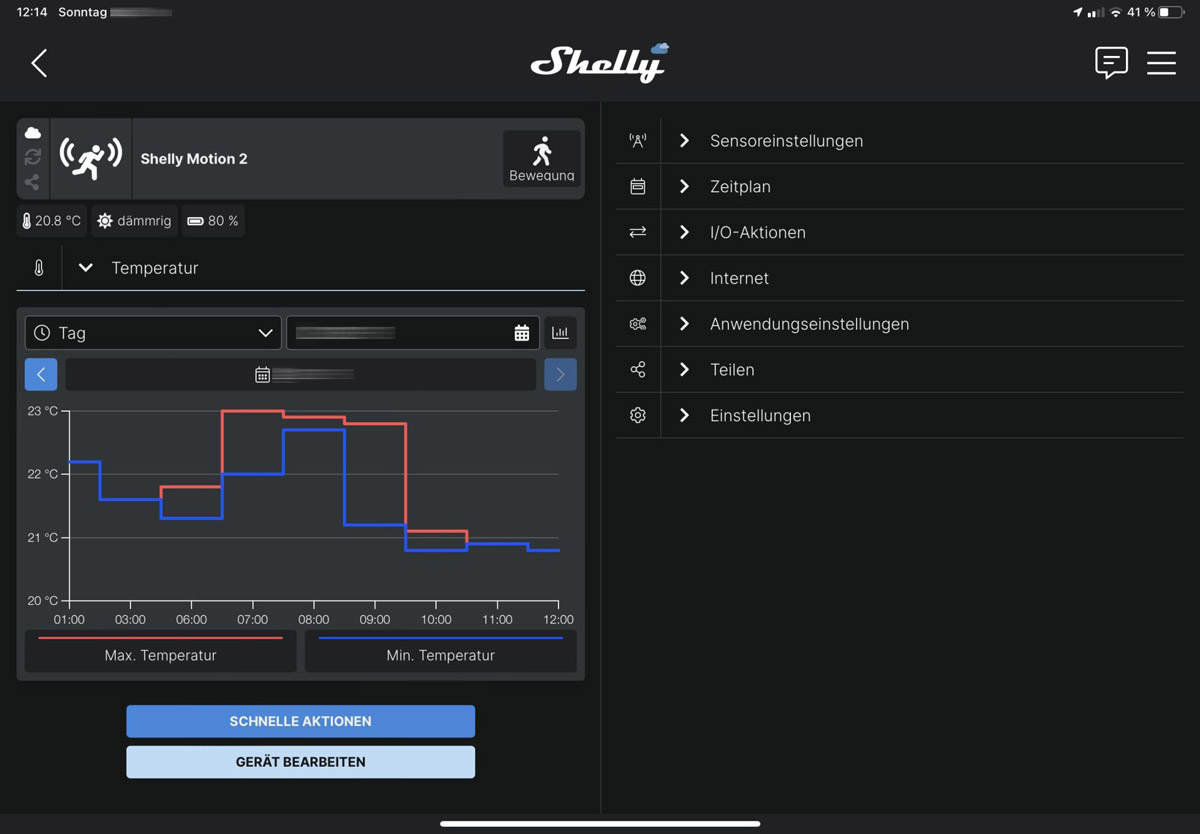
Of course, you can see the battery’s state of charge in the app.
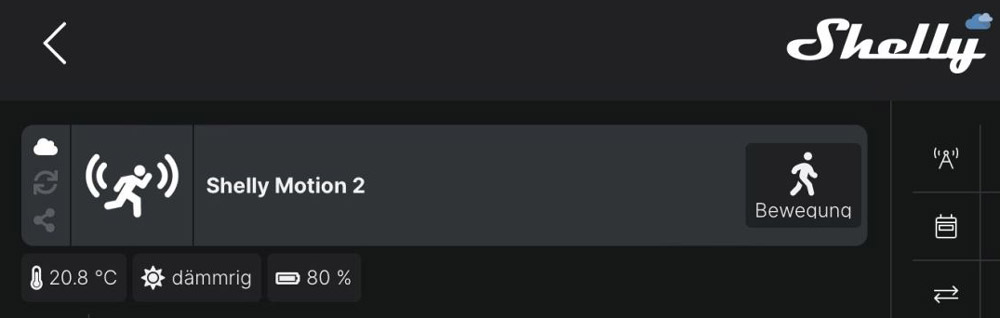
The movement, brightness and temperature are measured by the Shelly Motion 2 very reliably, allowing a diverse combination of scenes by movement, light and temperature.
Last but not least, we also took a look at the Shelly Flood …
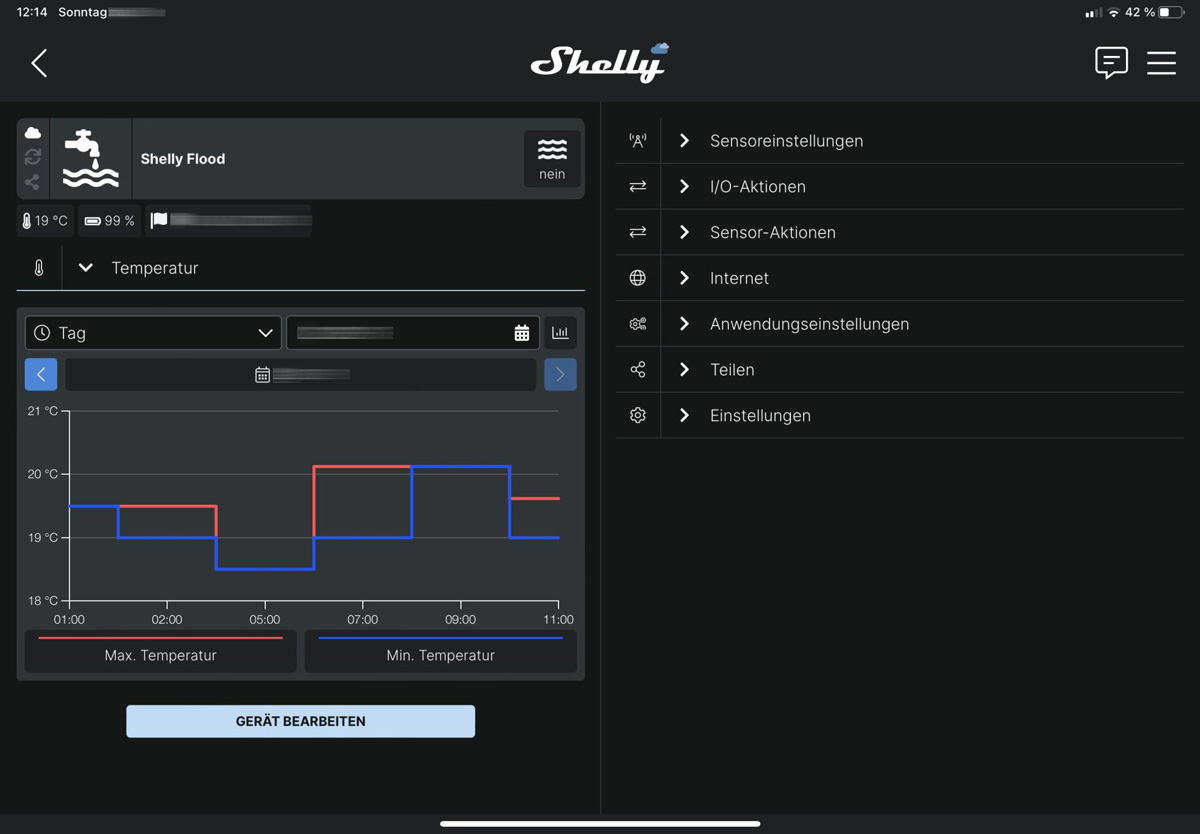
Shelly Flood Test …
First, you open the Shelly Flood by turning the housing cover counterclockwise to release the hooks from the eyelets, which is not always easy due to the sealing ring. Then you insert the CR123A battery, which you hopefully ordered at the same time, and you can access the Shelly Flood directly via IP address or app.

Then you place the Shelly Flood on the floor, for example, and as soon as it gets wet, an alarm sounds.
Of course, you can also define various scenes for the Shelly Flood, as is typical for Shelly.
Due to the lack of a real flood, we had to simulate it and placed the device on a puddle of water. The alarm was immediately very clearly perceptible. The quite loud beep signaled the water damage unmistakably and very loudly!
Even if you have not created any scenes via software, an alarm is still immediately triggered. The alarm is audible directly on the device and simultaneously via email and app notification.
If you really only want to use the device for real emergencies, the basic setting is already OK, but simply want to have a message when, for example, the dog has knocked over the water bowl or that the dishwasher or washing machine was leaking again something because, for example, the lint filter of the washing machine was not screwed on properly, then you do not necessarily need the acoustic alarm, but gets by with the notification via app or mail.
Tip: The function is somewhat hidden, but you can deactivate the acoustic alarm by activating “enable rain mode” under Sensor Settings in Rain Mode. Now no alarm signal sounds in case of a water message, but the change of the status is still recognized and communicated!
So if you don’t want to have the fire department in the house when you have a small water leak on vacation, but would rather ask a neighbor or family member to check up on you yourself, you can fortunately also turn off the alarm.
The status of the CR123A battery is also displayed in the app for the Shelly Flood.
And another tip right away: Battery-powered Shelly devices only transmit the status cyclically via WLAN or when it is necessary. However, this power-saving feature can also be very annoying during setup, as you then cannot transmit any data to the device. If you have turned off the alarm sound and still want to set up the Flood Sensor a bit, you only need to hold it briefly on a damp cloth once and a WLAN connection is active again. Alternatively, you can of course press the button if the case is still open.
Shelly Door Window 2, Motion 2 and Flood Result and general impression …